22
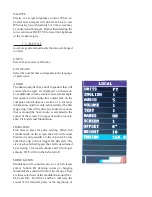
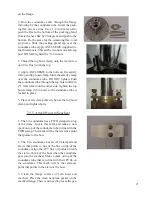
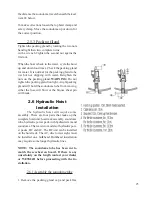
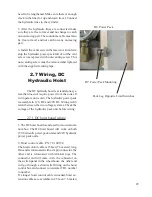
ket. Carefully lift the hoist and align the soundome
to the opening of the seachest. Lower the hoist onto
the seachest. Rotate the hoist for easy access to
the TR box. Apply ANTI-SEIZE (supplied) to the
1 inch bolts (supplied). Insert the 1 inch bolt from
the bottom up. Use the lock washers and nuts (sup-
plied) to tighten the hoist flange to the seachest.
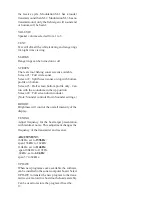
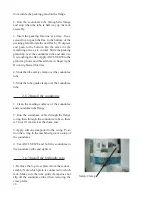
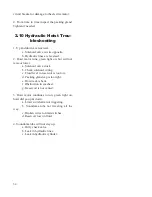
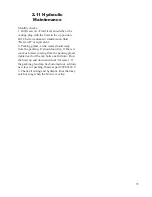
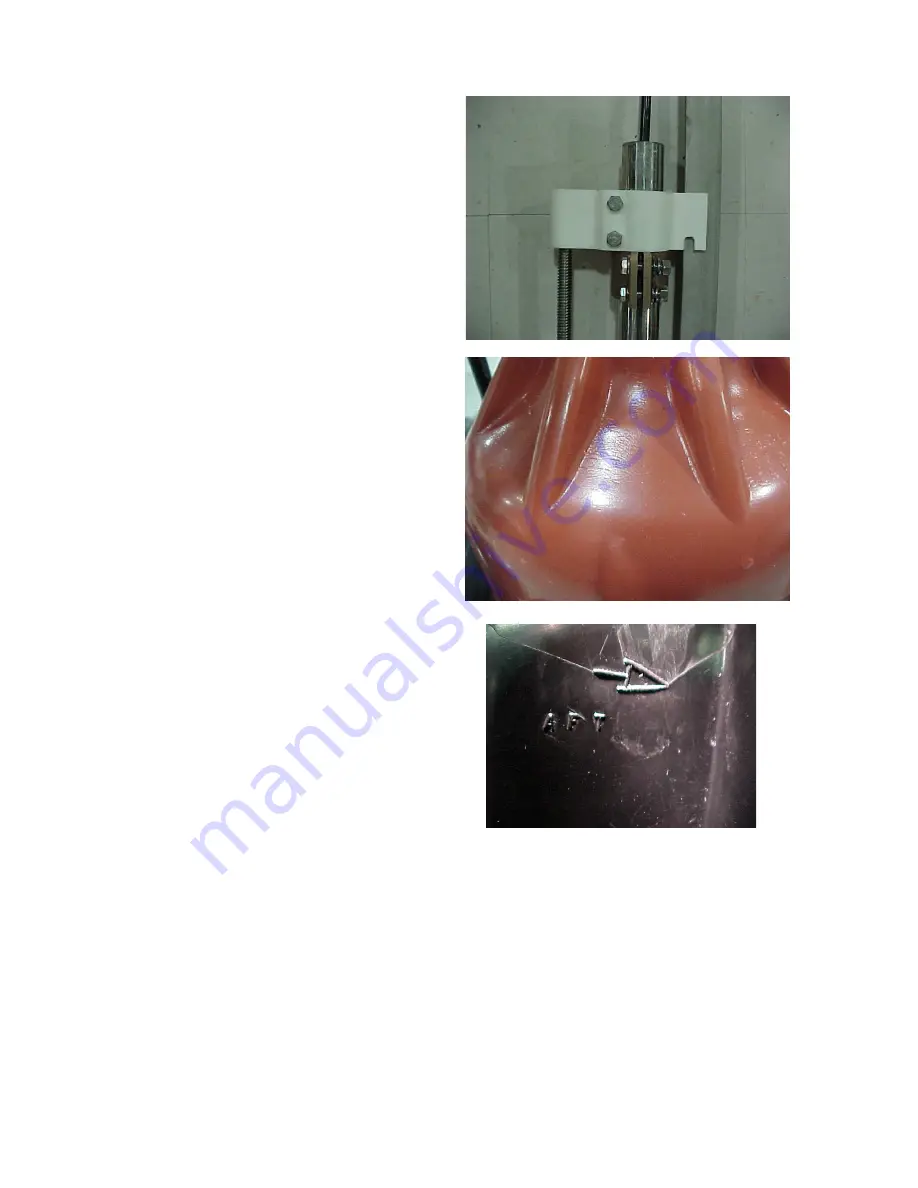
4. Align the soundome to the boat, FWD for the
6 in dome and AFT for the 8 in dome. Loosen the
bolts on the top hoist clamp. Rotate the soundome
tube so the mark made in step #1 or #2 are in line.
Tighten the bolts good and tight.
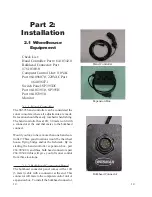
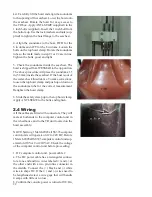
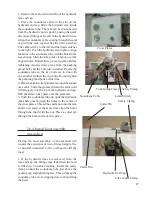
5. Check the soundome inside the seachest. The
hoist is shipped from WESMAR in the up position.
The above procedure will place the soundome 1.5
in (38 mm) inside the seachest. If the boat is out of
the water, check this distance. To make corrections,
loosen the top hoist clamp and push up or down on
the soundome tube for the correct measurement.
Retighten the hoist clamp.
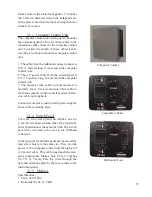
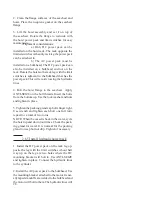
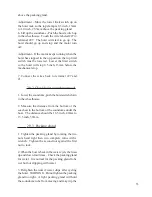
6. Slide the safety clamp up to the top hoist clamp.
Apply ANTI-SEIZE to the bolts and tighten.
2.4 Wiring
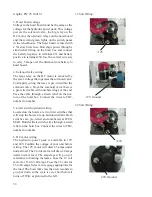
All the cables are fitted with connectors. They will
mate at both ends to the computer control unit in
the wheelhouse and to the TR unit located on the
hoist assembly.
NOTE: Starting 1 March 2005 all SS395 computer
control units will operate on 12 to 24V DC. Before
1 March 2005 all SS395 computer control units op-
erated on 110V AC or 220V AC. Check the voltage
of the computer control unit before proceeding.
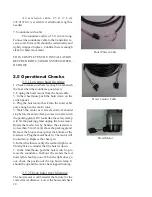
1. DC computer control unit, power cable #
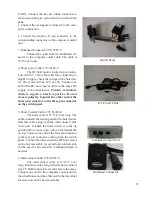
a. The DC power cable has a rectangular connec-
tor at one end and two wires labeled (+) and (-) at
the other end with a two pin inline connector in
the middle. Connect the (+) black and (-) white
wires to ships DC. If the (+) and (-) wires need to
be lengthened select a wire gage that will handle
4 amps with little or no loss.
b. Confirm the console power is turned off (I=On,
FWD
Summary of Contents for SS395
Page 36: ...36...

