25
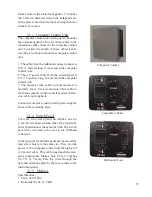
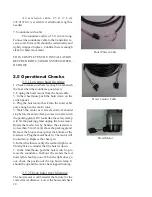
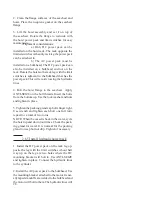
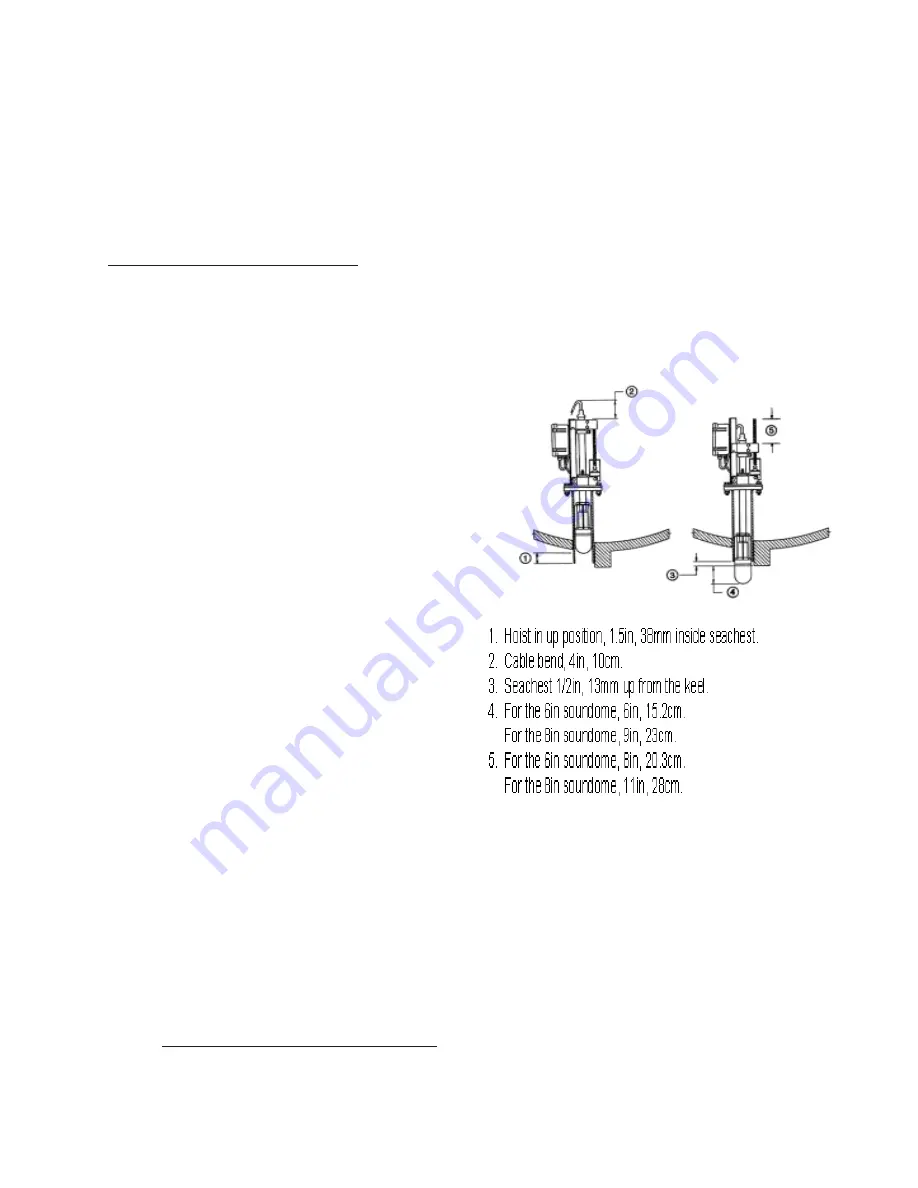
the distance the soundome travels beneath the keel,
item #4 below.
To make corrections loosen the top hoist clamp and
safety clamp. Move the soundome up or down for
the correct position.
2.5.3 Packing Gland
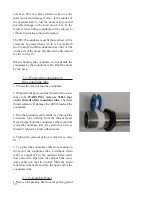
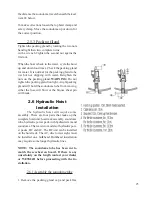
Tighten the packing gland by rotating the two nuts
hand tight then two complete turns
with a wrench Tighten the second nut agains the
first nut.
When the boat is back in the water, cycle the hoist
up and down four times. Check the packing gland
for water. It is normal for the packing gland to be
wet but not dripping with water. Retighten the
nuts on the packing gland.
WARNING:
Do not
tighten the packing gland too tight. A tight packing
gland will hold the soundome tube from moving,
either the fuse will blow or the bronze shear pin
will break.
2.6 Hydraulic Hoist
Installation
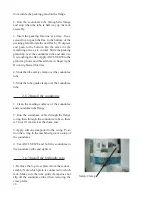
The hydraulic hoist will require some
assembly. There are four parts that make up the
complete hoist unit: hoist rack assembly, soundome
tube, hydraulic power pack with hydraulic ram and
soundome. There are two models of hydraulic pow-
er packs, DC and AC. The DC unit can be installed
on the hoist rack. The AC, due to its weight, must
be installed on a bulkhead. Bulkhead installation
may require some longer hydraulic lines.
NOTE: The soundome tube has been cut to
match the seachest on board. If there is any
uncertainty on the length contact your dealer
or WESMAR before proceeding with the in-
stallation
.
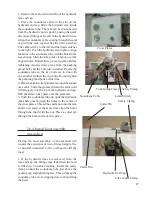
2.6.1 Assemble the soundome tube
1. Remove the packing gland cap and pack flax
Summary of Contents for SS395
Page 36: ...36...

