36
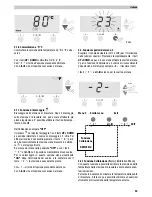
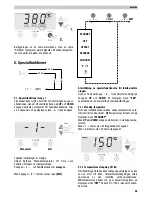
The assignment of a temperature button with a low "set-
back" temperature, gives you the option of manual tempera-
ture decrease when the soldering iron is not being used.
5. Special functions
The special function are splitted in two menu sections.
Special functions menu 1: often used functions like
STANDBY, OFFSET, SETBACK, ...
Special functions menu 2: Calibration function, Remote Id
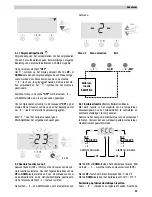
5.1 Special functions menu 1
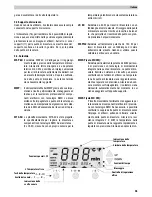
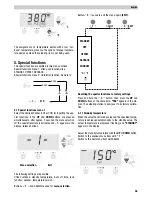
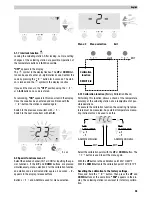
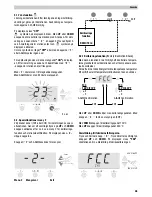
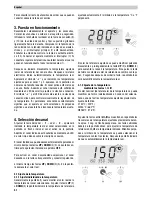
Select the desired channel (CH1 or CH2) for inputting the spe-
cial functions. If the
UP
and
DOWN
buttons are pressed
simultaneously, after approx. 2 seconds the menu selection
for the special functions is activated and
- I -
appears in the
display, release buttons.
The following settings are possible:
Offset, setback, standby temperature, Auto off time, lock
function, window, temperature version.
Buttons
1
and
I-II-III
are used for
menu selection
.
Button
2
is used to exit the menu again
(EXIT)
.
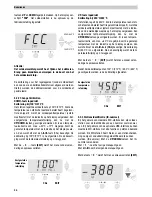
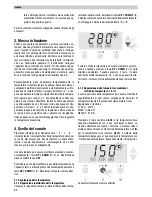
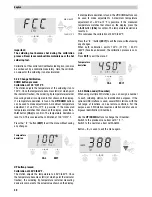
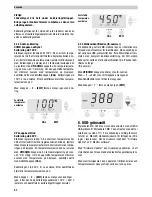
Resetting the special functions to factory settings.
Press and hold the
2
button. Then press the
UP
and
DOWN
buttons at the same time.
"FSE"
appears in the dis-
play. The soldering station is now reset to its factory calibra-
tion.
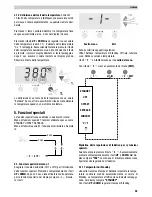
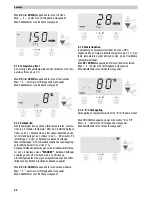
5.1.1 Standby temperature
When the set setback time has elapsed, the specified tempe-
rature is decreased automatically to the standby value. The
actual temperature is displayed (flashing) and
"STANDBY"
appears in the display.
Adjust the standby temperature with the
UP
or
DOWN
button.
Switch to the previous menu item with
1
.
Switch to the next menu item with
I-II-III
.
English
-1- -2-
2 (EXIT)
4 sec.
2 sec.
Menu selection
Exit
STANDBY
OFF
OFFSET
SETBACK
WINDOW
°C / °F
1
I-II-III
2
EXIT
Summary of Contents for WD 1M
Page 8: ...WD 2 ...
Page 9: ...WD 2M ...
Page 179: ...170 Setback function ...
Page 180: ...171 USB interface ...
Page 181: ...172 Exploded Drawing WD 2 WD 2 ...
Page 182: ...173 Circuit Diagram WD 2 ...
Page 183: ...174 Exploded Drawing WD 2M WD 2M ...
Page 184: ...175 Circuit Diagram WD 2M ...

