25
LINEAR WEAVER SETUP, CONT’D.
4) REMOTE CONTACTOR WIRING
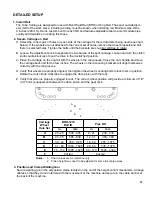
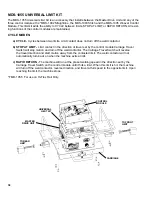
Connect the remote weld contactor on the Master Drive to the welding source as shown below.
Pins A and B
...................connection for Output #1
Pins C and D
...................connection for Output #2
5) GUN AND SETUP
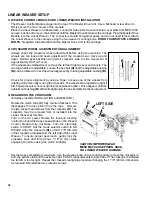
For welding, insert the welding gun into the all-position clamp on the rack. Adjust the clamp, the clamp
block and the rack to position the gun for welding. Connect the weld contactor connector to the rear of the
Master Drive Unit. Route the welding cable and weld contactor wires through the cable anchor clamp. Turn
on the AC power. Use the steering knob on the control module to move the crossarm to both the extreme
left and then the extreme right. Turn on the oscillator, at the same time, with the controls set to maximum
weave width. Readjust the crossarm or the gun if the racking fixture hits the case during operation.
6) MACHINE OPERATION
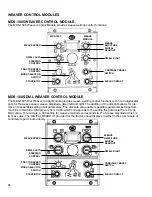
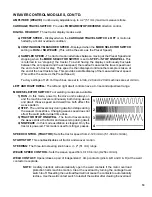
Turn the main power ON at the power entry box. Set the following parameters using the MDS-1005
Control Module (Ref. pg. 18 for illustration):
Weld Mode Selector Switch
Tractor Speed Control
Steering Control
Weave Amplitude
Weave Speed
Left and Right Dwells
The Start/Stop control will turn on the weaver. To start welding, push the weld contactor switch “ON” (mo
-
mentarily) which will turn on the wire feeder/weld current. Use the carriage travel switch to select a forward
or reverse carriage travel direction.
CAUTION:
The Speed Control Card in the Linear Weaver is
NOT
interchangeable with the speed card in
the Master Drive or Pendulum Weaver.


