Center Move the object to the center of the platform
Put on platform Place the object so its bottom rests on the
build platform
Note: Be sure to use the above two instructions to move the object to the center of
the platform and place its bottom on the build platform when converting the
GCode, otherwise it may damage the nozzle.
Lock the height Lock the Z axis coordinates of the object, so you can only drag the
object in XY Plane.
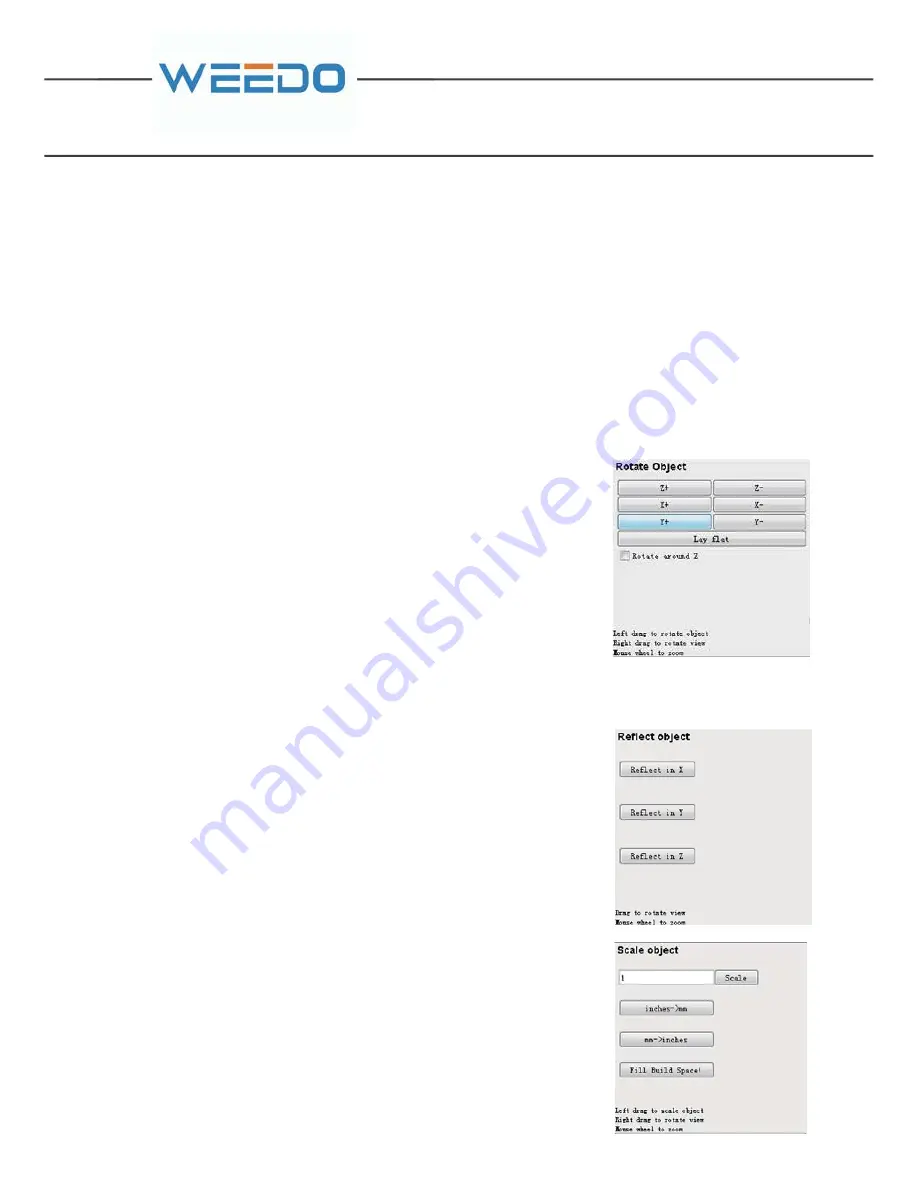
3.Rotate
Click on the "Rotate" button in the toolbar. Left drag to
rotate your object in the Preview window, right drag will
change your view direction. You can also use the individual
axis buttons to rotate your object in 90° increments in the
Rotate Object panel.
Lay flat Make the bottom of the object oriented
correctly in relation to the platform
Rotate around Z If check the checkbox, you can only
rotates the object in the Preview window
around the Z axis.
4.Mirror
Turn to the “Mirror” button. Click the buttons in the
Reflect Object panel to reflect the object in X, Y or Z axis.
5.Scale
Click on the "Scale" button at the bottom of the toolbar. You
can click and drag in the Preview window until the object is
the desired size, the scale ratio displays in the Scale box.
inches->mm
mm->inches
Full Build
Spaces
The size unit of the object changes from
inches to mm, enlarging the size 25.4
times of its ordinary size.
The size unit of the object changes mm
to inches, shrinking the size to 25.4
times of its ordinary size.
Make the object as large as your
machine can print it.
Center
Move the object to
Summary of Contents for F192
Page 1: ...USER MANUAL 3D PRINTER...
Page 12: ......
Page 34: ...6 2 THE COMMON OPERATION ON THE OPERATION PANEL 6 2 1 Print...
Page 46: ......
Page 47: ......


