10
Need help or have any questions? Call us at 1-714-963-0329 or send us an email to [email protected]
❑
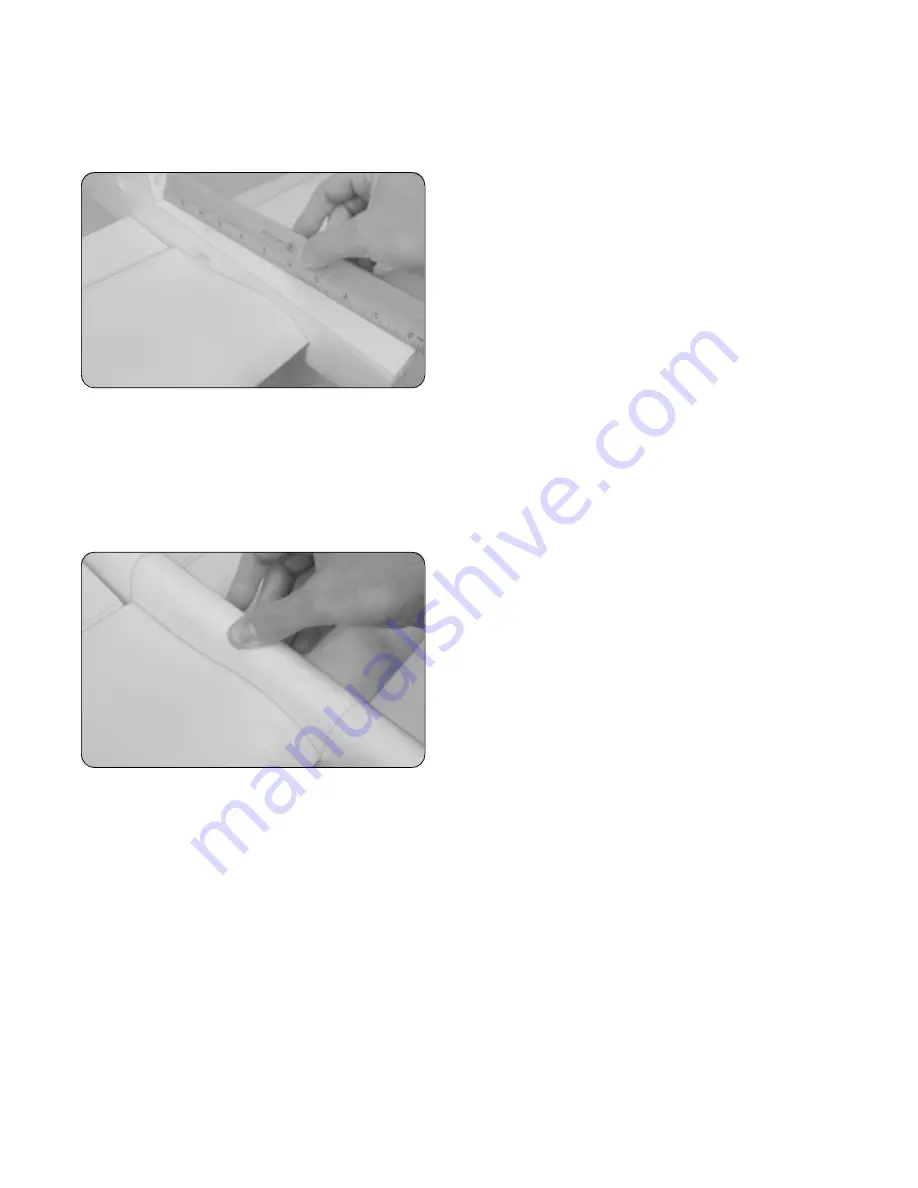
With the wing held firmly in position, use a ruler to check
and make sure that the top of the fuselage is perfectly flat.
This is extremely important. If the top of the fuselage is bowed,
the plastic top deck won't fit properly and the motor will not be
at the proper angle when they're installed later.
IMPORTANT
If the top of the fuselage is bowed, remove
the wing and lightly sand the wing mount until the wing can be
installed without distorting the top of the fuselage.
❑
When satisfied with the alignment, turn the fuselage over and push the wing into place firmly until there are few or no
gaps between the wing and the fuselage.
☞
You may have to lightly sand the wing mount so that it matches the contour of the wing more precisely.
❑
When completely satisfied with the alignment of the wing, remove it and lightly roughen only the gluing surface on the
top of the wing using 220 grit sandpaper.
❑
Glue the wing to the fuselage using a generous amount of 5 minute epoxy. Remove any excess epoxy using a paper
towel and rubbing alcohol, and hold the wing in alignment until the epoxy sets up.
Step 4: Mounting the Belly Pan
❑
Set the belly pan into place on the bottom of the wing.
When aligned properly it should fit firmly between the front
and back of the fuselage and there should be few or no gaps
between the bottom of the belly pan and the wing.
IMPORTANT
You may have to pull down slightly on the
front of the fuselage to close any gaps between the front and
back of the belly pan and the fuselage. If so, double-check
with a ruler that the top of the fuselage is straight.
☞
You may find it necessary to lightly sand the mounting surface of the belly pan to better match the contour of the wing.
If so, work slowly and check the fit often, so you don't remove too much material.
❑
When satisfied with the alignment, remove the belly pan and lightly roughen only the gluing surface on the bottom of
the wing using 220 grit sandpaper.
❑
Glue the belly pan to the wing and fuselage using a generous amount of 5 minute epoxy. Remove any excess epoxy
using a paper towel and rubbing alcohol, and hold the belly pan and fuselage in alignment until the epoxy sets up.
IMPORTANT
It's important to the overall strength of the fuselage that the front and back of the belly pan be glued to the
fuselage securely.
❑
After the epoxy has completely dried, carefully sand the bottom and sides of the belly pan flush with the fuselage using
220 grit sandpaper with a sanding block, being careful not to distort the contours.
❑
Double-check and make sure that the heat-shrink material on the top and bottom of the wing is still tight. It's possible
that after mounting the wing and belly pan that parts of the heat-shrink material have wrinkled. If so, carefully reshrink
those areas using a hair dryer or a covering heat gun.


