18
This feature gives you a great way to control the system around your studio or campus. With the
User
Interface
running full screen in
Studio Monitor
on a receiving system, it’s really hard to remember that you’re
actually controlling a remote system.
Even touch is supported, meaning you can run the
User Interface
output on a Microsoft Surface™ system for
portable touch control over your entire live production system.
(Actually, many of the interface screengrabs shown in this manual – including those in this section – were
grabbed from
NDI
Studio Monitor
while controlling the remote system in the manner described above.)
S
YSTEM
C
ONFIGURATION
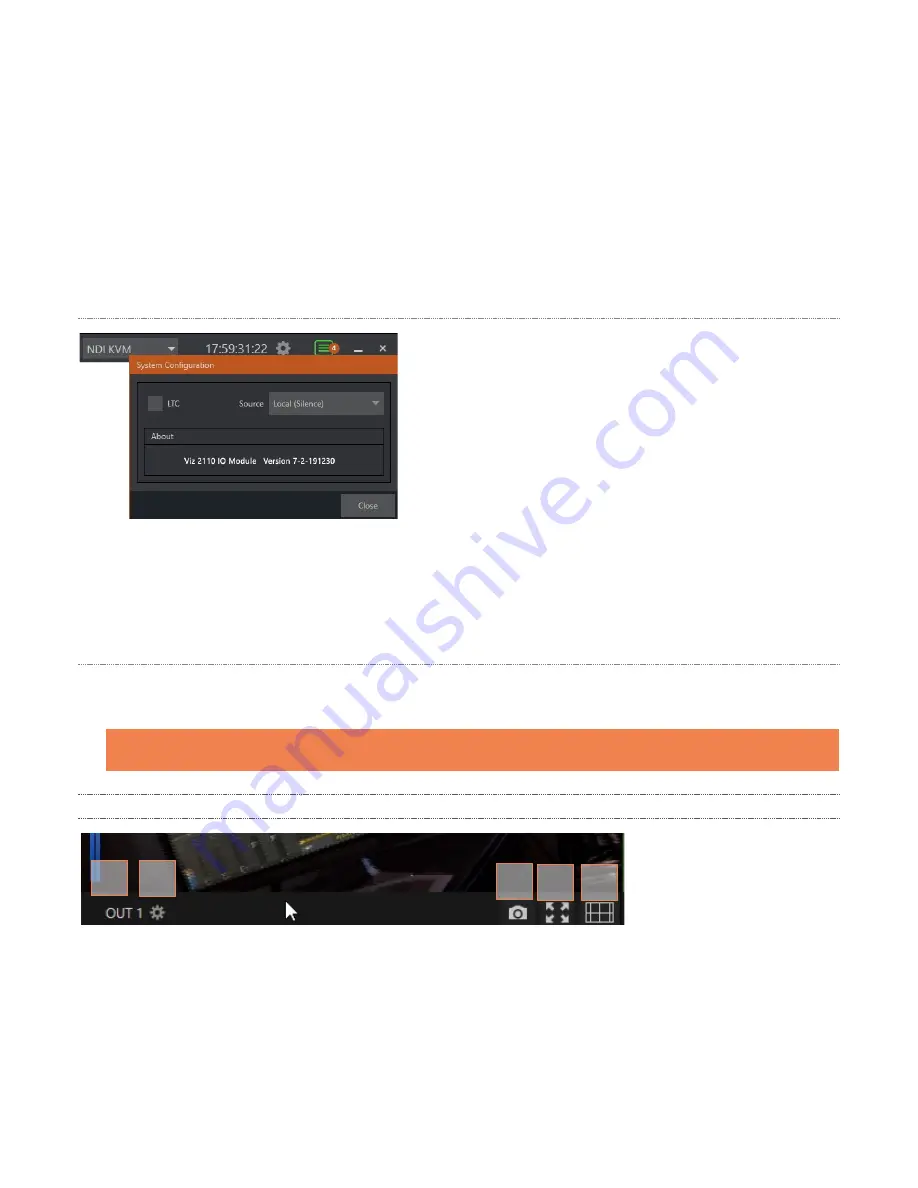
The
System Configuration
dialog is opened by clicking the
‘gear’ gadget next to the
Titlebar
time display and appears as
shown in Figure 23.
LTC
T
IMECODE
LTC timecode support can be activated by choosing an input
using the
LTC > Source
menu to choose almost any audio
input to provide the timecode signal and enabling the
checkbox at left.
A
BOUT
The
About
box displays the current software version and hardware revision of the unit.
N
OTIFICATIONS
The Notifications panel opens when you click the ‘text balloon’ gadget at right in the
Titlebar
. This panel lists
information messages the system provides, including any cautionary alerts.
Hint: You can clear individual entries using by right-clicking to show the item’s context menu, or the Clear All
button in the panel’s footer.
2.2.2
VIEWPORT TOOLS
FIGURE 24
Viz 2110 IO’s channels each have a toolbar beneath their respective viewports. The various elements
comprising the toolbar are listed below from left to right:
1.
Channel name
– Can be changed by clicking on the label, and also in the
Configure Channel
panel.
2.
A
Configuration
gadget (gear) pops up next to the channel name when the mouse is over a viewport.
1 2
3 4 5
FIGURE 23


