


VT-EH Series DVRs________________________________________________________________________________
70
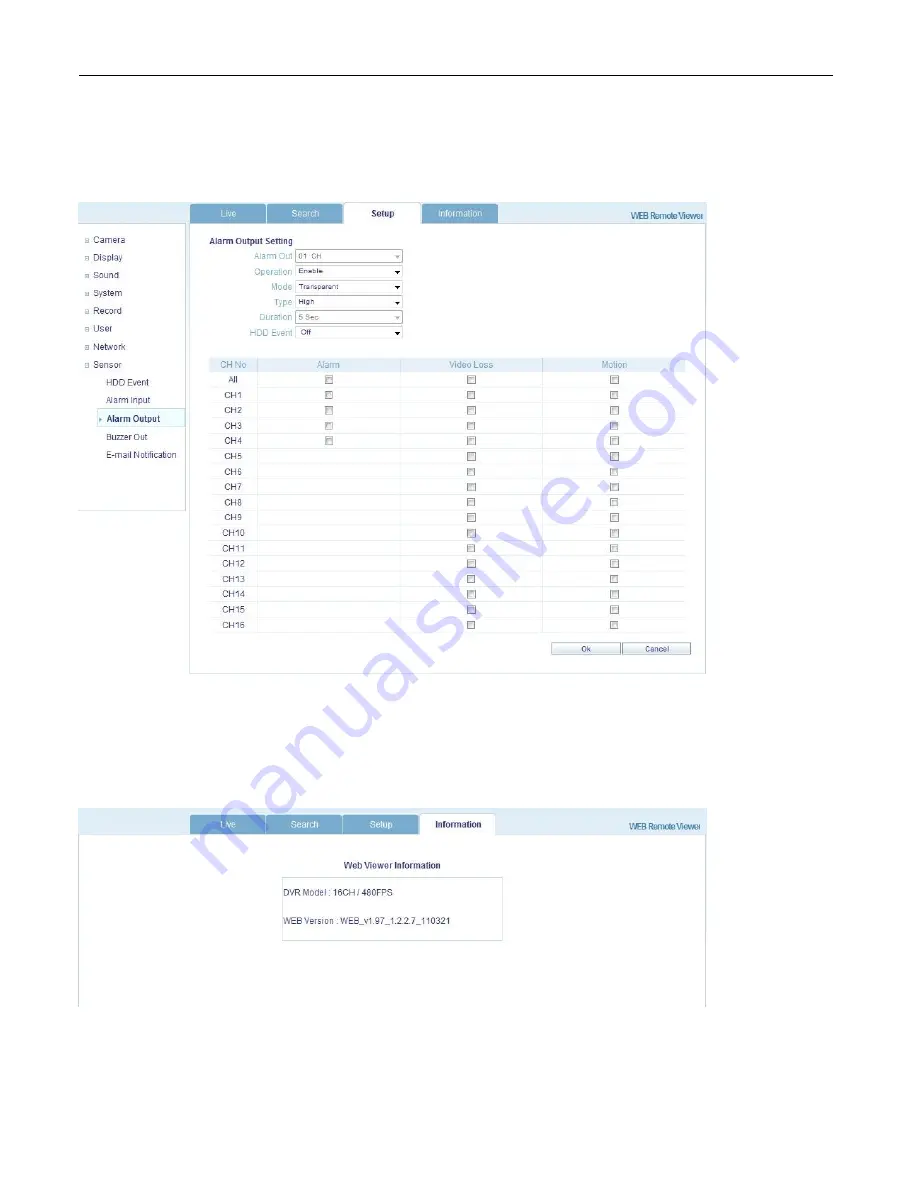
8. Sensor
Management can set all device option of Alarm in/out, Buzzer out for event notification.
(HDD EVENT, Alarm Input, Alarm output, Buzzer out, E-mail notification option)
All detail setup follow DVR system setup
INFORMATION
Display Model name of DVR and WEB Remote Software version.


