65
Maintenance
Drive Belt Tension Adjustment
1. Move the wheel to the tight spot location deter-
mined previously.
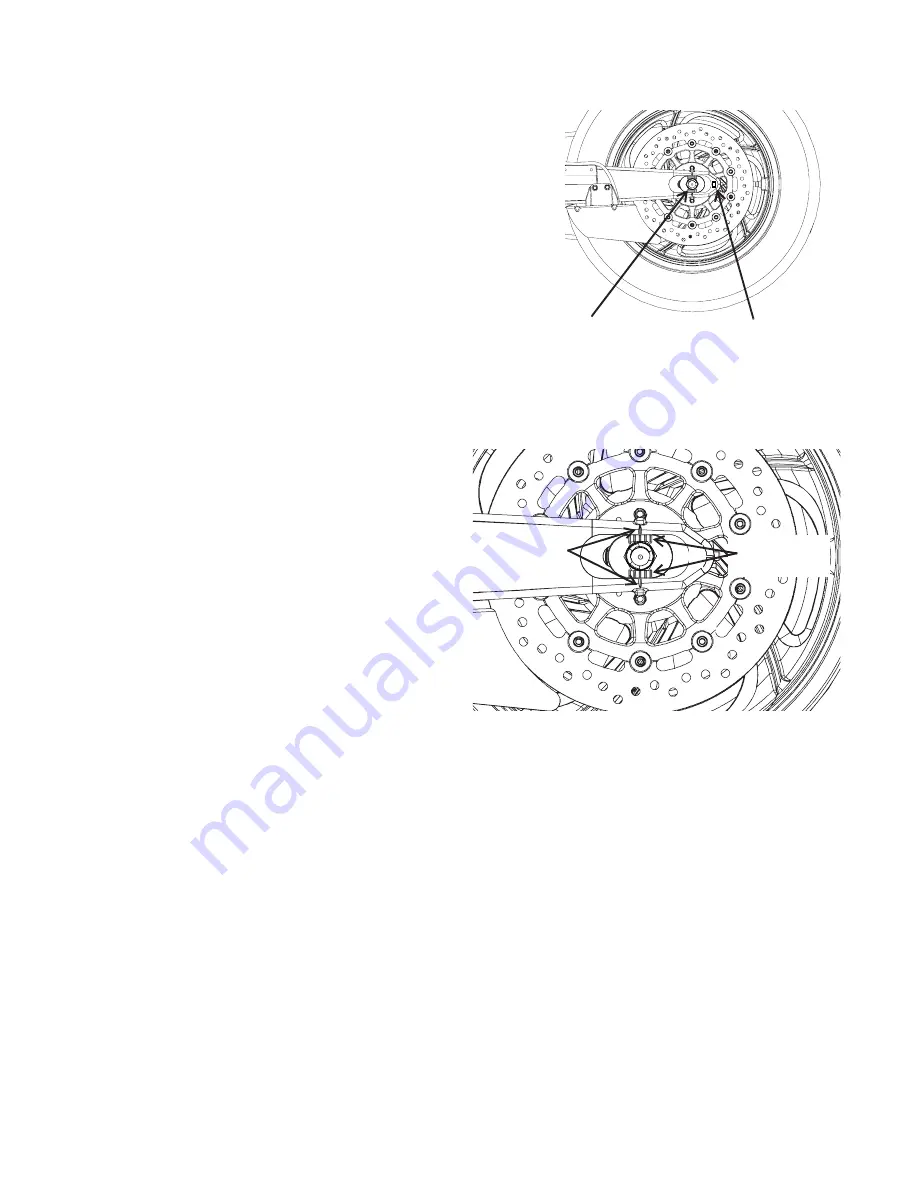
2. Loosen the rear axle nut on the left side.
3. Turn each axle adjuster nut
clockwise
an
equal
amount to tighten the belt (reduce deflection) or an
equal amount
counter-clockwise
to loosen the belt
(increase deflection).
Tool:
13 mm deep socket
4. Tighten the rear axle nut.
Torque: 65 ft-lbs (88 Nm)
5. Pump the rear brake pedal to re-set the pads
against the brake disc.
6. Verify proper belt tension and wheel alignment.
Drive Belt / Rear Wheel Alignment
1. Look at the alignment reference marks
on each side of the swingarm and the
marks on the axle plates to verify proper
wheel alignment. Axle plate mark to ref-
erence mark alignment must be the same
on both sides.
2. If the marks are not aligned, perform all
steps of the Belt Tension Adjustment pro-
cedure. See page 65.
3. Before and after tightening the axle nut,
verify proper belt tension and wheel
alignment.
Drive Belt Cleaning
Cleaning the drive belt will maximize belt and sprocket life and minimize drive line noise.
Clean the belt at every tire change. Clean the belt more often if riding in dirty, dusty or high
debris environments.
1. Mix a few drops of mild dish soap with a cup of warm water.
2. Use a soft nylon brush to clean the belt and sprocket teeth with the soapy water. Clean
well in corner areas where road debris and belt dust can collect.
3. Rinse the belt with clear water, then dry thoroughly.
Tip:
Do not inspect or adjust drive belt tension when the belt is wet. Improper adjustment will result.
Axle Nut
(hidden by swing arm)
Adjuster Nut
Axle Plate
Marks
Swing Arm
Marks


