


03_31
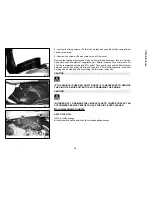
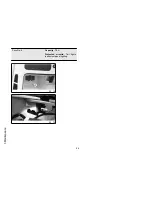
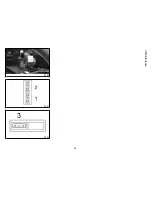
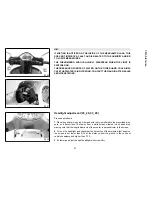
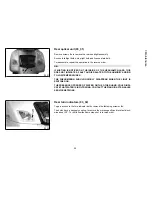
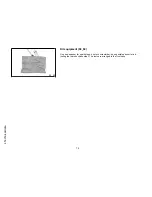
Rear optical unit (03_31)
Remove screw «
A
» to remove the rear headlight assembly.
Access to taillight bulbs, stop light bulb and license plate bulb.
To reassemble, repeat the operation in the reverse order.
N.B.
IF MISTING IS NOTICED ON THE INSIDE OF THE HEADLAMP GLASS, THIS
DOES NOT INDICATE A FAULT AND IS RELATED TO THE HUMIDITY AND/OR
TO LOW TEMPERATURES.
THE PHENOMENON SHOULD QUICKLY DISAPPEAR WHEN THE LIGHT IS
SWITCHED ON.
THE PRESENCE OF DROPS OF WATER, ON THE OTHER HAND, COULD INDI-
CATE THAT WATER IS INFILTRATING. CONTACT THE PIAGGIO AFTER-SALES
SERVICE NETWORK.
03_32
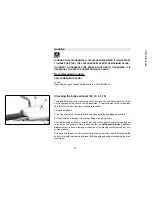
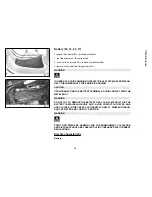
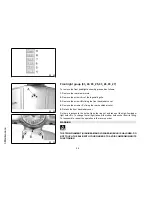
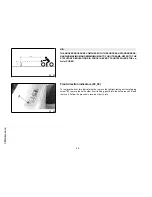
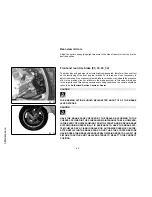
Rear turn indicators (03_32)
To gain access to the turn indicator bulbs, remove the fastening screws «
E
».
The bulbs have a bayonet coupling, to remove them press gently and twist anticlock-
wise about 30°. To refit follow the same steps but in reverse order.
59
3 Maintenance
Summary of Contents for GTS Super 300
Page 4: ...4 ...
Page 6: ...Scheduled maintenance table 78 6 ...
Page 7: ...Vespa GTS Super 300 Chap 01 Vehicle 7 ...
Page 8: ...01_01 8 1 Vehicle ...
Page 24: ...24 1 Vehicle ...
Page 25: ...Vespa GTS Super 300 Chap 02 Use 25 ...
Page 36: ...36 2 Use ...
Page 37: ...Vespa GTS Super 300 Chap 03 Maintenance 37 ...
Page 55: ...03_20 03_21 03_22 55 3 Maintenance ...
Page 67: ...Vespa GTS Super 300 Chap 04 Technical data 67 ...
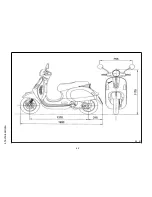
Page 68: ...04_01 68 4 Technical data ...
Page 73: ...Vespa GTS Super 300 Chap 05 Spare parts and accessories 73 ...
Page 76: ...76 5 Spare parts and accessories ...
Page 77: ...Vespa GTS Super 300 Chap 06 Programmed maintenance 77 ...


