
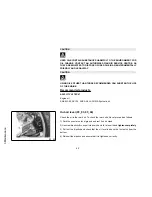

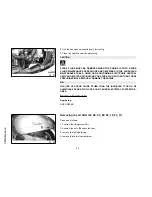


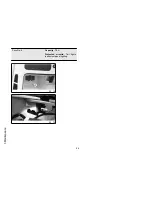
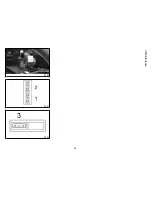
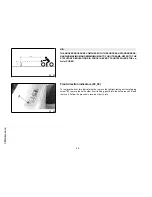
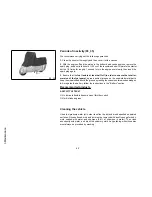

3. one fuse «
C
» located under the helmet compartment on the left fairing.
The chart shows the position and characteristics of the fuses in the vehicle.
CAUTION
BEFORE REPLACING A BLOWN FUSE, FIND AND SOLVE THE FAILURE THAT
CAUSED IT TO BLOW. NEVER TRY TO REPLACE THE FUSE WITH ANY OTHER
MATERIAL (E.G., A PIECE OF ELECTRIC WIRE).
CAUTION
MODIFICATIONS OR REPAIRS TO THE ELECTRICAL SYSTEM, PERFORMED
INCORRECTLY OR WITHOUT STRICT ATTENTION TO THE TECHNICAL SPEC-
IFICATIONS OF THE SYSTEM, CAN CAUSE ERRORS IN FUNCTIONING AND
RISK OF FIRE.
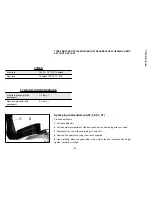
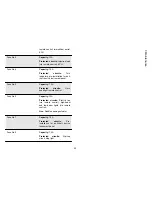
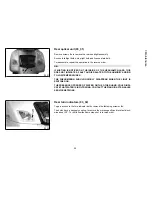
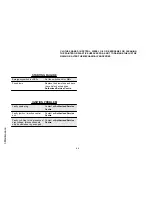
FUSES
Fuse No. 1
Capacity:
30 A
Protected circuits:
Battery
recharge circuit, fuses No. 6-7.
Live:
Fuses No. 4 - 5 - 8 - 9
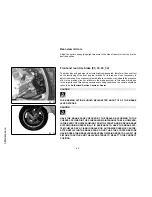
Fuse No. 2
Capacity:
7.5 A
Protected circuits:
Electric fan
remote control, injection load
52
3 Maintenance
Summary of Contents for GTS Super 300
Page 4: ...4 ...
Page 6: ...Scheduled maintenance table 78 6 ...
Page 7: ...Vespa GTS Super 300 Chap 01 Vehicle 7 ...
Page 8: ...01_01 8 1 Vehicle ...
Page 24: ...24 1 Vehicle ...
Page 25: ...Vespa GTS Super 300 Chap 02 Use 25 ...
Page 36: ...36 2 Use ...
Page 37: ...Vespa GTS Super 300 Chap 03 Maintenance 37 ...
Page 55: ...03_20 03_21 03_22 55 3 Maintenance ...
Page 67: ...Vespa GTS Super 300 Chap 04 Technical data 67 ...
Page 68: ...04_01 68 4 Technical data ...
Page 73: ...Vespa GTS Super 300 Chap 05 Spare parts and accessories 73 ...
Page 76: ...76 5 Spare parts and accessories ...
Page 77: ...Vespa GTS Super 300 Chap 06 Programmed maintenance 77 ...


