Chapter 3, Managing Media
Configuring Volume Pools
109
Changing the Attributes of a Volume Pool
▼
To change a volume pool
1.
In the NetBackup Administration Console, click Media and Device Management >
Media
> Volume Pools.
2.
Select a pool from the pools shown under Volume Pools in the tree pane.
3.
Click Edit > Change.
4.
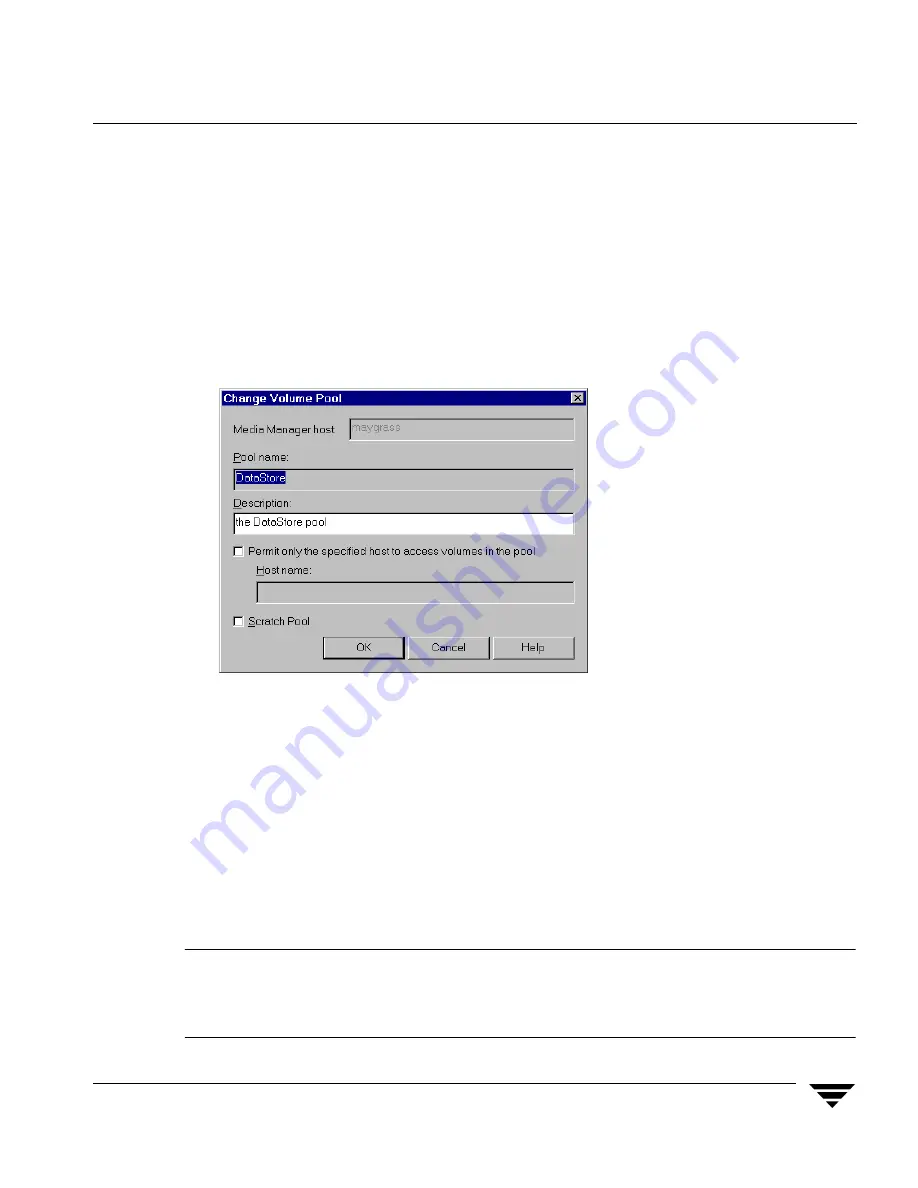
In the Description text box, enter a new description for the pool.
To change this pool to a scratch volume pool, see “Changing a Volume Pool To be a
Scratch Volume Pool” on page 110.
5.
This step applies only to NetBackup Enterprise Server.
To allow only a specified host to use the volumes in this pool:
a.
Select Permit only the specified host to access volumes in the pool.
b.
In the Host name text box, enter the name of the host that is allowed to request
and use the volumes in this volume pool.
Caution
VERITAS recommends that you do not specify a specific host. Allowing any host
(the default) is recommended, and is required if you have NetBackup media
servers (or SAN media servers) controlled by a master server. Never specify the
name of a client.
Summary of Contents for NetBackupTM 5.0
Page 1: ...N102408 VERITAS NetBackup 5 0 Media Manager System Administrator s Guide for Windows ...
Page 4: ...iv NetBackup Media Manager System Administrator s Guide for Windows ...
Page 24: ...xxiv NetBackup Media Manager System Administrator s Guide for Windows ...
Page 34: ...Conventions xxxiv NetBackup Media Manager System Administrator s Guide for Windows ...
Page 50: ...Security Issues 16 NetBackup Media Manager System Administrator s Guide for Windows ...
Page 184: ...Recycling Volumes 150 NetBackup Media Manager System Administrator s Guide for Windows ...
Page 276: ...Denying Requests 242 NetBackup Media Manager System Administrator s Guide for Windows ...
Page 428: ...394 NetBackup Media Manager System Administrator s Guide for Windows ...


