


4
4. Connect the terminal block plug to the on the rear
of the device.
5. Connect the power supply to an outlet or UPS.
6. If required, connect the serial ports of the Nextiva
S1800e device to the PTZ cameras.
To power the S1801e-POE using the
PSPOE Power over Ethernet injector:
1. Plug a straight-through ethernet cable into the LAN
10/100 (RJ-45) connector on the back of the
S1801e-POE
encoder.
2. Plug the other end of the cable into a POE ethernet
switch or to the Data&PWR port of a POE injector.
If you use a PoE injector, make sure the Data port
of the injector is properly connected to the
ethernet switch.
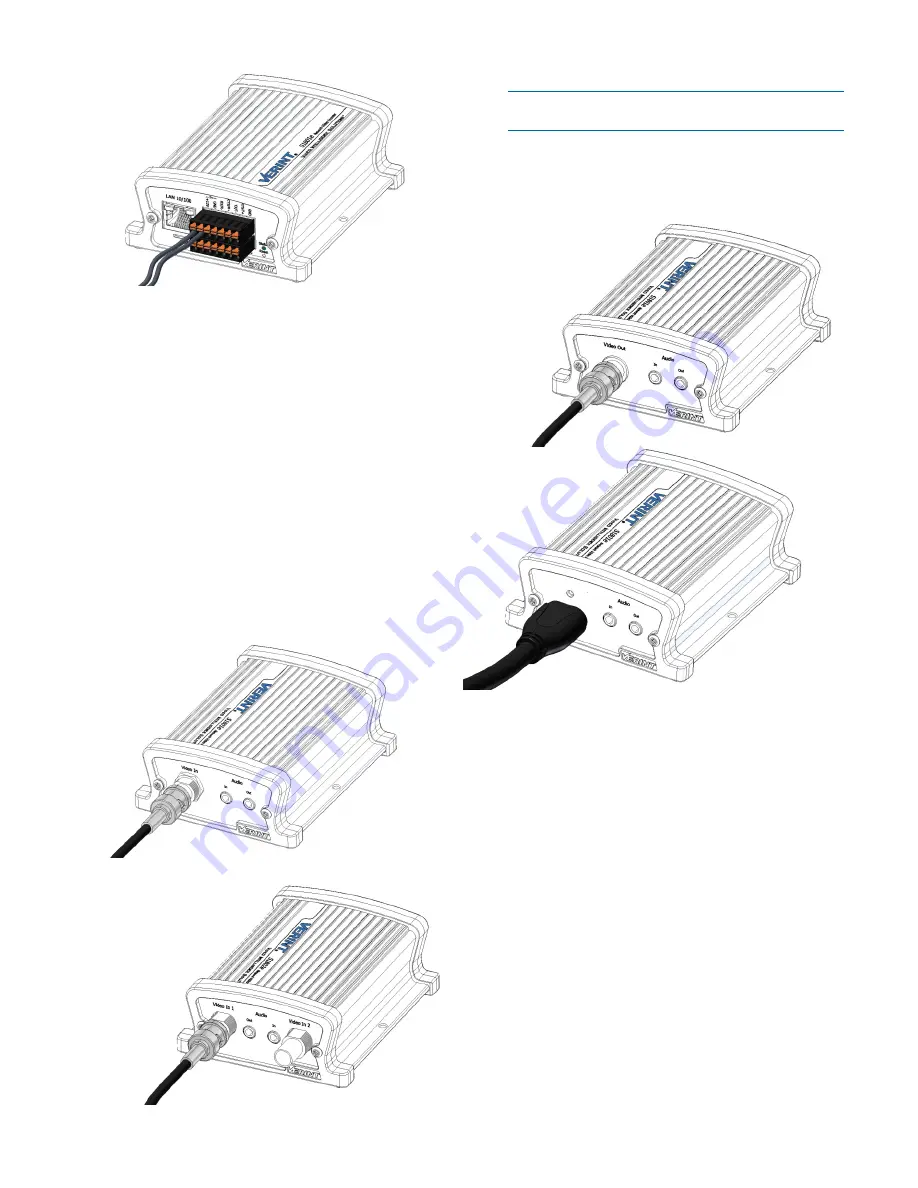
To connect the cables for video and
network on the encoders:
1. Connect the video cables from the analog
cameras to the BNC connectors on the rear of the
device.
2. Plug an ethernet cable into the LAN 10/100
(RJ-45) network connector on the back of the
device.
NOTE:
For the S1801e-POE, the ethernet cable is
already connected.
To connect the cables for video output
on the decoders:
1. Connect the BNC connector or the HDMI cable to
the rear of the S1801e-R or S1801e-R-HD.
S1801e or S1801e-POE
S1802e
S1801e-R
S1801e-R-HD
HD Video
Out


