VTSSD4
V. 01
–
15/05/2014
8
©Velleman nv
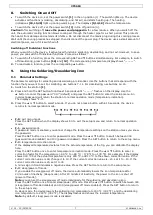
There are 3 ways to exit sleep mode:
o
Soldering iron: shake it gently. Desoldering iron: press the suction button on the iron.
o
Press any button under the flashing display.
o
Switch the station off and on again.
In power off mode, the display flashes and shows
“—
—
—”
. To start the iron again, press the
▼
button, or
switch the station off and on again.
F-4
: unit of temperature
Press the SET button once to enter temperature mode. Press the
▲
or
▼
button to switch between °C
and °F. Press the SET button to return to the setup menu.
9.2
Soldering/Desoldering
You can use the soldering and desoldering irons at the same time.
Important note:
Do not use temperatures higher than 410 °C (770 °F) for normal soldering or desoldering
purposes. You can use the device at higher temperatures for short periods, but this will shorten the lifespan of
the tip.
Warning!
Do not touch the metal parts of the soldering or desoldering iron while the unit is in use or while it is
cooling down, in order to avoid burns.
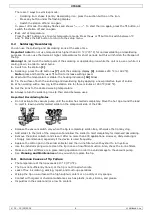
1.
Switch on the station
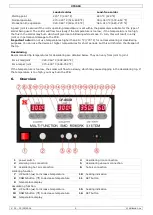
[1]
.
1.
Soldering: press the UP button
▲
[7]
until the soldering display
[9]
indicates 250 °C (or 482 °F).
Note:
press and hold the
▲
or
▼
button to increase setting speed.
2.
Wait until the temperature is stable: the heating indication
[10]
blinks.
3.
Tin the surface of both the soldering and desoldering tip by applying a new protective layer of solder.
4.
When working with a new tip, let the station idle for three minutes at 250 °C (482 °F).
5.
Set the irons to the desired working temperature.
6.
Always return the soldering irons to their stand between uses.
Important Desoldering Notes
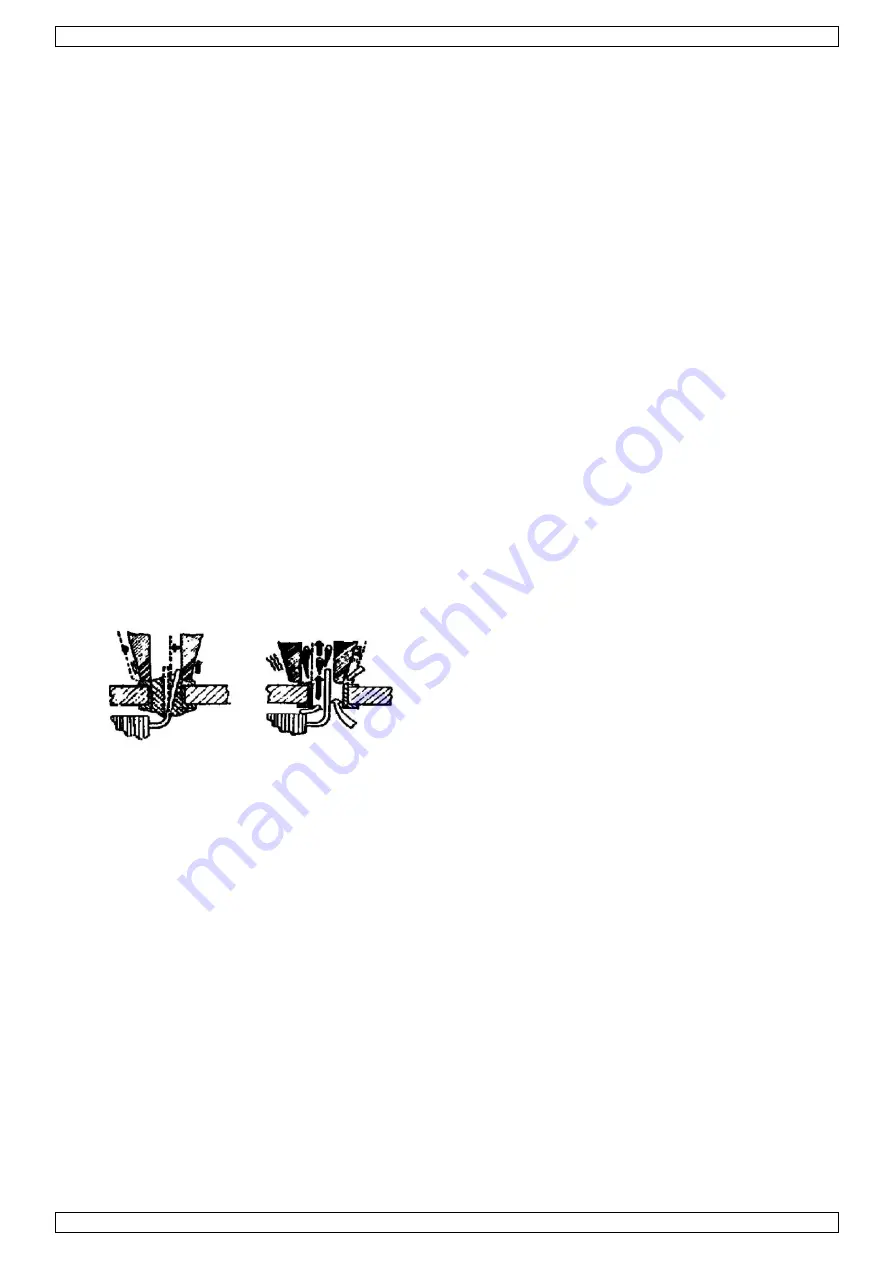
Do not activate the vacuum pump until the solder has melted completely. Move the hot tip around the lead
to melt it, leaving visibly melted solder on the component side of the PCB.
Release the vacuum switch only when the tip is completely solder-free, otherwise the tip may clog.
Add solder to the joint of the component and allow the solder to melt completely for improved desoldering.
Remove the solder collector and clean it after no more than 200 applications. However, daily cleaning is
strongly recommended, especially if the device is used frequently.
Replace the cotton pad in the solder collector and the in-line filter when they start to turn yellow.
Use the included spring wire to clean the tip in case of insufficient suction. Also, check the in-line filters.
Make sure that all filters are in place during operation in order to avoid damage to the vacuum pump.
See
Cleaning and Maintenance
when you wish to replace the tip.
9.3
Common Causes of Tip Failure
The temperature of the tip exceeds 410 °C (770 °F).
The tip is not sufficiently tinned, or the tip is not tinned when idle.
Lack of flux in soldering, wicking, repair, and touch-up operations.
Wiping the tip on a surface with a high sulphur content or on a dirty or dry sponge.
Contact with organic or chemical substances such as plastic, resin, silicone, and grease.
Impurities in the solder and/or a low tin content.


