3
Assembly instructions
3.1
Mount E-keeper in the tractor
Be sure to check for any concealed wiring prior
to any drilling in the tractor cab.
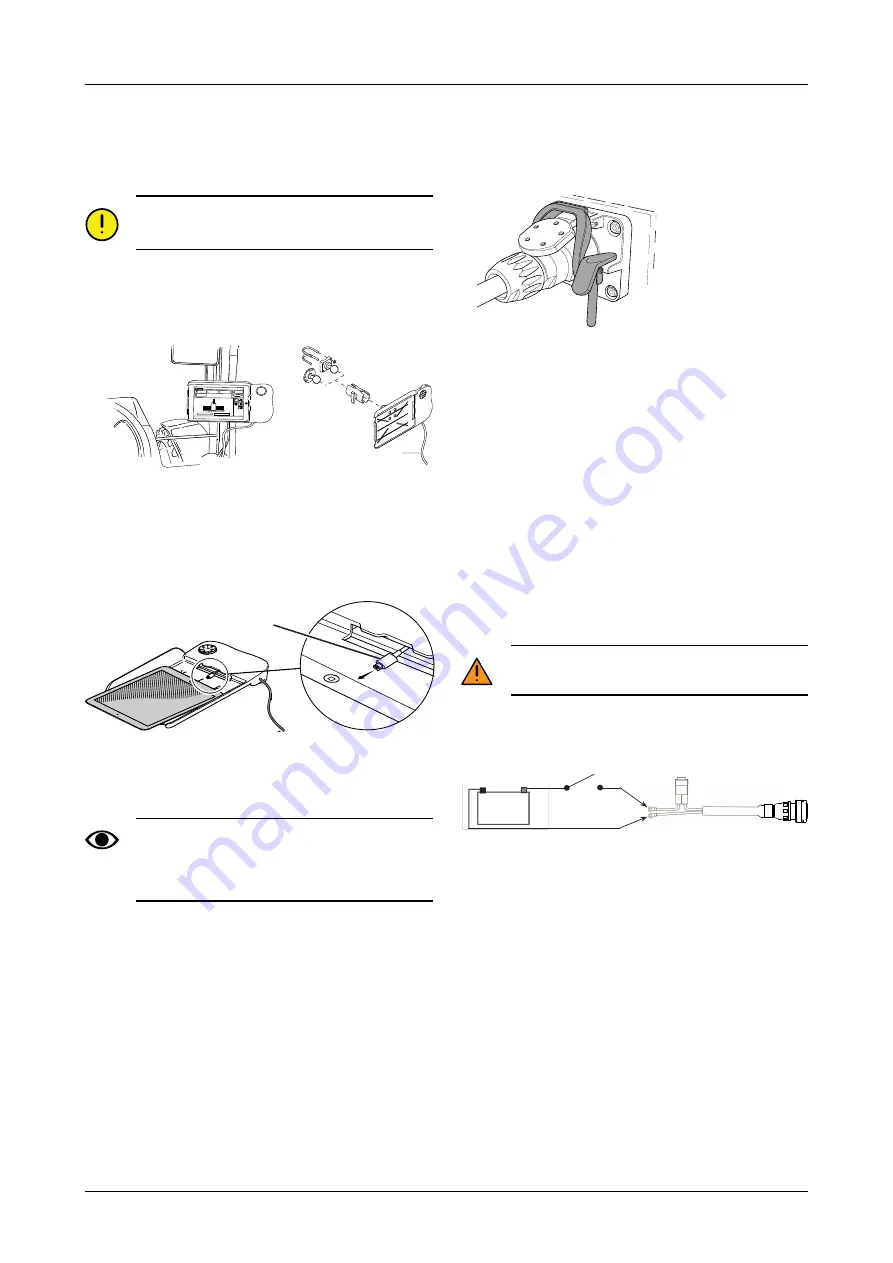
1. Fix the dock securely in the tractor cab. The dock
should be located within the field of vision when
driving forwards. Install the bracket as shown in the
illustration.
Figure 3.1
2. Connect the dock’s power cable (A) to the tractor’s 12
V socket.
3.2
Fitting the iPad in the E-Keeper
Figure 3.2
Connect the iPad to the charger cable (B) and push it all
the way into the E-Keeper. Push it into place gently.
There is wireless communication between the
iPad and the E-Keeper. If the buttons on the dock
do not work, check that Bluetooth is enabled in
the iPad settings menu.
3.3
Connecting to ISOBUS
Figure 3.3
1. Connect the cable from Gateway to the tractor’s
ISOBUS connector. Take care when making the
connection
2. Make sure that the pins of both connectors are aligned.
3. Attach the connector using the latch clamp. (May
look different for different tractors.) The terminal
detects that a Gateway is connected and automatically
imports the software.
4. The cable is hung in the hose holder together with the
hydraulic hoses.
3.4
Connecting to tractors without
ISOBUS connectors
Connect the red cable to 12 V
AFTER
connecting the main switch/main relay.
Figure 3.4
A. Tractor battery
B. Tractor main switch
C. Power supply to Gateway
1. Make sure that the main power switch in the tractor is
switched off.
2. Fit the electrical socket in a suitable place with the
cable pointing downwards in order to prevent water
from getting into the connector. We recommend that
the socket be located close to the hydraulic connector
at the rear of the tractor.
3. Route the cable in a suitable way through to the main
switch/main relay switch. The cable must be fitted so
that it cannot get trapped, work loose or risk coming
into contact with hot components on the tractor.
A
1.72
1.72
12.2
12.2
4100
4100
2/4
2/4
170
170
Left
Left
Right
Right
B
+
--
A
B
C
4
903099-en-gb; 19.01.2021


