BioDoc-It
2
Imaging System
9
81-0358-01 Rev E
Using the System
Powering Up the Tablet Computer
1. Firmly press the
POWER
button on the system, and hold for 3 seconds to power on the internal
computer. Wait for the Windows startup screen. This may take a few moments.
2. Once the computer completely boots, the software will load automatically. If it does not, double click on
the VisionWorks icon.
3. To
SHUT DOWN
the computer, briefly press the
POWER
button.
Note:
The tablet will remain on battery power if the main power cable to the whole system is unplugged.
Operating the VisionWorks
touch
Interface
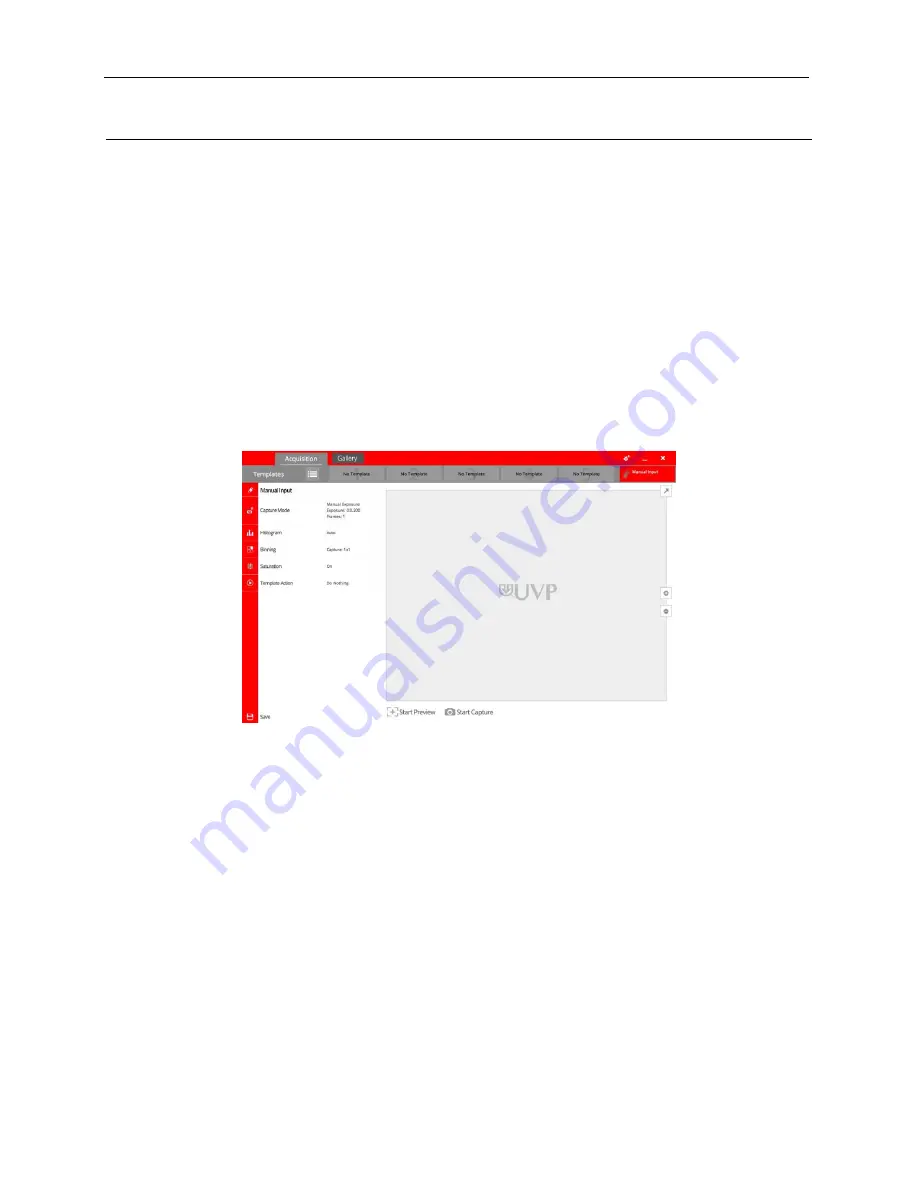
Upon startup, the internal computer will proceed through the boot-up process. When complete, the Windows
desktop will appear. The software interface, similar to the one below, will open automatically shortly
thereafter.
To exit the software interface, press either the close (
X
) or minimize (
_
) buttons at the top right corner of the
software window.
Refer to
Touch Screen Interface
in this manual for further instructions on using the software.
Using the Transilluminator
Once the BioDoc-It
2
darkroom is plugged in to a power outlet, power is supplied to all components. This
includes the jumper cable that supplies power to the transilluminator.
To use the transilluminator:
1. Open the darkroom door and place the main power switch located on the front of the transilluminator in
the
ON
(
I
) position. (Note: It is recommended to always leave this power switch in the
ON
(
I
) position.)
2. Use the rotary knob on the front of the transilluminator to select from the available lighting wavelengths
or intensities (transilluminator settings vary by model).
3. Locate the
UV
power button on the front of the BioDoc-It
2
system, to the right of the touch screen. Press
this switch until it glows green. The transillumination is now active.
4. Press the switch again to turn off the transilluminator.


