


BioDoc-It
2
Imaging System
16
81-0358-01 Rev E
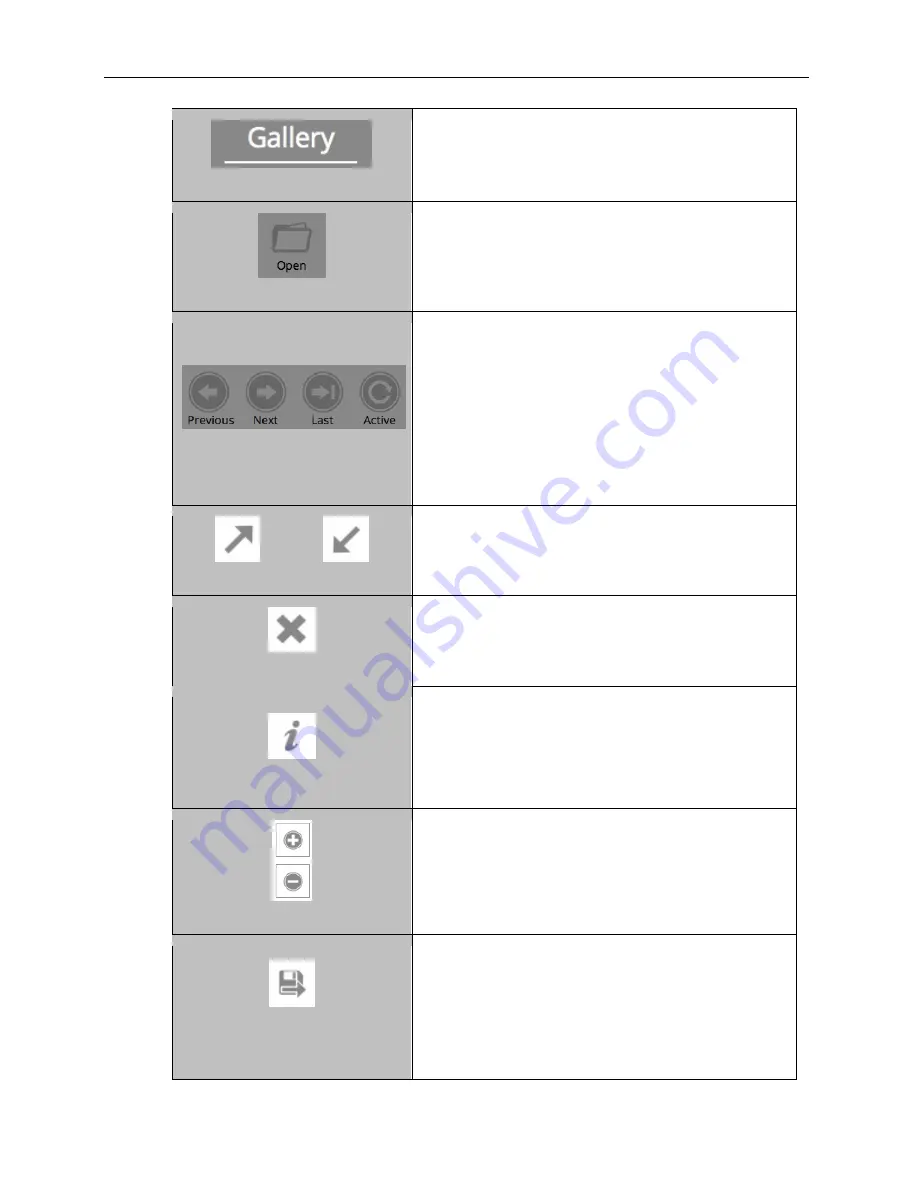
“Gallery” Tab
To access the photo gallery, press to select the
Gallery
tab.
Once active, select the desired image from the top of the
Gallery screen.
Open Image
To open a previously-saved image, press the
Open Image
button. Pressing this button will open the Windows
file/folder navigation screen. Select the desired file and
press
Open
.
Gallery Navigation
Use the
Gallery Navigation
buttons to navigate through
the image gallery.
When multiple “pages” of images appear in the gallery:
Press
Previous
to go to the previous page.
Press
Next
to go to the next page.
Press
Last
to go to the newest picture in the Gallery.
Press
Active
to go to the active image shown on the
main image screen.
Maximize Minimize
When an image is open in the Gallery, press the
Maximize
button to show the image in full-screen mode.
Press the
Minimize
button to close full-screen mode.
Close
Press the
Close
button to the right of the image to close
the active image. If the image is unsaved, the user will be
prompted to save the image before closing.
Information
Press
the “
i
”
(Information
) button to view information
pertaining to the open image, such as exposure time.
Press
the “
i
” button again to close the image information
screen.
NOTE:
Image information is only available for images
captured using the BioDoc-It
2
.
Digital Zoom Buttons
Use the
“+”
and
“–”
buttons located to the right of the
active image to digitally zoom in or out on Gallery images.
Tap and drag to move around on the zoomed-in image.
Save Burned
Press the
Save Burned
button to save the image with all
modifications (such as time stamp and histogram
modifications) embedded in the image. Or, press the
Save
button to save the raw image without any modifications
embedded. Images will be saved to the location specified
in
Preferences
.
The file name is automatically assigned by the software as
yyyy-mm-dd_hh-mm-ss
, with “yyyy-mm-dd” being the


