


© UPLIFT Desk
• 1-800-349-3839 • 1-512-614-3152 • [email protected] • upliftdesk.com
12
CONSTANT-TOUCH & ONE-TOUCH
These steps allow the desktop to be set to either One-Touch or Constant-Touch. One-Touch requires
only a single touch of the “1, 2, 3, or 4” button to move the desktop to a preset memory location.
Constant-Touch requires a continuous touch of the “1, 2, 3, or 4” button to move the desktop to a preset
memory location.
Constant-Touch is the default setting.
Change between One-Touch and Constant-Touch:
l. Hold the DOWN button on the Keypad until the desk reaches the lowest height, then release.
2. Hold the DOWN button again until display flashes “RST”.
3. Press the “1” button until display shows “10.1” (One-Touch) or “10.2” (Constant-Touch)
and goes back to “RST”.
Note:
While “RST” is still flashing, you can press the “1” button as many times as you’d like
to toggle between the two settings.
4. Hold the DOWN button until the desktop lowers slightly, then rises slightly and the display
changes back to the numeric height setting, then release.
PROGRAMMING (continued)
MINIMUM & MAXIMUM HEIGHT SETTINGS
The desk frame ships defaulted to its minimum and maximum height limits. These steps allow the
upper and lower limits to be adjusted to your preference.
Note:
If memory settings were previously set outside of the new minimum and maximum height
settings, they will default to the new minimum and maximum settings. To set new minimum and
maximum height settings outside of the current settings, you will need to first remove the current
minimum and maximum settings.
To Set a new maximum desk height:
l. Use the UP or DOWN buttons to bring desk to the desired
maximum
height.
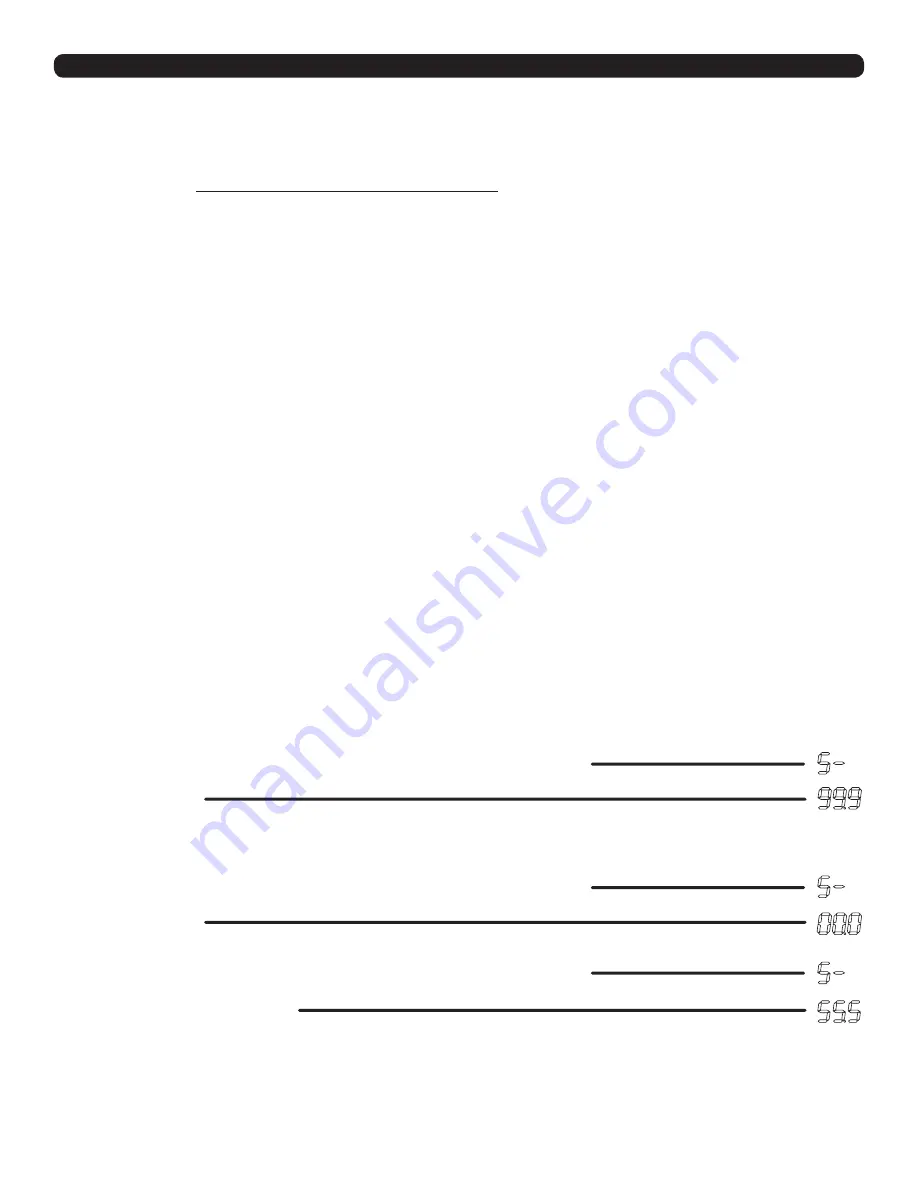
2. Press the “M” button once, and “S-” will appear on the display. Immediately follow by
pressing the UP button once, so the “S-” flashes once.
3. Hold the “M” button until the Display shows “999” then changes to numeric value of new
upper limit.
To Set a new minimum desk height:
l. Use the UP or DOWN buttons to bring the desk to the desired
minimum
height.
2. Press the “M” button once, and “S-” will appear on the display. Immediately follow by
pressing the DOWN button once, so the “S-” flashes once.
3. Hold the “M” button until the Display shows “000” then changes to numeric value of new
lower limit.
Removing adjusted maximum and minimum heights:
l. Press the “M” button once and the display will show “S-”.
2. Hold the “M” button again until the display shows “555” then changes to the current
numeric height setting.
DISPLAY UNITS
Change the numeric display to show heights in either inches or centimeters.
l. Hold the DOWN button on the Keypad until the desk reaches the lowest height, then release.
2. Hold the DOWN button again until display flashes “RST”.
3. Press the “2” button until display shows “10.3” (centimeters) or “10.4” (inches) and goes
back to “RST”.
Note:
While “RST” is still flashing, you can press the “2” button as many times as you’d like
to toggle between the two settings.
4. Hold the DOWN button until the desktop lowers slightly, then rises slightly and the display
changes back to the numeric height setting, then release.


