C.I.B. UNIGAS - M03957CI
37
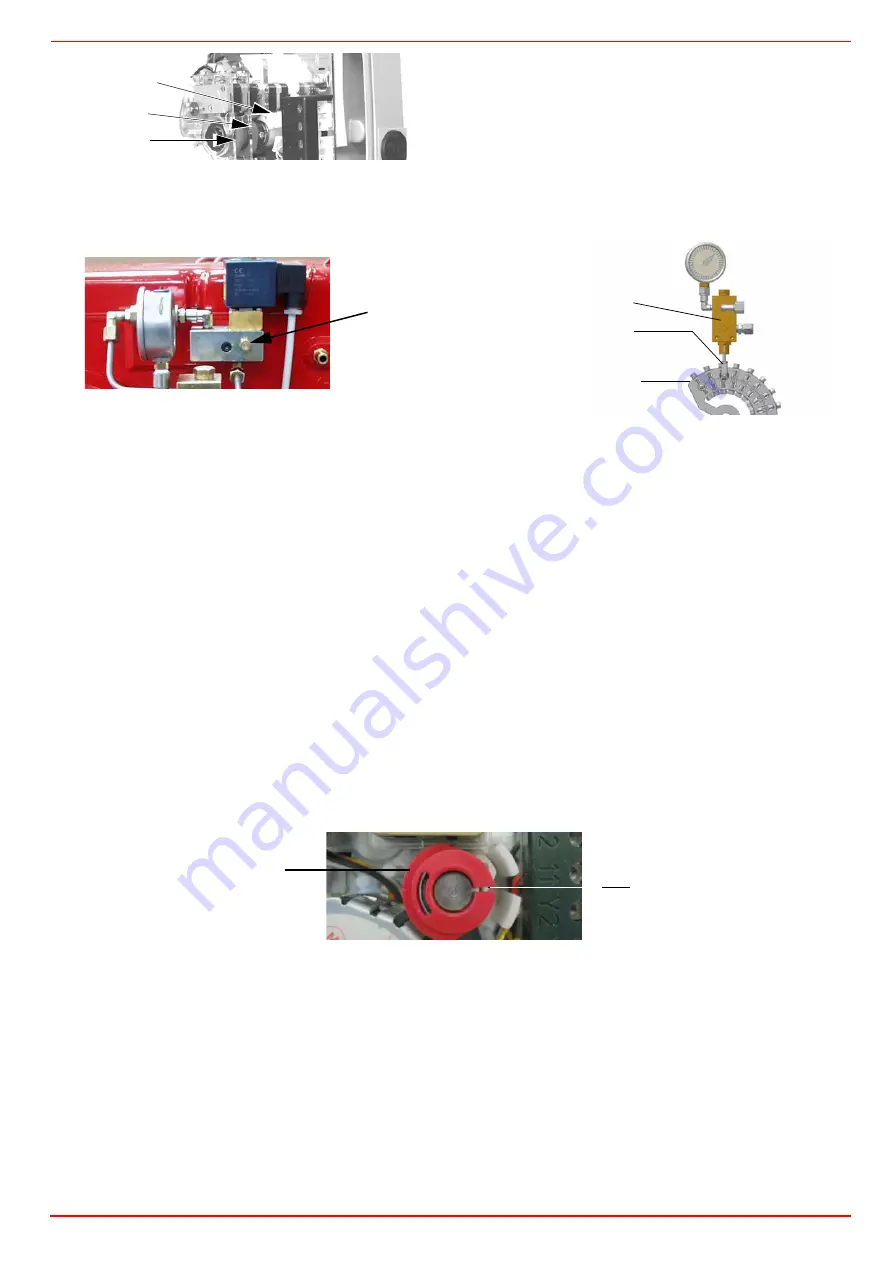
The nozzle supply pressureis already factory-set and must not be changed. Only if necessary, adjust the supply pressure as follows
(see related paragraph);insert a pressure gauge into the port shown on Fig. 40 and act on on the pump adjusting screw
VR
(see Fig.
37) as to get the nozzle pressure at 20 bar (according to the nozzle model provided: Monarch or Bergonzo nozzles - see page 33-34).
9
in order to get the maximum oil flow rate, adjust the pressure (reading its value on the
PG
pressure gauge) without changing the air
flow rate set during the gas operation adjustments (see prevoius paragraph): checking always the combustion parameters, the
adjustment is to be performed by means of the
SV2
adjusting cam screw (see picture) when the cam has reached the high flame
position.
10 once the air and oil flow rate have been adjusted at the maximum output, go on with the point to point adjustment on the
SV2
adju-
sting cam as to reach the minimum output point: gradually move the adjusting cam in order to adjust each of the
V2
screws as to
describe the cam foil shape.
11 to change the
SV2
position set the actuator on the manual mode (MAN), turn the adjusting cam
SV2
and set again the actuator to
the AUTO mode to lock the adjusting cam;
12 act on the
V2
screw that mathces the bearings referring to the adjusting cam position;
13 to adjust the next screw, set again the actuator mode to MAN, turn the adjusting cam and set the actuator to AUTO mode to lock
the adjusting cam on the next screw; adjust it and go on this way to adjust all the screws in order to set the cam foil shape, accor-
ding to the combustion values read.
14 Once the cam foil shape is defined, reconnect the
TAB
thermostat reconnecting the wire to the terminal no.6 or setting the RWF40
burner modulator to AUTO or the CMF switch to 3 (only for fully-modulating burner).
15 Turn the burner off then start it up again.
16 Once the pre-purge time comes to end, drive the burner to the high flame stage by the
TAB
thermostat: check the combustion
values;
17 drive the burner to low flame, if necessary adjust the low flame size (output) by inserting a screwdriver on the slot
F
to move the
BF2
cam.
18
The low flame position must never match the ignition position that is why cam
BF2
must be set 20°- 30° more than the ignition posi-
tion.
19 Turn the burner off; then start it up again. If the adjustment is not correct, repeat the previous steps.
As far as fully-modulating burners see paragraph on page 32.
Fig. 40
Fig. 41
BF2
AB
BF1
Pressure gauge port
RP
PG
V2
SV2
BF2
F
Summary of Contents for HP60
Page 9: ...C I B UNIGAS M03957CI 9 Overall dimensions mm Boiler recommended drilling template ...
Page 49: ...C I B UNIGAS M03957CI 49 ...
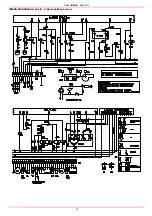
Page 51: ...C I B UNIGAS M03957CI 51 WIRING DIAGRAM Cod 05 680 Progressive burners ...
Page 52: ...C I B UNIGAS M03957CI 52 WIRING DIAGRAM Cod 05 681 Fully modulating burners ...
Page 54: ......
Page 55: ......
Page 56: ......


