25
IP CAMERA SETUP
The XVR will record 2MP IPCs and 4MP IPCs (but only half as many). Enabling this feature will
require resturcture of the channel maximum in the system and then a system reboot, so this
feature should be enabled early in the installation process.
1. Power up the system and login as the Admin.
2.
Go to
System Settings
and select
Device Settings
on the left column.
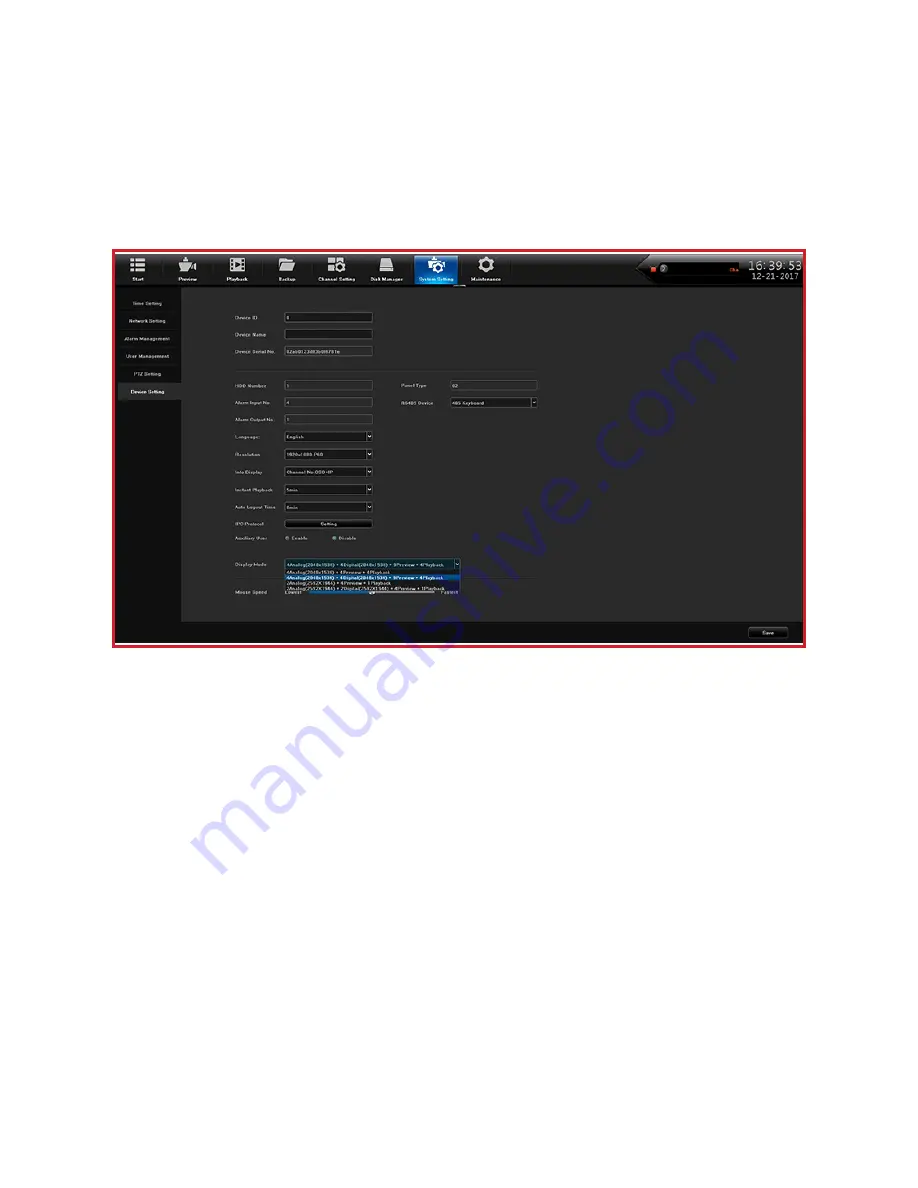
3. In the
Display Mode
field, click the drop down box and select the second option (highlighted in
blue) for BNC and 2MP IPC option (4 channel XVR shown). This option adds the most IPCs.
4. Click the 4th option (which shows
2Digital
in the above screenshot) for 4MP cameras, but at
half the maximum number of cameras. This doubles the maximum resolution for each camera
(if the camera is 4MP or higher), but halves the maximum number of cameras.
5. After the selection is made, select
Save
in the bottom right corner.
6. A pop-up window will warn that the system will need to be rebooted, so select
Confirm
and the
system will reboot automatically after a short wait.
7. When the XVR is ready, login as Admin, go to
Channel Setting
, and add the IPCs to the
system.
8. Finish setting up all the camera settings for each camera.
NOTES:
• After all the cameras are set up, it is recommended (on a new install) to format the Hard Disk
Drive(s) and start fresh.
•
1080p is about 2MP. If your camera's maximum resolution is 1080p, then there is no reason to
set the higher resolution (2592 x 1944) option.
• The
Channel Setting
screen shows different options after IPC is enabled, to allow the scanning
and adding of IP addresses. It is suggested you connected the required BNC cameras, and
make any desired changes before enabling this IPC option.


