24
Install the Hard Disk Drives
1. Shut down the XVR system.
2. Unscrew the two thumb screws on the back of the lid, and open the top cover.
3. Mount the new HDDs to hardware rails toward the front of the chassis.
4. Plug in the SATA cables and power cables to the HDDs.
5. Plug the SATA cables into the motherboard.
6. Close the lid and power up the system.
Formatting the HDDs (Optional)
XVR system hard drives are factory formatted.
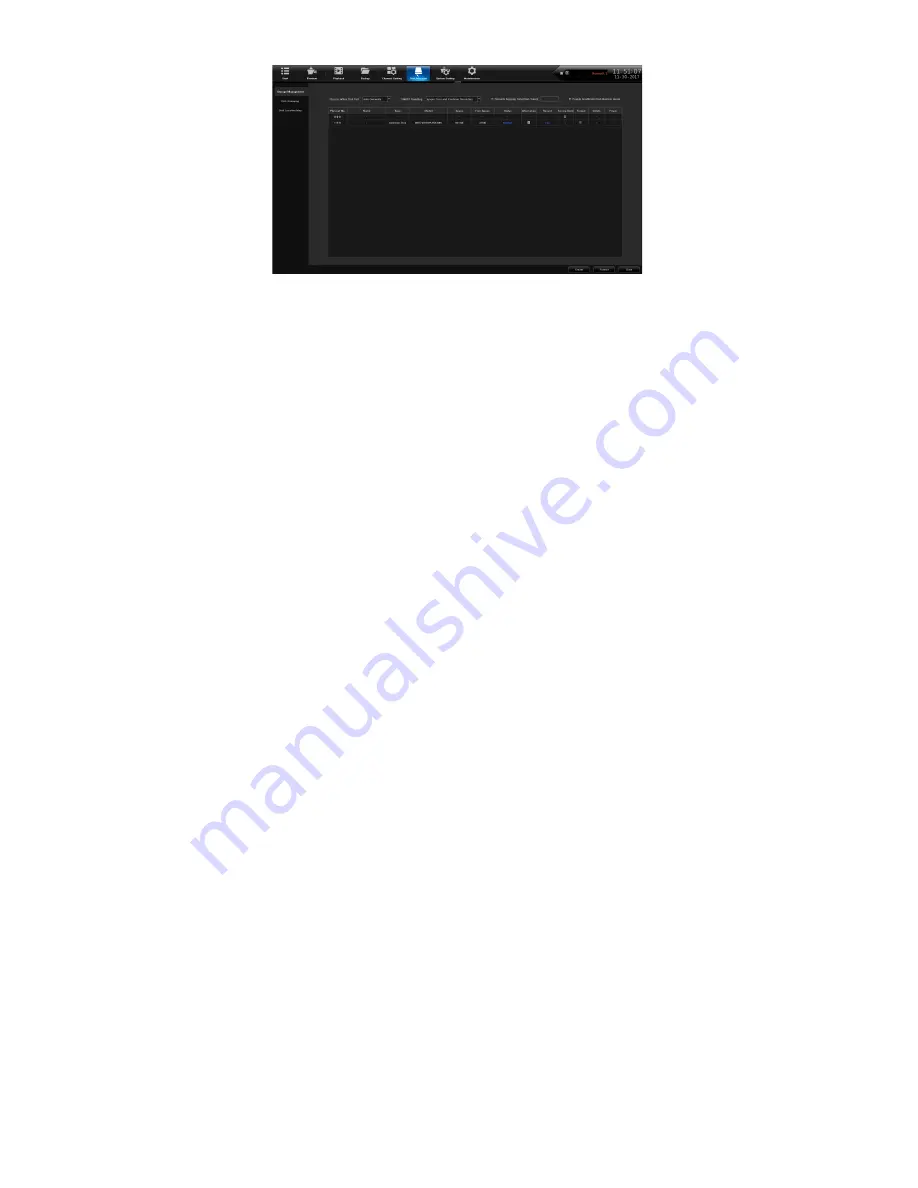
1. From
Disk Manager/Storage Management
,
find the row with the HDD to be formatted. Click the
box in the
Format
column.
2. Click the
Format
button at the bottom right corner of the screen.
3. Click
Confirm
in the
Make sure to format hard disk?
popup window.
NOTE: This will permenantly clear all saved video and images.
4. A window will pop-up and show the disk/array name and formatting progress. The system will
give an audible alarm during this process. Click
Confirm
to close the
Format Complete
pop-up
window.
5. To be safe, uncheck the
Format
box in the HDD row; click
Save
in the bottom left corner.
You MUST assign camera channels to be saved to the new array or new HDDs and
arrays, to verify the settings.
CAMERA SETUP
The Uniden ProSeries XVR recorders can record Analog/HD over Coax by connecting cameras
to the BNC inputs on the back of the recorder. The IP cameras and the XVR receiver will all have
to be in the same IP range for all the devices to be accessed remotely over the LAN. Once each
device has an individual IP address, you can open a web browser on a remote computer or device
and access the IP cameras or the recorder.
If a WiFi access point is connected to the LAN, you can connect the Uniden ProSeries
Mobile app (or via a web browser) to access the recorder and cameras remotely.
To add IP cameras (IPC) to the XVR you must enable this feature.


