


25
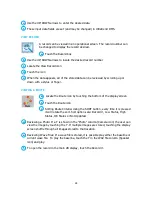
CAMERA
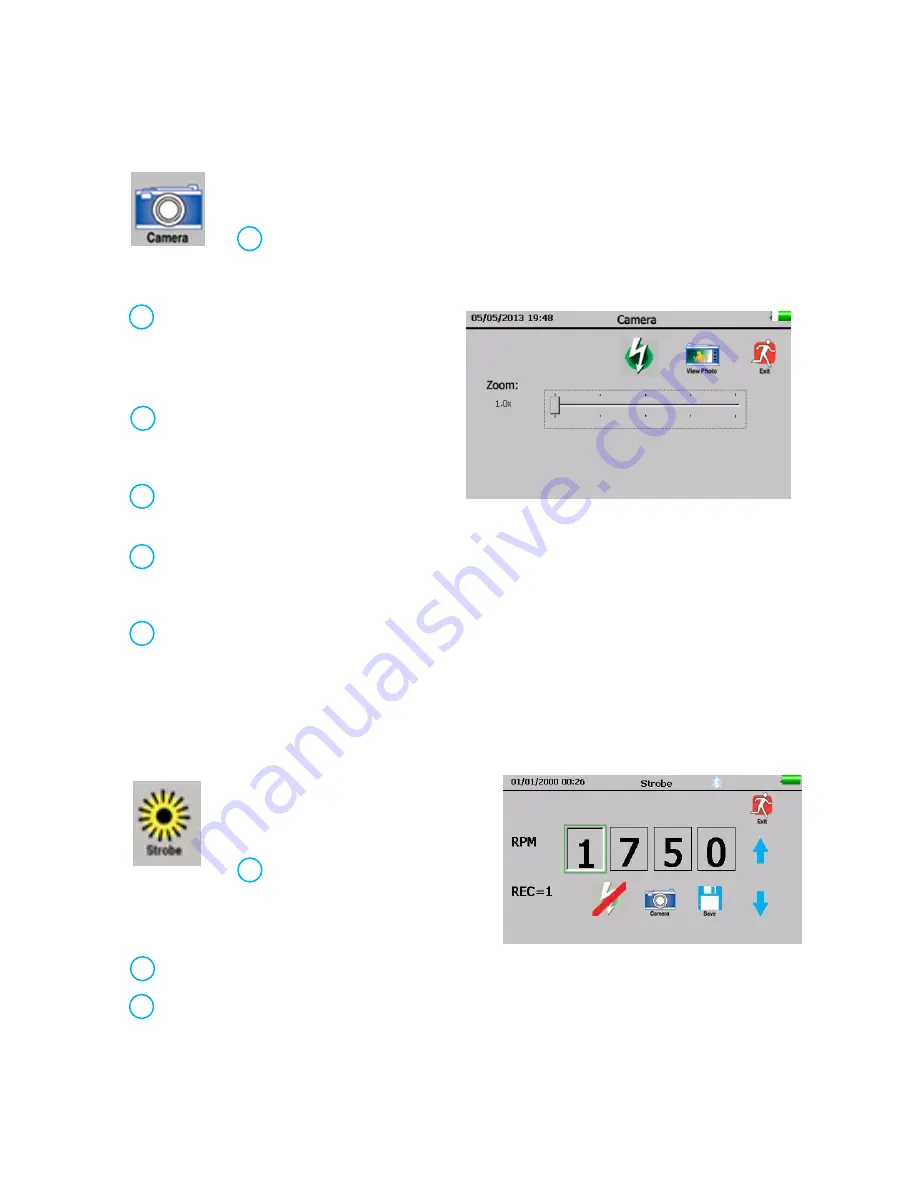
To take a photo of a test point, touch the Camera icon. The Camera screen
will show:
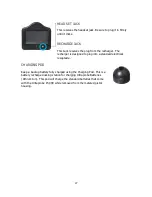
a.
Flash: On/Off: The flash is on by default. To turn the flash “Off”,
touch the flash icon. A red line will appear through the icon indicating
it is off.
b.
Zoom: To zoom in or out (up to 3X),
touch the zoom box at the desired
zoom location. The zoom level will be
displayed to the left of the zoom box.
c.
To capture a photo, touch the View
Photo icon and the image will be
shown on the screen.
d.
Touch the image screen to capture
the photo.
e.
The photo will appear with the test data superimposed on it. There will also be a
second duplicate photo without the data superimposed. Either one can be used for
reports.
f.
To save, press the Save icon. A pop-
up box will appear asking; “Save Picture?” To
sa
ve the photo, touch “Yes”. Press “No”, if is not to be saved. Touch the Exit icon to
return to previous screen without saving the image. The user can start again to
capture the desired photo.
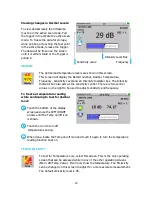
STROBE
To capture an RPM, touch the
Strobe icon. The Strobe screen
will look like this:
a.
Turn the flash feature on by
touching the flash icon with
the red dash through it. The
dash will disappear.
b.
Adjust the RPM as needed. (The max is 4000 and the min is 1)
c.
To take a picture of the asset with the RPM superimposed on the picture, touch the
Camera icon. (This is optional)


