background image

9

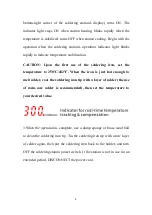
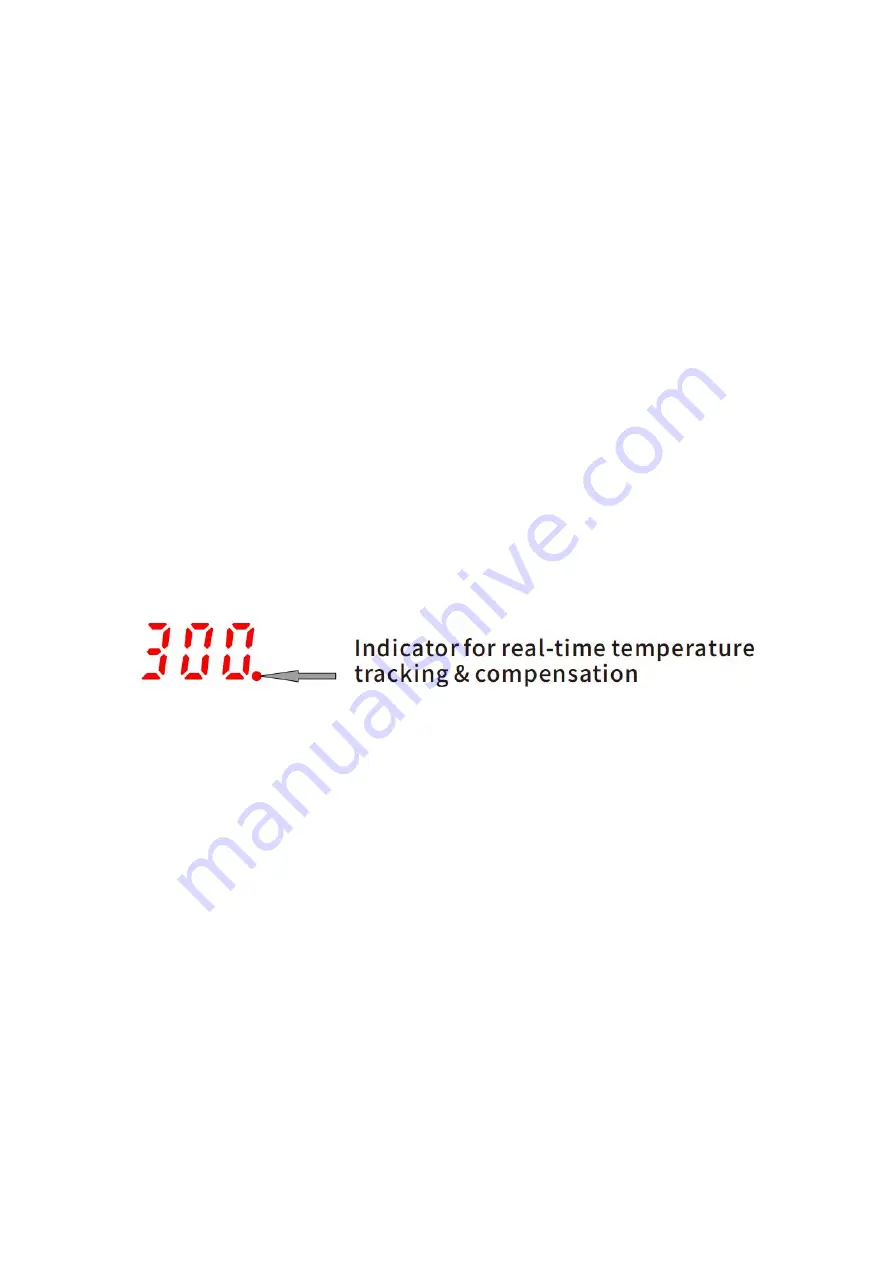
bottom-right corner of the soldering station's display) turns ON. The

indicator light stays ON when station heating, blinks rapidly when the

temperature is stabilized, turns OFF when station cooling. Begin with the

operation when the soldering station's operation indicator light blinks

rapidly to indicate temperature stabilization.

CAUTION: Upon the first use of the soldering iron, set the

temperature to 250°C/482°F. When the iron is just hot enough to

melt solder, coat the soldering iron tip with a layer of solder (the use

of rosin-core solder is recommended), then set the temperature to

your desired value.

3.When the operation is complete, use a damp sponge or brass wool ball

to clean the soldering iron tip. Tin the soldering iron tip with a new layer

of solder again, then put the soldering iron back to the holder, and turn

OFF the soldering station power switch. If the station is not in use for an

extended period, DISCONNECT the power cord.

Summary of Contents for USS-SS00002

Page 1: ...1 REWORK STATION 2 in 1 ESD Safe ...

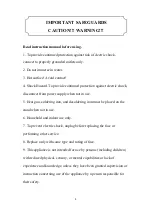
Page 2: ...e 5 Heat gun soldering iron and desoldering iron must be placed on the stand when not in use 6 Household and indoor use only 7 To prevent electric shock unplug before replacing the fuse or performing other service 8 Replace only with same type and rating of fuse 9 This appliance is not intended for use by persons including children with reduced physical sensory or mental capabilities or lack of ex...

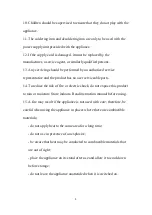
Page 3: ...rviceable parts 14 To reduce the risk of fire or electric shock do not expose this product to rain or moisture Store indoors Read instruction manual before using 15 A fire may result if the appliance is not used with care therefore be careful when using the appliance in places where there are combustible materials do not apply heat to the same area for a long time do not use in presence of an expl...

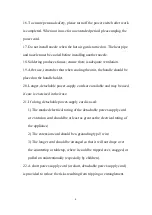
Page 4: ...ble power supply cords are available and may be used if care is exercised in their use 21 If a long detachable power supply cord is used 1 The marked electrical rating of the detachable power supply cord or extension cord should be at least as great as the electrical rating of the appliance 2 The extension cord should be a grounding type3 wire 3 The longer cord should be arranged so that it will n...

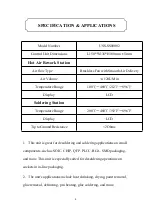
Page 5: ...lications include heat shrinking drying paint removal glue removal defrosting pre heating glue soldering and more Model Number USS SS00002 Control Unit Dimensions L150 W136 H100mm 5mm Hot Air Rework Station Air flow Type Brushless Fan with Smooth Air Delivery Air Volume 120L Min Temperature Range 100 480 212 896 Display LCD Soldering Station Temperature Range 200 480 392 896 Display LCD Tip to Gro...

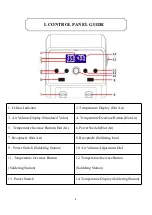
Page 6: ...ure Increase Button Hot Air 6 Power Switch Hot Air 7 Receptacle Hot Air 8 Receptacle Soldering Iron 9 Power Switch Soldering Station 10 Air Volume Adjustment Dial 11 Temperature Decrease Button Soldering Station 12 Temperature Increase Button Soldering Station 13 Power Switch 14 Temperature Display Soldering Station I CONTROL PANEL GUIDE ...

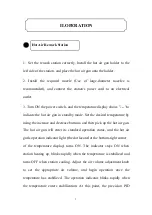
Page 7: ...crease buttons and then pick up the hot air gun The hot air gun will enter its standard operation status and the hot air gun s operation indicator light the dot located at the bottom right corner of the temperature display turns ON The indicator stays ON when station heating up blinks rapidly when the temperature is stabilized and turns OFF when station cooling Adjust the air volume adjustment kno...

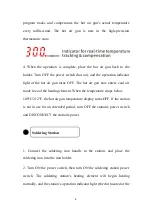
Page 8: ... cool the heating element When the temperature drops below 100 C 212 F the hot air gun temperature display turns OFF If the station is not in use for an extended period turn OFF the station s power switch and DISCONNECT the station s power 1 Connect the soldering iron handle to the station and place the soldering iron into the iron holder 2 Turn ON the power switch then turn ON the soldering stati...

Page 9: ...ering iron set the temperature to 250 C 482 F When the iron is just hot enough to melt solder coat the soldering iron tip with a layer of solder the use of rosin core solder is recommended then set the temperature to your desired value 3 When the operation is complete use a damp sponge or brass wool ball to clean the soldering iron tip Tin the soldering iron tip with a new layer of solder again th...

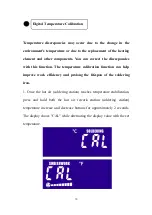
Page 10: ...ture calibration function can help improve work efficiency and prolong the lifespan of the soldering iron 1 Once the hot air soldering station reaches temperature stabilization press and hold both the hot air rework station soldering station temperature increase and decrease buttons for approximately 2 seconds The display shows CAL while alternating the display value with the set temperature Digit...

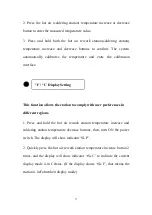
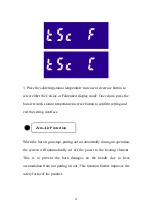
Page 11: ... function allows the station to comply with user preferences in different regions 1 Press and hold the hot air rework station temperature increase and soldering station temperature decrease buttons then turn ON the power switch The display will show indicator SLP 2 Quickly press the hot air rework station temperature increase button 2 times and the display will show indicator tSc C to indicate the...

Page 12: ...ease button to confirm setting and exit the setting interface When the hot air gun stops putting out air abnormally during an operation the system will automatically cut off the power to the heating element This is to prevent the burn damages on the handle due to heat accumulation from not putting air out This function further improves the safety factor of the product Zero Air Protection ...

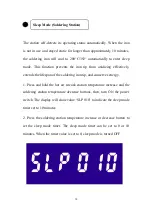
Page 13: ...he soldering iron tip and conserves energy 1 Press and hold the hot air rework station temperature increase and the soldering station temperature decrease buttons then turn ON the power switch The display will show value SLP 010 to indicate the sleep mode timer set to 10 minutes 2 Press the soldering station temperature increase or decrease button to set the sleep mode timer The sleep mode timer c...

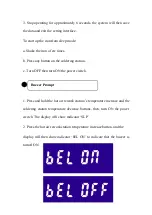
Page 14: ...ldering station c Turn OFF then turn ON the power switch 1 Press and hold the hot air rework station s temperature increase and the soldering station temperature decrease buttons then turn ON the power switch The display will show indicator SLP 2 Press the hot air rework station temperature increase button and the display will then show indicator bEL ON to indicate that the buzzer is turned ON Buz...

Page 15: ...15 3 Stop operating for approximately 6 seconds and the system will automatically save the setting and exit the setting interface ...

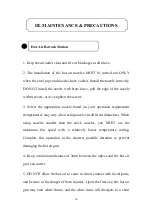
Page 16: ...en using nozzles in different diameters When using nozzles smaller than the stock nozzles you MUST use the maximum fan speed with a relatively lower temperature setting Complete this operation in the shortest possible duration to prevent damaging the hot air gun 4 Keep a minimum distance of 2mm between the object and the hot air gun s air outlet 5 DO NOT allow the hot air to come in direct contact...

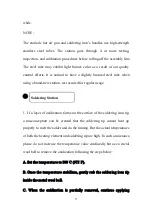
Page 17: ... a layer of oxidization forms on the surface of the soldering iron tip a misconception can be created that the soldering tip cannot heat up properly to melt the solder and do the tinning But the actual temperatures of both the heating element and soldering tip are high In such an instance please do not increase the temperature value confusedly but use a metal wool ball to remove the oxidization fo...

Page 18: ...g iron tip when soldering Doing so will not only damage the tip but also not improve the heat transfer 4 When placing the soldering iron back in the holder to idle after a high temperature operation adjust the temperature to 250 C 482 F or below for idling Failure to do so and leaving the soldering iron tip to idle on a high temperature setting will cause the accelerated aging of the heating eleme...

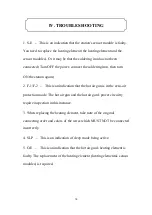
Page 19: ...on that the hot air gun is in the zero air protection mode The hot air gun and the hot air gun s power circuitry require inspection in this instance 3 When replacing the heating element take note of the original connecting order and colors of the wires which MUST NOT be connected incorrectly 4 SLP This is an indication of sleep mode being active 5 O E This is an indication that the hot air gun s h...

Page 20: ...20 Contact Feel free to visit our website www ussolid com You can email us at service ussolid com You can call one of our friendly customer service representative at 1 800 209 4177 ...

Reviews:

Related manuals for USS-SS00002