Digital Video Recorder
31
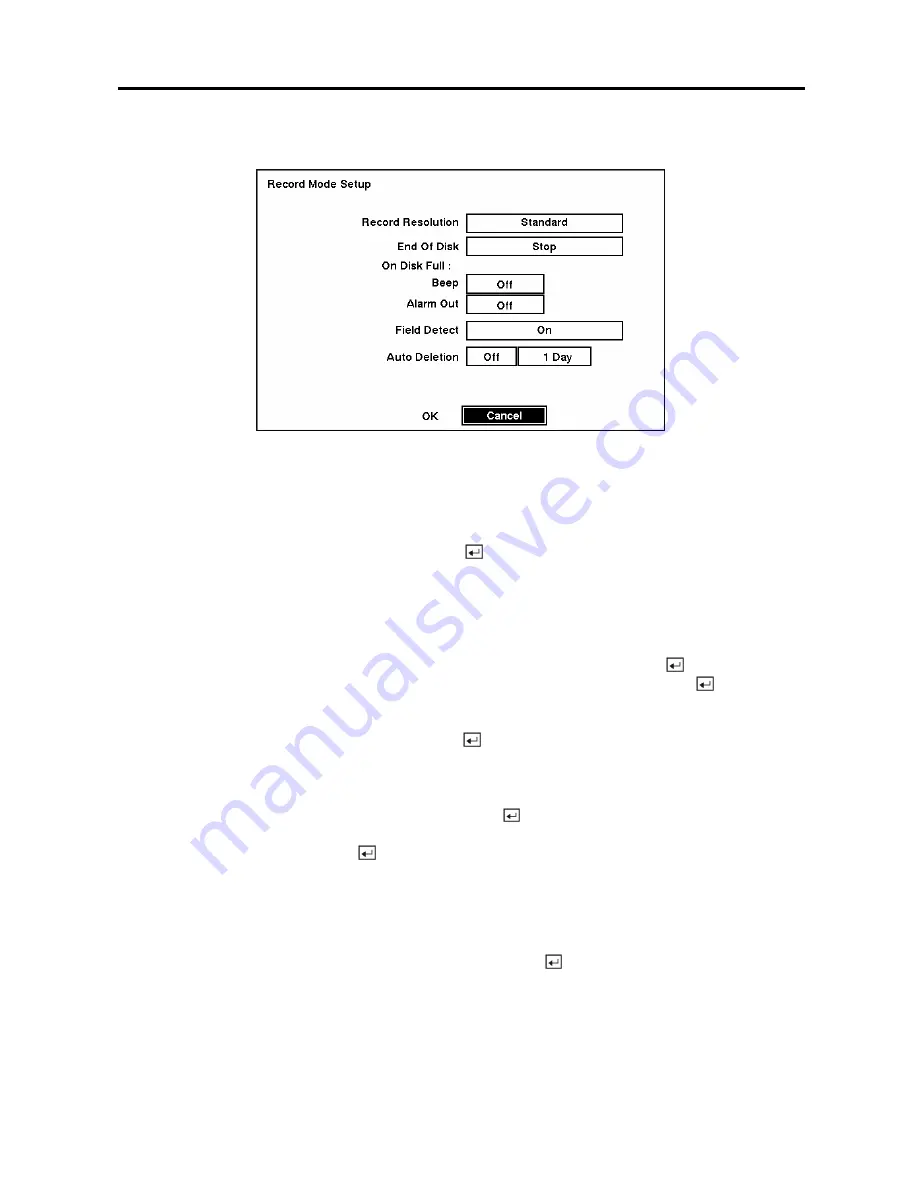
Record Mode Setup Screen
Figure 44 — Record Mode Setup screen.
Highlight the
Record Resolution
box and select from
High
and
Standard
.
All other variables being
equal; Selecting High will decrease the recording and playback speed by half than Standard.
Highlight the box beside
End Of Disk
and press the
button. This toggles between
Overwrite
and
Stop
. When in the
Overwrite
mode, the DVR continues recording when the hard disk drive is full by
overwriting the oldest video. When in the Stop mode, the DVR stops recording when the hard disk drive
is full.
If the DVR is set to the Stop mode, you can set it to beep or activate the
Alarm Out AO1
port when the
hard disk drive is full. Highlight the box beside
On Disk Full: Beep
and press the
button to toggle
between
On
and
Off
. Highlight the box beside
On Disk Full: Alarm Out
and press the
button to
toggle between
On
and
Off
.
Highlight the box beside
Field Detect
. Pressing the
button toggles between
On
and
Off
. When set to
On, the Field Detection helps prevent shaking. It does this by recording odd numbered fields from odd
numbered cameras and even numbered fields from even numbered cameras.
Highlight the first box beside
Auto Deletion
. Pressing the
button toggles between
On
and
Off
. When
set to
On
, the DVR will delete video recorded earlier than user-defined period. Highlight the second box
beside
Auto Deletion
, and press the
button to select the length of time recorded data will be kept from
1 to 99 Days.
NOTE: When the
End Of Disk
is set to
Stop
, the DVR will NOT restart recording even after the
video recorded earlier than user-defined period is deleted.
You can save your changes by highlighting
OK
and pressing the
button. Selecting
Cancel
exits the
screen without saving the changes.
Summary of Contents for ADT16E
Page 1: ......
Page 2: ......
Page 10: ...User s Manual viii...


