7
TP9KACX / TP9KSCX
Jan 2017
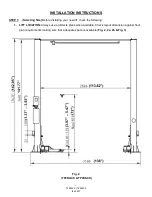
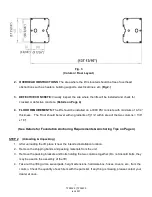
Fig. 3
(Column / Floor Layout)
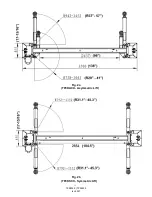
2. OVERHEAD OBSTRUCTIONS: The area where the lift is located should be free of overhead
obstructions such as heaters, building supports, electrical lines, etc. (Fig 2.)
3. DEFECTIVE CONCRETE: Visually inspect the site where the lifts will be installed and check for
cracked or defective concrete. (Details on Page 4)
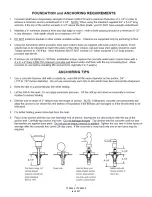
4. FLOOR REQUIREMENTS: The lift should be installed on a 3000 PSI concrete with minimum of 4-1/4”
thickness. The Floor should be level with-in gradients of
≦
1/4” within area of the two columns = 138”
x 18”).
(See Details for Foundation Anchoring Requirements & Anchoring Tips on Page 4)
STEP 2: (Unloading & Unpacking)
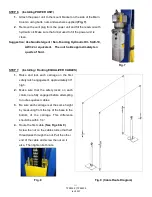
1. After unloading the lift, place it near the intended installation location.
2. Remove the shipping bands and packing materials from the unit.
3. Remove the packing brackets and bolts holding the two columns together. (Do not discard bolts, they
may be used in the assembly of the lift)
4. Take out the lifting arms, swivel pads, height extensions, hardware box, hoses, covers, etc., from the
column. Check the quantity of each item with the parts list. If anything is missing, please contact your
dealer at once.
Summary of Contents for TP9KACX
Page 4: ...4 TP9KACX TP9KSCX Jan 2017 ...
Page 6: ...6 TP9KACX TP9KSCX Jan 2017 Fig 2a TP9KACX Asymmetric Lift Fig 2b TP9KSCX Symmetric Lift ...
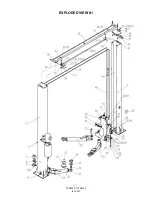
Page 21: ...21 TP9KACX TP9KSCX Jan 2017 EXPLODED VIEW 1 ...
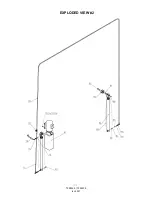
Page 22: ...22 TP9KACX TP9KSCX Jan 2017 EXPLODED VIEW 2 ...
Page 26: ...26 TP9KACX TP9KSCX Jan 2017 ...


