11
TP9KACX / TP9KSCX
Jan 2017
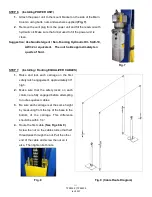
STEP 7: (Installing / Routing EQUALIZER CABLES) Cont.
5. Repeat above for the second cable.
6. Adjust each equalizer cable to approximately 1/2” side-to-side play. Ensure that each cable has
equal tension. Also, check the carriage height to ensure both carriages are sitting on the same latch.
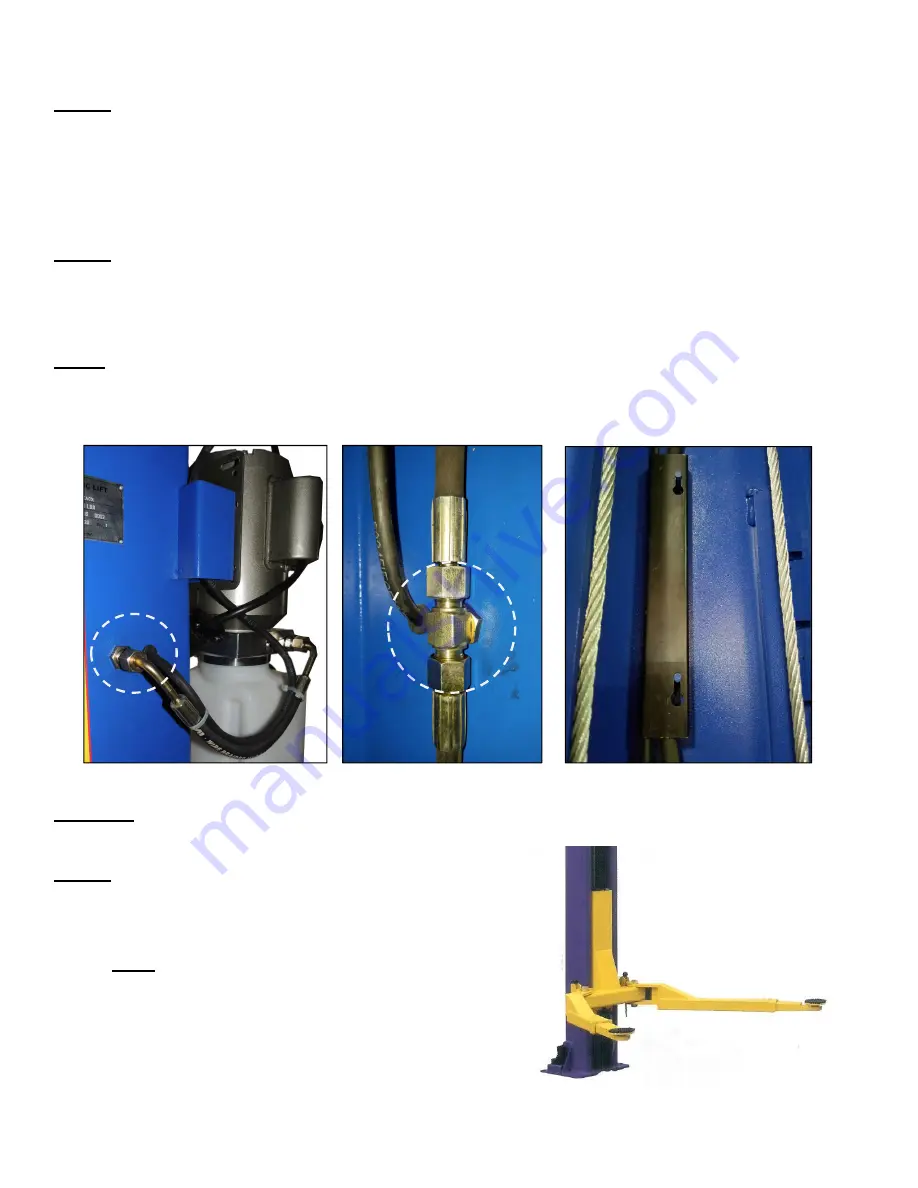
STEP 8: (Installing / Routing HYDRAULIC HOSES, HYDRAULIC FITTINGS & HOSE COVERS)
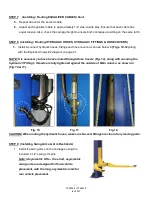
1. Install & connect hydraulic hoses, fittings and hose covers, as shown below in (Figs. 10-12) along
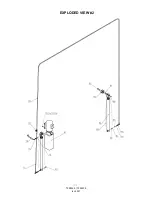
with the Exploded Views #2 diagram on page 21.
NOTE: It is necessary to have hoses routed through Hose Covers (Fig. 12), along with ensuring the
hydraulic T-Fitting’s threads are fully tightened against the outside of Main column, as shown in
(Fig. 10 & 11).
Fig. 10 Fig. 11 Fig 12.
CAUTION! When routing the hydraulic hoses, make sure hoses & fittings are clear of any moving parts.
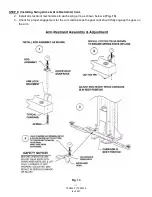
STEP 9: (Installing Swing Arms & Arm Restraints)
1. Install the swing arms on the carriages using the
included 1-1/2” swing arm pins.
Note: (Asymmetric Lifts – the short, asymmetric
swing arms are designed for front vehicle
placement, with the long, asymmetric arms for
rear vehicle placement.
Summary of Contents for TP9KACX
Page 4: ...4 TP9KACX TP9KSCX Jan 2017 ...
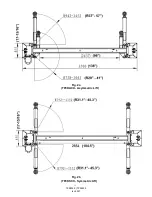
Page 6: ...6 TP9KACX TP9KSCX Jan 2017 Fig 2a TP9KACX Asymmetric Lift Fig 2b TP9KSCX Symmetric Lift ...
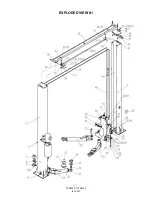
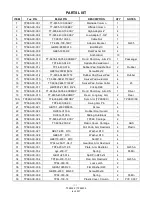
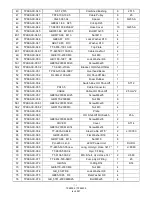
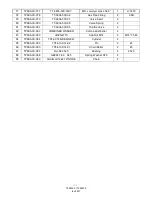
Page 21: ...21 TP9KACX TP9KSCX Jan 2017 EXPLODED VIEW 1 ...
Page 22: ...22 TP9KACX TP9KSCX Jan 2017 EXPLODED VIEW 2 ...
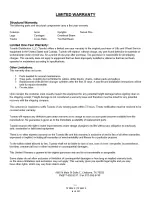
Page 26: ...26 TP9KACX TP9KSCX Jan 2017 ...


