10
FILAMENT SENSOR
The filament sensor detects if the 3D printer has enough filament to print. If it doesn’t, it will stop the printing process
and will make it possible to change it in order to continue the printing process. Please, make sure that your filament
detector is active (check the
Activate Filament Detector table down below).
When there is no filament, a new tab will appear on Repetier Server. You will be able to cancel the print or to turn off
the detection and change the filament. If you decide to change the filament, please follow the steps indicated in the
Filament Changing Process table.
Once you have followed the steps, you can continue with the printing process. By turning off the sensor you will go back
to the main screen, where it is possible to keep interacting with the printer. By selecting the option “Cancel printing”,
the printing will stop.
A blue light will appear on the sensor if the filament has been put on. If the light doesn’t work, please replace the sensor.
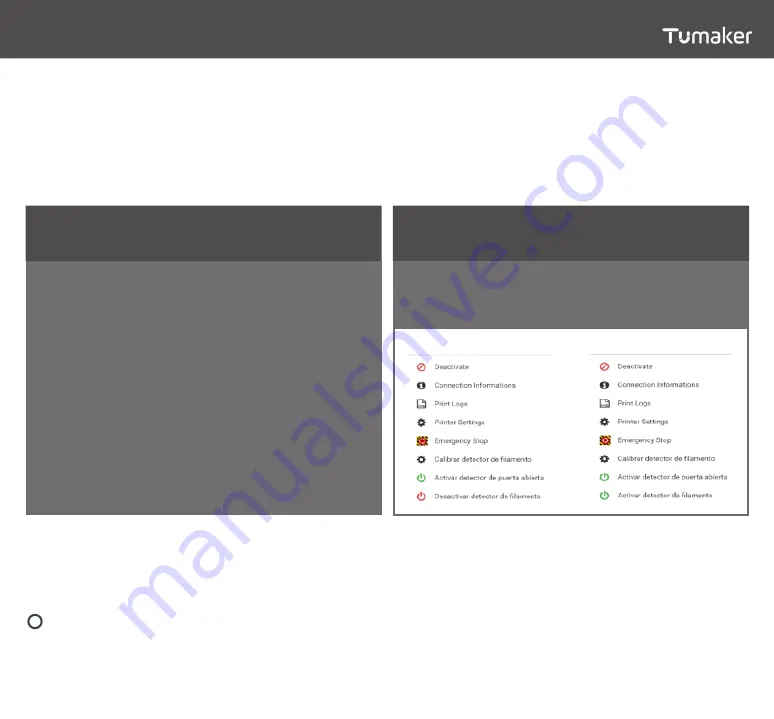
Deactivated
Activated
FILAMENT CHANGING PROCESS
ACTIVATE FILAMENT DETECTOR
1. Go to the Temperature Control on Repetier Server
2. Press “Advanced Options”
3. Press “Activate Filament Detector”
1. The printer detects that there is no filament left
2. The printer will automatically remove the remaining
filament
3. The printer will no longer heat the nozzle
4. Please, remove the spool carefully
5. Select the following material in the menu display
and press “Next Button”
6. Wait until the temperature is stable
7. Introduce the filament on the extruder through the
filament sensor
8. Press “Next Button” and the engines of the extruder
will push the filament to the tip
9. Wait until the engines stop
10. Press “Continue Printing”
IMPORTANT NOTE


