16
Triple Solar assembly instruction PVT heat pump panels UK January 2021
C
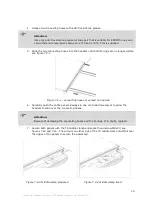
8. Repeat steps 1 through step 7 until the entire row of panels is in place.
9. When all TS end clamps and TS middle clamps are in place, the TS anti-slip bolt can be
removed.
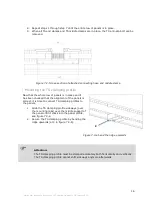
Figure 7.2-f cross-section of attached connecting hose and middle clamp.
Mounting the TS clamping profile
Now that the whole row of panels is in place and it
has been checked that the alignment of the panels is
correct, it is time to connect TS clamping profiles to
the panels.
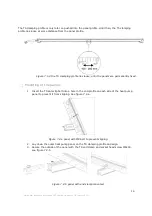
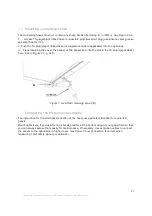
1. Slide the TS clamping profile sideways (over
the mounting rails) over the middle support of
the panel until it clicks into the panel profile,
see figure 7.3-a.
2. Secure the TS clamping profile by bending the
ridge upwards (at C in figure 7.4-b).
Attention:
The TS clamping profile must be clamped accurately both horizontally and vertically.
The TS clamping profile cannot shift sideways anymore afterwards.
Figure 7.3-a bend the ridge upwards

