


88
1.
Plug in the power adaptor while pressing the Init button until LED indicators of
Power, USB1 and USB2 blink. (For TRENDnet 301, only USB1 LED will blink.)
Please note that after that, the Server will operate using the factory
default values after restarting, i.e., your Server’s configuration will
recover to Factory Default values.
2.
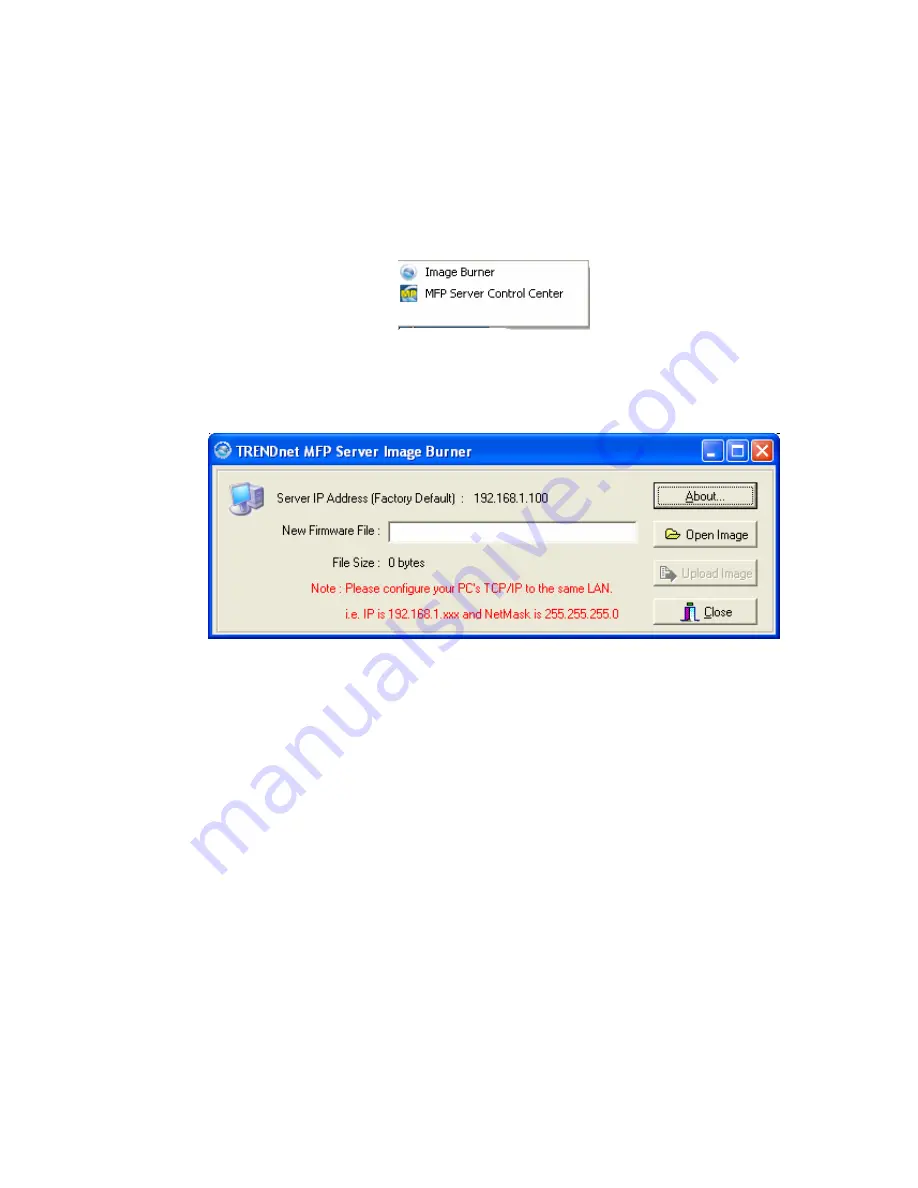
Start the TFTP client Tool: Image Burner
3.
Click Open Image to open your new firmware. Please note that you must
configure your PC’s TCP/IP such that PC and the Server belong to the same LAN,
i.e. PC’s IP is 192.168.1.xxx and subnet mask is 255.255.255.0.
4.
Click Upload Image.
5.
Wait for Image Uploading to finish and then click Close.
6.
Plug-off the power adapter and then plug-in the power adapter to restart the
Server.
Summary of Contents for TE100-MP1U - Multi-Function Print Server
Page 1: ...1...
Page 4: ...4 CHAPTER14 UPGRADE FIRMWARE 86 CHAPTER15 THE INIT BUTTON 89...
Page 11: ...11 8 If the wireless network is secured by WPA PSK TKIP the shared key must be set correctly...
Page 15: ...15 7 If the wireless network is secured by WPA PSK TKIP the shared key must be set correctly...
Page 27: ...27 9 Click Finish...
Page 37: ...37 5 Click Next and then continue Windows Add Printer Wizard...
Page 45: ...45 8 Click Finish button...
Page 80: ...80...
Page 91: ......


