


56
operation is a software operation that simulates the disconnection of the USB device.
Once the connect operation is successful, the operations to use that USB device are
just the same as if the USB device is directly connected to the PC.
If a USB device is “connected” by a PC, we say that PC has the ownership of the USB
device. Only one PC can get the ownership of a USB device at the same time.
For printers, users can mix print jobs with traditional printing protocols, such as LPR or
SMB or IPP, and with the NetUSB printing, as long as the printer is in “disconnect”
state (that is, no PC get the ownership of that printer.) when a print job with traditional
protocols occurs. For USB storage, if the storage access mode is in NetUSB mode,
users can only use NetUSB technology to access storage. On the other hand, if the
storage access mode is in server mode, users can only use FTP or SMB to access
storage.
7.3 How
to
Use
7.3.1 Remote
Installation
Here we will describe how to use the NetUSB technology to do “remote installation” for
a USB device. Before using the NetUSB technology, you must first make sure that your
PC can access USB MFP Server via TCP/IP. The simplest way to do this is using “Control
Center” to search for the USB MFP Server on the network and change its IP address to
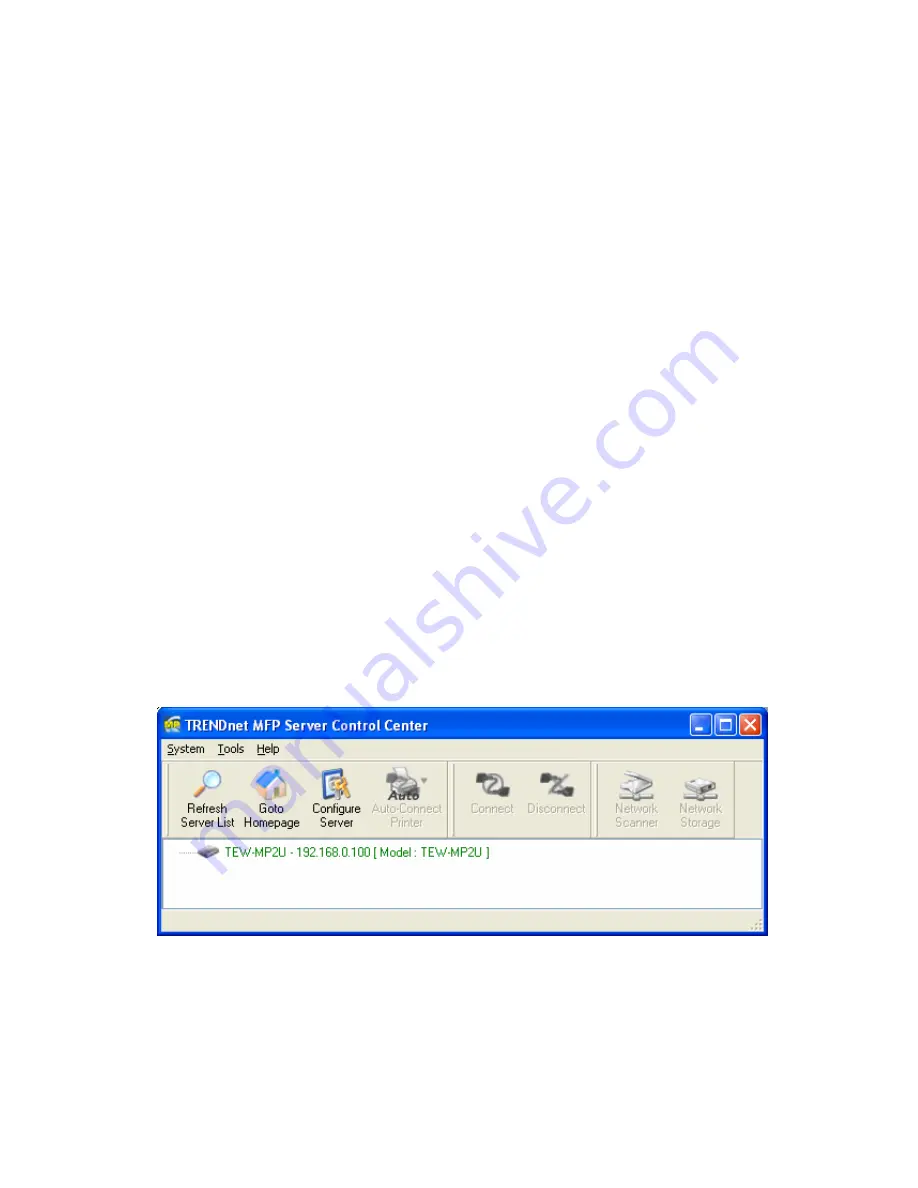
be the same subnet as your PC. If the MFP Server and your PC are not in the same
TCP/IP subnet, Control Center will show the MFP Server in green, as the following
figure. You must change the IP address (or using DHCP) of the MFP Server so that the
MFP Server and your PC are in the same subnet. Control Center will show these MFP
Servers in blue, meaning you can safely access these MFP Servers by the NetUSB
technology.
The steps to do remote installation for USB devices, like MFPs:
A.
Turn on the TE100-MP1U/TE100-MP2U/TEW-MP2U and the USB device.
B.
Connect the USB device to TE100-MP1U/TE100-MP2U/TEW-MP2U. The LED of the
USB port will light-on.
C.
Run the Control Center. In the “USB MFP Server List” window, you can see the
server names and IP addresses all of the TE100-MP1U/TE100-MP2U/TEW-MP2U
Servers (in blue) on the network, as the following figure.
Summary of Contents for TE100-MP1U - Multi-Function Print Server
Page 1: ...1...
Page 4: ...4 CHAPTER14 UPGRADE FIRMWARE 86 CHAPTER15 THE INIT BUTTON 89...
Page 11: ...11 8 If the wireless network is secured by WPA PSK TKIP the shared key must be set correctly...
Page 15: ...15 7 If the wireless network is secured by WPA PSK TKIP the shared key must be set correctly...
Page 27: ...27 9 Click Finish...
Page 37: ...37 5 Click Next and then continue Windows Add Printer Wizard...
Page 45: ...45 8 Click Finish button...
Page 80: ...80...
Page 91: ......


