TL-WR841N/TL-WR841ND
300Mbps Wireless N Router User Guide
- 66 -
¾
Time
- Select "24 hours", or specify the Start Time and Stop Time yourself.
¾
Start Time
- Enter the start time in HHMM format (HHMM are 4 numbers). For example 0800
is 8:00.
¾
Stop Time
- Enter the stop time in HHMM format (HHMM are 4 numbers). For example 2000
is 20:00.
4. Click
Next
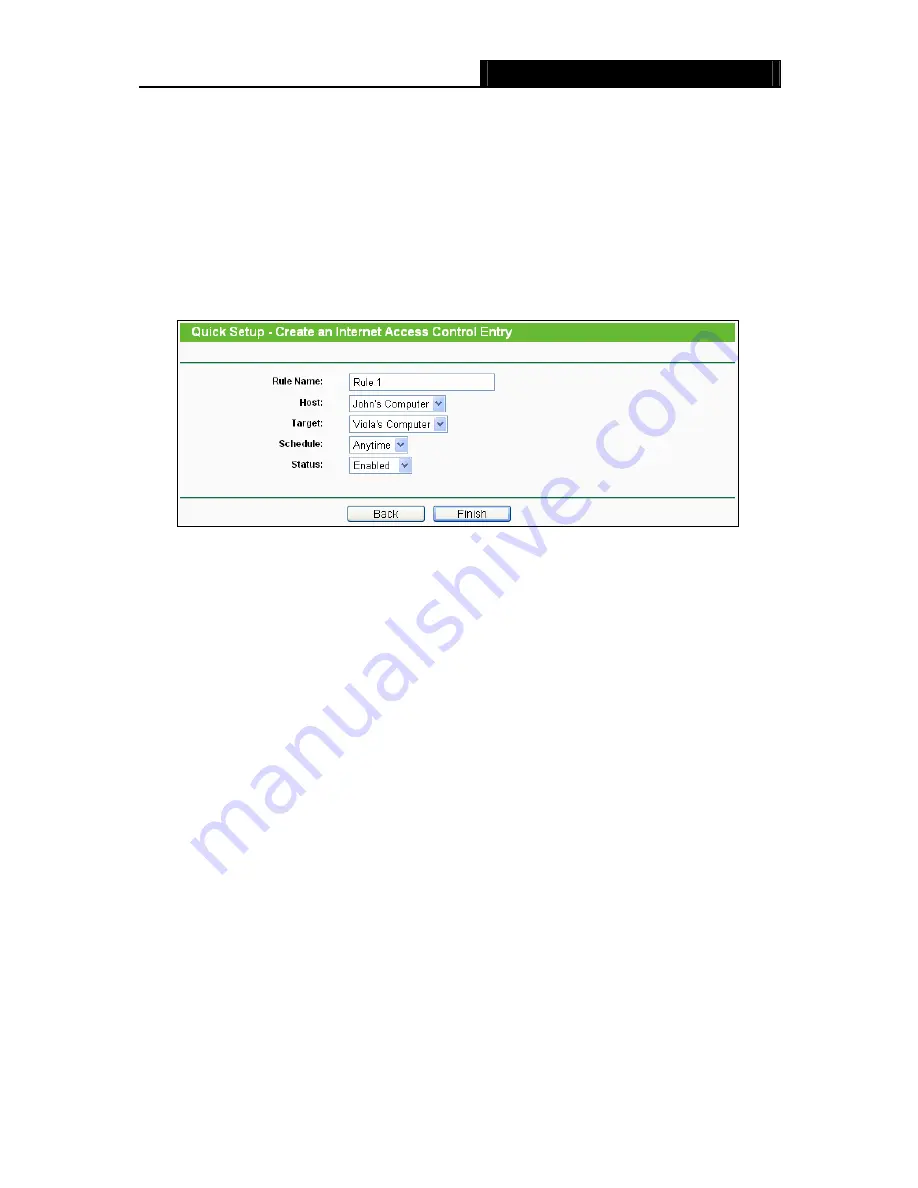
when finishing creating the advanced schedule entry, and the next screen will
appear as shown in Figure 4-51.
Figure 4-51 Quick Setup – Create an Internet Access Control Entry
¾
Rule
- In this field, create a name for the rule. Note that this name should be unique (e.g.
Rule_1).
¾
Host
- In this field, select a host from the drop-down list for the rule. The default value is the
Host Description
you set just now.
¾
Target
- In this filed, select a target from the drop-down list for the rule. The default value is
the
Target Description
you set just now.
¾
Schedule
- In this field, select a schedule from the drop-down list for the rule. The default
value is the
Schedule Description
you set just now.
¾
Status
- In this field, there are two options,
Enabled
or
Disabled
. Select
Enabled
so that the
rule will take effect. Select
Disabled
so that the rule won't take effect.
5. Click
Finish
to complete adding a new rule.
Method Two:
1. Click
the
Add New…
button and the next screen will pop up as shown in Figure 4-52.
2. Give a name (e.g. Rule_1) for the rule in the
Rule Name
field.
3. Select a host from the
Host
drop-down list or choose “
Click Here To Add New Host List
”.
4. Select a target from the
Target
drop-sown list or choose “
Click Here To Add New Target
List
”.


