


23
Chapter 4
Configure the Access Point
3. Within two minutes, press the WPS button on your client device.
4. A success message will appear on the WPS page if the client device has been successfully
added to the access point’s network.
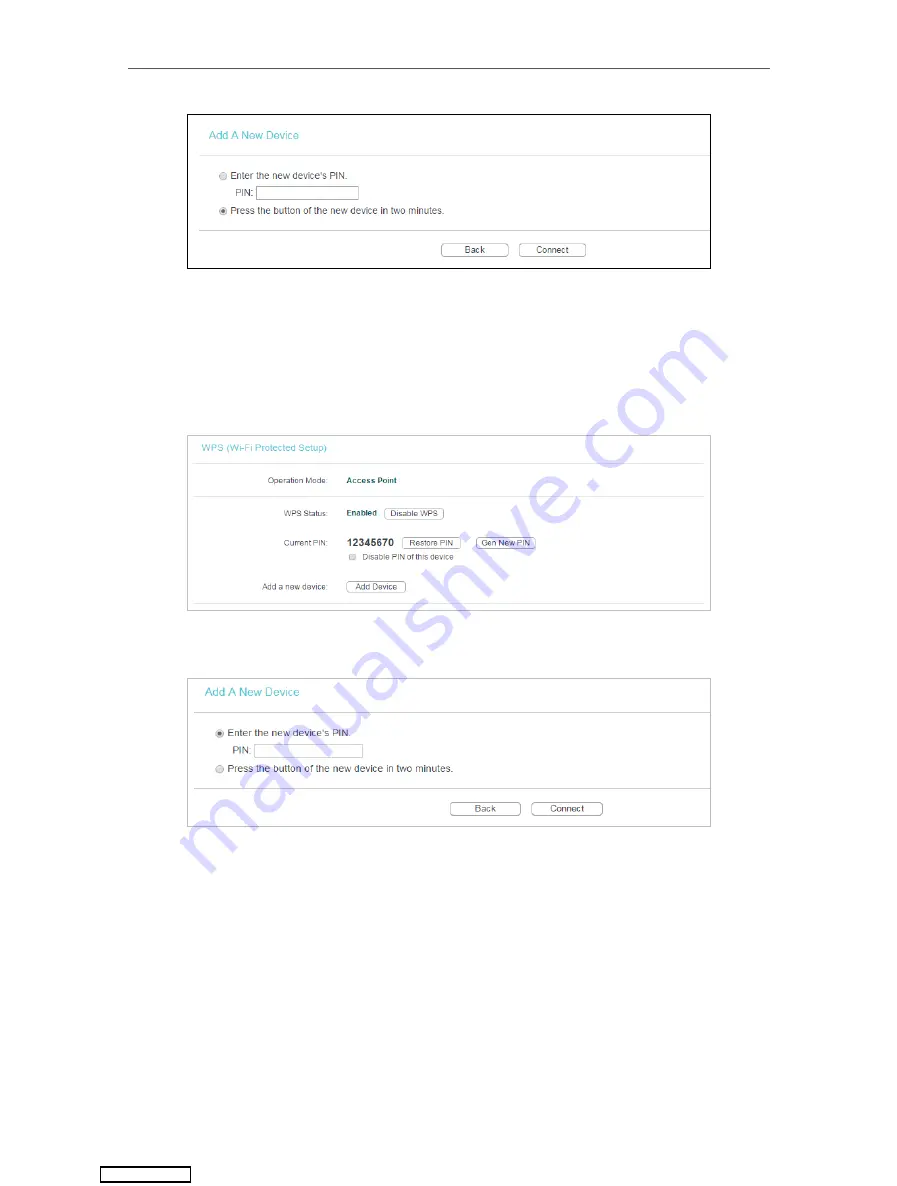
Method TWO: Enter the Client’s PIN
1. Keep the WPS Status as
Enabled
and click
Add Device
.
2. Select
Enter the new device’s PIN
, enter your client device’s current PIN in the
PIN
filed and
click
Connect
.
3. A success message will appear on the WPS page if the client device has been successfully
added to the access point’s network.
Method Three: Enter the Access Point’s PIN
1. Keep the WPS Status as
Enabled
and get the
Current PIN
of the access point.
Downloaded from