RemotEye® ESS Instruction Manual
– 201791-002
5
Step 2: Locate the RemotEye® ESS IP Address
*Make sure your computer is on the same LAN as the RemotEye® ESS*
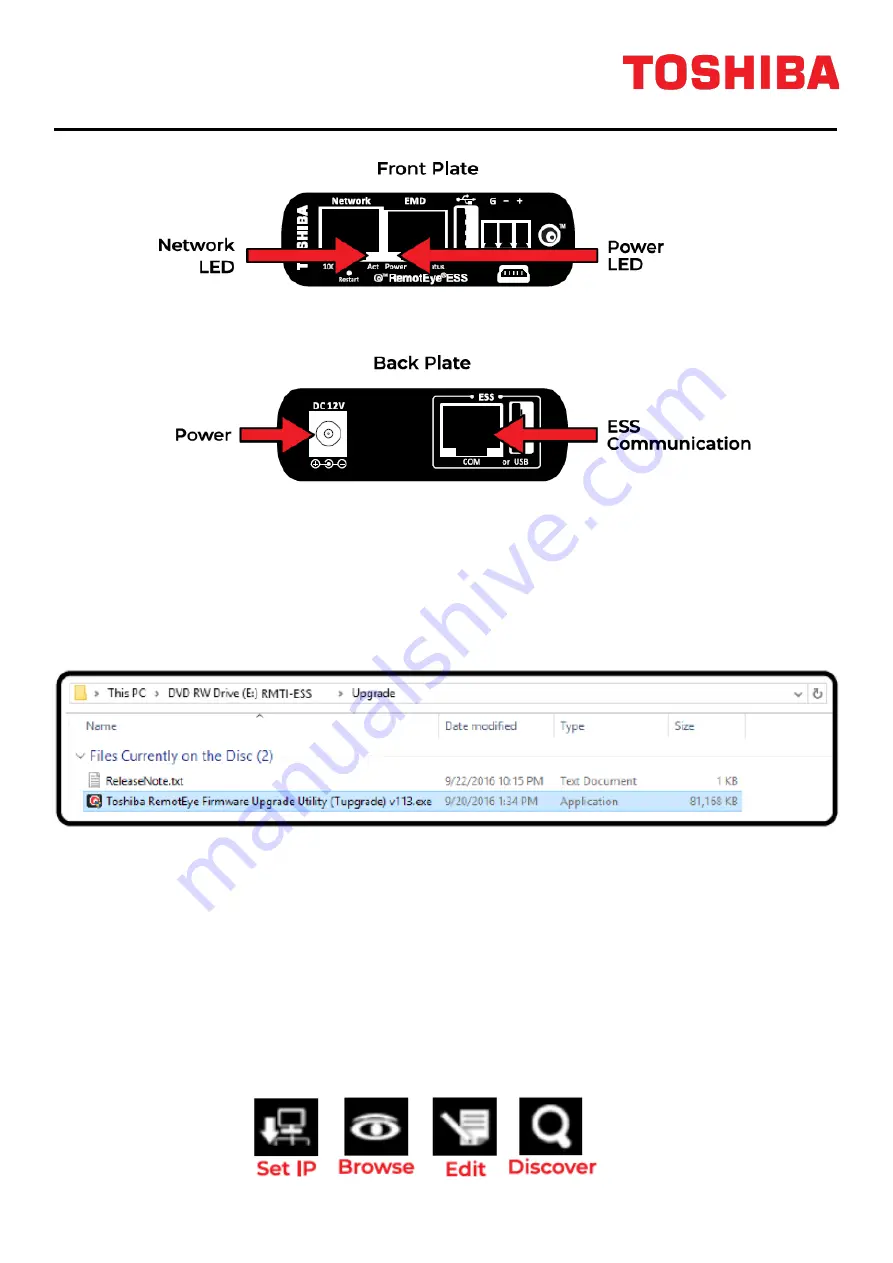
a.) Insert the RemotEye® ESS start-up CD into your computer and locate the Tupgrade application found in
the "Upgrade" folder. If a CD reader is not available go to "www.ToshibaUPS.com > Toshiba RemotEye
ESS > View Technical Downloads > Software > Toshiba RemotEye Firmware Upgrade Utility (Tupgrade)
Version X.XX" to download it.
b.) Once Tupgrade is installed and open, click "Discover" on the top right and wait while Tupgrade locates
all RemotEye® units on your current network.
c.) Compare the MAC Addresses in the list, then locate and note your RemotEye® ESS's IP Address.
When connecting the RemotEye to an enabled DHCP network, there is no need to adjust the IP
settings. If you wish to have a static IP address assigned to RemotEye or if you do not have a DHCP
server, continue on this step. If NOT, go to step 3.
d.) Select the RemotEye® ESS you would like to change the IP Address of, and click "Edit". If you have not
already changed the default account values, enter the following Account :TOSHIBA Password: ADMIN, and
click "OK". Now you can click "Set IP" and adjust the IP Address of your RemotEye®. Please wait until the
IP Address updates in the RemotEye® list before you move on to step 3.
Tupgrade Button Legend:
Summary of Contents for RemotEye ESS
Page 2: ......
Page 16: ...10 RemotEye ESS Instruction Manual 201791 002 ...
Page 35: ...RemotEye ESS Instruction Manual 201791 002 29 ...
Page 82: ...76 RemotEye ESS Instruction Manual 201791 002 ...
Page 83: ...RemotEye ESS Instruction Manual 201791 002 77 This Page Left Intentionally Blank ...
Page 84: ......
Page 85: ......


