No.
3
Part name
Inverter
assembly
Procedure
1.
Detachment
1)
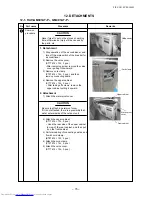
Perform work of item 1 of
1
.
2)
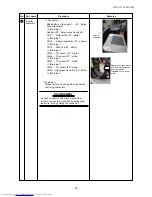
Take off screws of the upper part of the front
cabinet. (ST1T Ø4 ×
10
L, 2 pcs.)
•
If removing the inverter cover under this
condition, P.C. board can be checked.
•
If there is no space in the upper part of the
upper cabinet, perform work of
2
.
CAUTION
Be careful to check the inverter because high-
voltage circuit is incorporated in it.
WARNING
Remarks
Screws
Front panel
Never disassemble the inverter for 1minute after
power has been turned off because an electric
shock may be caused.
3)
Perform 1 of
2
.
4)
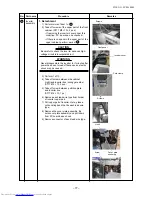
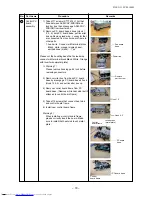
Take off screw between side cabinet
(
right
)
and inverter box
(
wiring gate side
)
(
ST1T
Ø4
×
10
, 2
pcs.
)
5)
Take off screw between partition plate
and inverter box.
(
ST1T
Ø4
×
10
, 1
pc.
)
6)
Remove each lead wire type from holder
of inverter upper part.
7)
Pull upper part of inverter. Here, please
cut bundling band that tie each lead wire
type.
8)
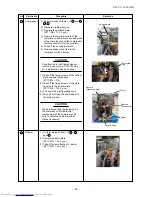
Remove the cover plate assembly. By
hold cover plate assembly and pull down
from PC board base’s hook.
9)
Remove connector of each lead wire type.
Inverter cover
FILE NO. SVM-18042
Cord clamp
Screws
Hook
Cover plate
assembly
Screw
–
7
7
–

