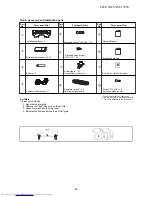
CAUTION
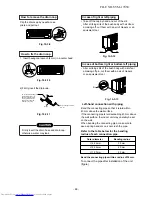
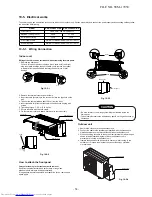
Fig. 10-3-9
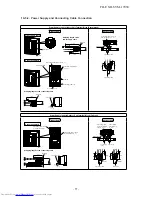
How to
fix the drain cap
1. Insert hexagonal wrench (4 mm) in a center head.
Fig. 10-3-10
Fig. 10-3-11
Fig. 10-3-12
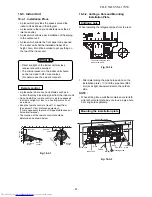
• Take off the cap by hand and cut of the slit.
After scribing slits of the bush body with a knife or
a making-off, cut them with a pair of nippers or an
equivalent tool.
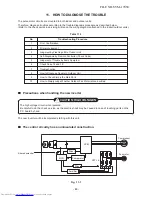
CAUTION
Firmly insert the drain hose and drain cap;
otherwise, water may leak.
In case of right or left
piping
•
• Arter scribing slits of the bush body with a knife or
a making-off pin, cut them with a pair of nippers
or an equivalent tool.
In case of bottom right
or bottom left piping
Fig. 10-3-1
3
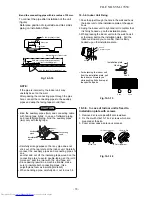
Left-hand connection with piping
Bend the connecting pipe so that it is laid within
43 mm above the wall surface.
If the connecting pipe is laid exceeding 43 mm above
the wall surface, the indoor unit may unstably be set
on the wall.
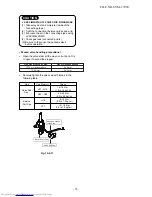
When bending the connecting pipe, make sure to
use a spring bender so as not crush the pipe.
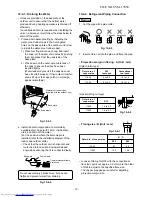
Refer to the table below for the bending
radius of each connection pipe.
Outer diameter
∅
6.35 mm
∅
9.52 mm
∅
12.7 mm
Bending radius
30 mm
40 mm
50 mm
Bend the connecting pipe within a radius of 30 mm.
To connect the pipe after installation of the unit
(figure)
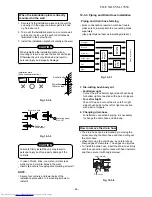
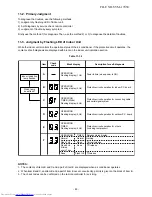
Clip the drain cap by needle-nose
pliers and pull out.
How to remove the drain cap
2) Firmly insert the drain cap.
Do not apply lubricating oil
(refrigerant machine oil)
when inserting the drain
cap. Application causes
deterioration and drain
leakage of the plug.
Insert a hexagon wrench
(4 mm).
No gap
Slit
Slit
Cap
FILE NO. SVM-17050
- 69 -


