


5.SAVING COPIED DATA AS A FILE
Copying and Saving as a File 123
SA
VING COPIED DA
TA AS A FILE
3
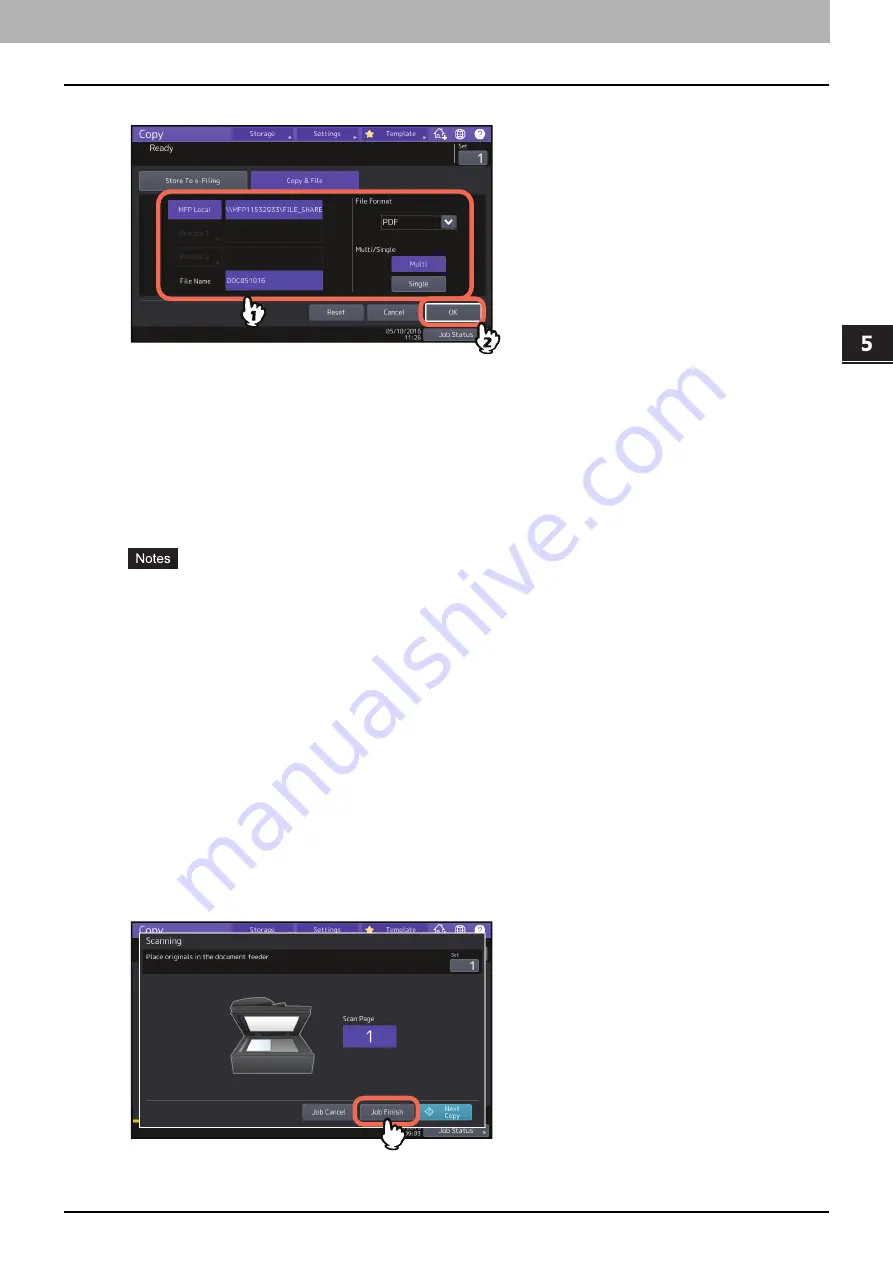
Enter file information and press [OK].
MFP Local:
Press this to store the data into the share folder of this equipment.
Remote 1, Remote 2:
Press either of them to store the data into the share folder of a PC that is connected with
this equipment via a network.
File Name:
Then enter the file name within 128 letters.
File Format:
Select the file format in which the data are stored from PDF, TIFF or XPS.
Multi / Single:
If you select [Multi], all the scanned data will be stored as one file. If you select [Single], a folder
is created and each page of the scanned data will be stored individually as one file in the folder.
You can select up to 2 of [MFP Local], [Remote 1] and [Remote 2]. You can cancel the selected item by pressing
the same button again.
When a user who has the privilege of changing the setting of [Remote 1] and [Remote 2] has pressed either of
them, the menu for specifying a directory appears. In this case, see the following page to specify the directory:
The trailing characters in a file name (maximum 74) may be deleted depending on the type of letters used.
4
Press the [START] button on the control panel.
When the original is placed on the ADF, copying and storing start simultaneously.
When the original is placed on the original glass, follow the procedure below.
5
Place the next original on the original glass, and then press [Next Copy] on the touch panel or the
[START] button on the control panel.
Repeat this step until the scanning of all the originals is finished.
6
When all have been scanned, press [Job Finish] on the touch panel.
Copying and storing start.
Summary of Contents for e-studio 2000ac
Page 1: ...MULTIFUNCTIONAL DIGITAL COLOR SYSTEMS MULTIFUNCTIONAL DIGITAL SYSTEMS Copying Guide ...
Page 8: ...8 CONTENTS ...
Page 18: ...1 BEFORE MAKING COPIES 18 Before Using Copier Functions ...
Page 126: ...5 SAVING COPIED DATA AS A FILE 126 Copying and Saving as a File ...
Page 130: ...130 INDEX ...


