


65
Connecting your TV
To close Photo Frame
1
Press
EXIT
�
Setting the features
In the preview screen, you can set various settings for
Photo Frame�
Photo Select
1
From the
Photo Frame Setup
menu, press
s
or
r
to select
Photo Select
and press
OK
�
Photo Frame Setup
Photo Select
Photo Edit
Settings
Start
OK Enter
2
If the device selection screen appears, press
s
or
r
to select the appropriate device and press
OK
�
3
Press
s
,
r
v
or
w
to select the photo you want
to copy from the USB storage device or DLNA
CERTIFIED™ server to the TV’s flash memory and
press
OK
�
Photo Edit
1
Press
s
or
r
to select
Photo Edit
and press
OK
�
2
Press
s
or
r
to select
Rotate
or
Delete
�
OK
Photo Edit
Rotate
Delete
Enter
3
Set the following items as desired�
Rotate
: Press
OK
to rotate the image 90° clockwise�
Delete
: Press
s
or
r
to select
Delete
and tpress
OK
�
A confirmation message will appear. Select
Yes
, and press
OK
�
4
Press
BACK
�
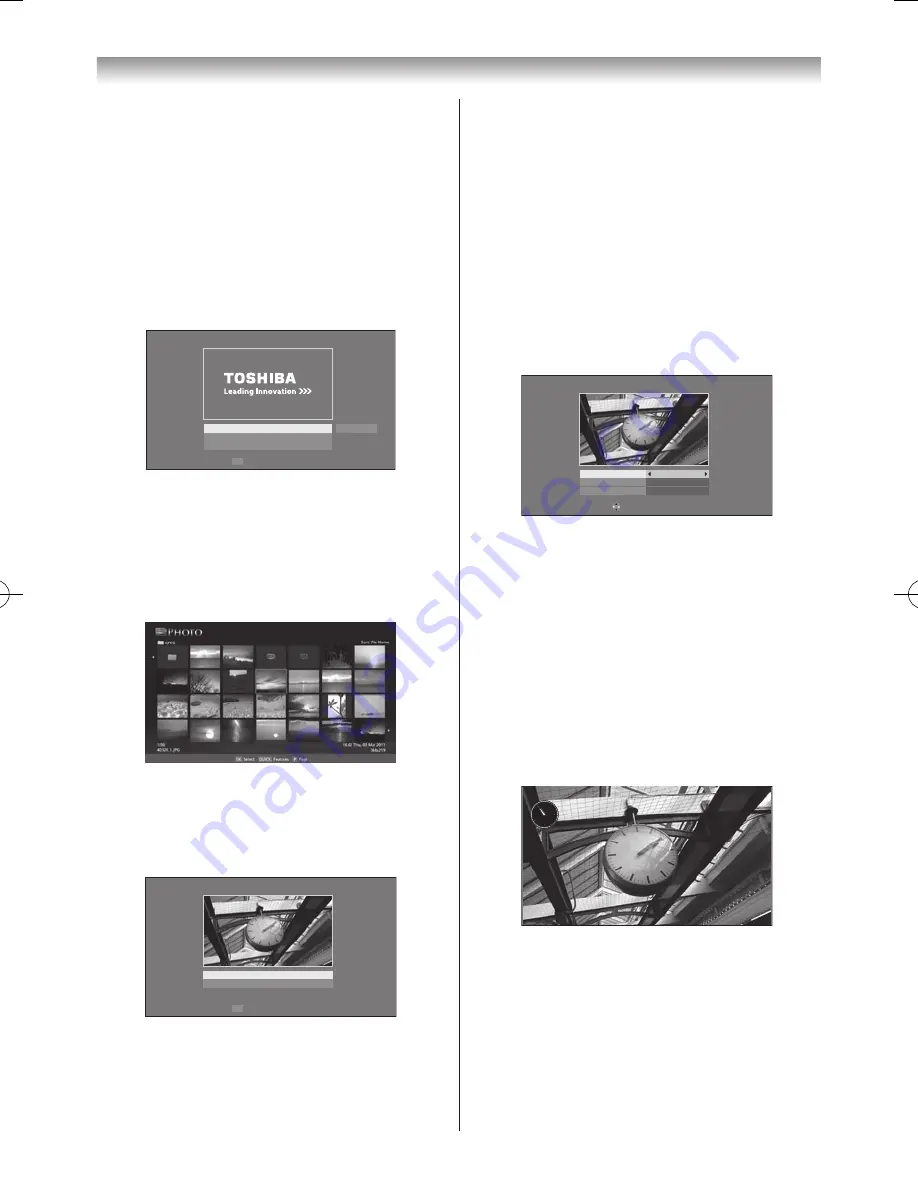
Settings
1
Press
s
or
r
to select
Settings
and press
OK
�
2
Press
s
or
r
to select
Clock
,
Position
or
Auto
Power Off
�
Settings
f
f
O
k
c
o
l
C
Left
Off
Position
Auto Power Off
Edit
3
Set the following items as desired�
Clock
: Press
v
or
w
to select
Off
,
Digital Clock
,
Analogue Clock
or
An Digital
�
Position
: Press
v
or
w
to select
Left
or
Right
�
Auto Power Off
: Press
v
or
w
to select
Off
,
00:30
,
01:00
,
02:00
,
04:00
,
06:00
or
12:00
�
If Photo Frame is started and left active, the TV will
automatically turn off after the set length of time
(maximum 12 hours)�
4
Press
BACK
�
5
Select
Start
and press
OK
�
Apr/26 (Tue)
AM 10:53
Notes:
•
The clock display will only appear when time from
a digital broadcast is available.
•
The photo and settings items are moved by 4 dots
every 5 minutes to prevent screen burn-in.
•
The pre-installed photo file is stored in the TV’s
flash memory before shipment.
•
Depending on the video resolution of the file,
Picture Size
may be greyed out.
110809c1_324246SL800A_En.indb 65
11.8.9 9:05:09


