1
Operator’s Manual
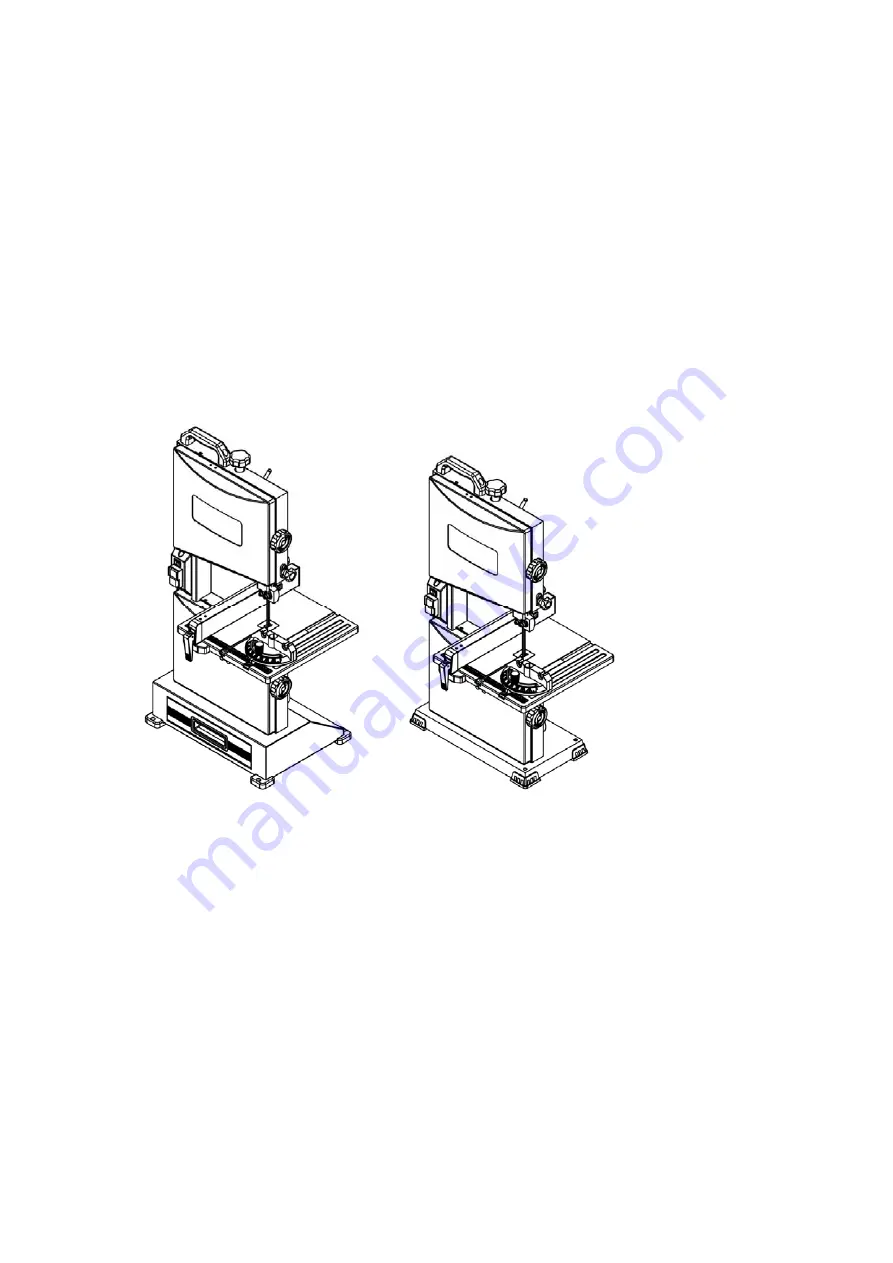
Band Saw
CAUTION
: Read and follow all Safety Rules
and Operating Instructions before First Use
of this Product. Keep this manual with tools.
1612-MJ9-B/J
Page 1: ...1 Operator s Manual Band Saw CAUTION Read and follow all Safety Rules and Operating Instructions before First Use of this Product Keep this manual with tools 1612 MJ9 B J ...
Page 2: ...2 TABLE OF CONTENTS Product Specifications 3 Safety 3 Accessories and Attachments 6 Carton Contents 6 Installation 8 Adjusting 10 Operation 13 Maintenance 15 Assembly Diagram 16 ...
Page 3: ...re is risk to cause fire or explosion 3 Guard against electric shock Avoid body contact with earthed or grounded surfaces e g pipes radiators ranges refrigerators 4 Keep children away Do not let visitors touch the tool or extension cord All visitors should be kept away from work area 5 Store idle tool When not in use tools should be stored in a dry high of locked up place out of reach of children ...
Page 4: ... common sense Do not operate tool when you are tired 20 Check damaged parts Before further use of tool a guard or other part that is damaged should be carefully checked to determine that it will operate properly and perform its intended function Check for alignment of moving parts free running of moving parts breakage of parts mounting and any other conditions that may should be properly repaired ...
Page 5: ...e proper circuit protection Use a separate electrical circuit for your tools To avoid shock or fire if power cord is worn or cut or damaged in any way have it replaced immediately GROUNDING INSTRUCTIONS WARNING This tool must be grounded while in use to protect the operator from electrical shock IN THE EVENT OF A MALFUNCTION OR BREAKDOWN grounding provides a path of least resistance for electric c...
Page 6: ... will cause a drop in line voltage resulting in loss of power and cause overheating Be sure your extension cord is properly wired and in good condition Always replace a damaged extension cord or have it repaired by a qualified person before using it Protect your extension cords from sharp objects excessive heat and damp or wet areas ACCESSORIES AND ATTACHMENTS RECOMMENDED ACCESSORIES WARNING To av...
Page 7: ...elow 1 Band saw 1pc 2 Fence 1pc 3 Table assembly 1pc 4 Miter gauge 1pc 5 8 10mm wrench 1pc 6 Hex wrench 4mm 6mm 2pcs 7 Lifting handle 1pc 8 Hook with nut 1pc 9 Push stick 1pc 10 Feet not shown 4pc Alternative assembly parts Your machine may not have this part 6 7 5 1 2 3 4 8 9 ...
Page 8: ...imber according to the fig Attach foot A B to band saw by using pan head screw and washer Place the band saw on a workbench for next assembly For the model without dust drawer Attach four feet to the base of band saw and push to the end 2 Fix the lifting handle onto top of band saw Foot Screw and washer ...
Page 9: ...ease the knob Fit the pins on the frame into the slots of the saw table bracket Assemble the flat washer and table lock handle Tighten the saw table to the saw frame by turning the table lock lever clockwise Attach the D nut washers and wing screw to the saw table 4 Secure the hook with M6 hex nut to the frame Place push stick onto the hook The hook and push stick are alternative assembly parts Yo...
Page 10: ...e scale indicator check angle markings Retighten the table lock knob to hold saw table securely in place 2 Aligning the saw blade_ If the saw blade does not run in the center of the rubber tyre the tracking needs to be corrected by adjusting the tilt of the upper band saw wheel Open the upper and lower cover Manually rotate the upper wheel taking care no to touch the blade Turn tracking set knob c...
Page 11: ...er blade guide adjustment The height of blade guide needs to be adjusted prior to every cutting operation to accommodate the height of work piece the upper blade guide should be set approx 3mm above the workpiece Set upper blade guide with the adjusting knob to the desired height by loosening the locking knob After adjustment be sure to tighten the lock knob Loosen the screw A and adjust guide bea...
Page 12: ...djustment Through the hole B and E use hex wrench to loosen socket bolts adjust guide block D and thrust bearing C just like adjusting upper blade guide Loosen the screw A and adjust the guide bearing to a position 0 5mm away from blade Retighten the screw A Locking knob Adjusting knob A B C Saw blade Guide bearing B E C D A ...
Page 13: ...cover of upper guide assembly Then Align the saw blade Adjust the blade tension Adjust the upper blade guide and lower blade guide OPERATIONS Warning to reduce the risk of personal injury the following safety recommendations should be observed when operating the saw Do not touch the saw blade when cutting During saw operation wear safety glasses but do not wear gloves Cut only one workpiece at a t...
Page 14: ...edge For miter cuts the miter gauge can be turned to 60º in both directions To set a miter angle loosen lock knob by turning it counter clockwise Warning When cutting with miter gauge the lock handle must be firmly tightened 3 Using push stick The push stick is an alternative assembly part Your machine may not have this part The push stick serves as an extension of the hand and protects against ac...
Page 15: ...efore inspection and maintenance FREQUENT INSPECTION The band saw should be inspected frequently The cord in lead plug and switch should be inspected whether be in good condition Whether there is any damage on the drive part Cleaning Clean out sawdust and chips from time to time Carefully clean the blade guard and moving parts inside the band saw LUBRICATION To keep the band saw in tip top running...
Page 16: ...16 Assembly Diagram Alternative assembly parts Your machine may not have this assembly part ...