


9
c
4
After curing, trim the front and back to
formers BP-1 in front and BP-10 at the
back. When trimming the plastic at F10, trim
it close and then sand it to exactly match
the angle and face of F10.
The belly pan assembly will be installed onto the wing assembly while attached to the fuselage as-
sembly this is as far as we can go for now. Put these assemblies aside and proceed with building the
fuselage.
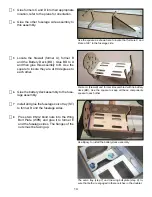
After installing the former assembly, sand both ends flush
with the end formers.
glue available at craft stores. Apply a liberal
bead to all surfaces that will contact the belly
pan and install it. Set this aside to thoroughly
cure.
c
3
c
2
c
1
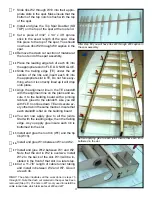
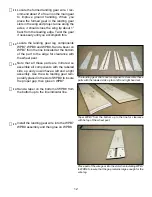
Both wing halves completed and ready for joining. Note the
carbon fiber joiner and 1/8” dowel have been Epoxied into
the bottom wing half.
JOINING THE WING HALVES
Cut a 1/2” length of 1/8” dowel and round
over one end. Install it in the hole provided
in W1 just ahead of TE, let it protrude about
1/8”. Do this in one wing half only, this will
engage the hole in the opposite wing half
to align the wing halves when joining them.
Use Epoxy to install the 1/8” x 5/16” x 4”
carbon fiber joiner in one wing half and let
this cure.
Apply Epoxy to one W1 on one of the wing
panels. Apply a liberal amount in the slot for
the carbon fiber joiner. You can access this
though the hole in W1. Join the wing halves
and install and glue W13. Put the assembly
aside to cure.
c
4
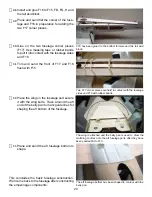
Cut two lengths of 3/16” dowel to 1-1/4”
long. Round over one end and smooth the
other end. Use Epoxy to install these in the
hole provided in W13. Make sure they are
glued to W12 as well, leave about 1/4” pro-
truding.
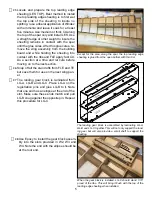
Completed wing assembly, the correct dihedral is set by W13.
Note the Cable opening plate. NOTE: In this photo the belly
pan has been installed. You will install that later in the build.


