13
INSTALLING ACCESSORIES
– cont’d
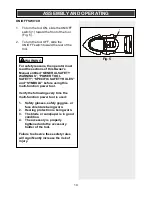
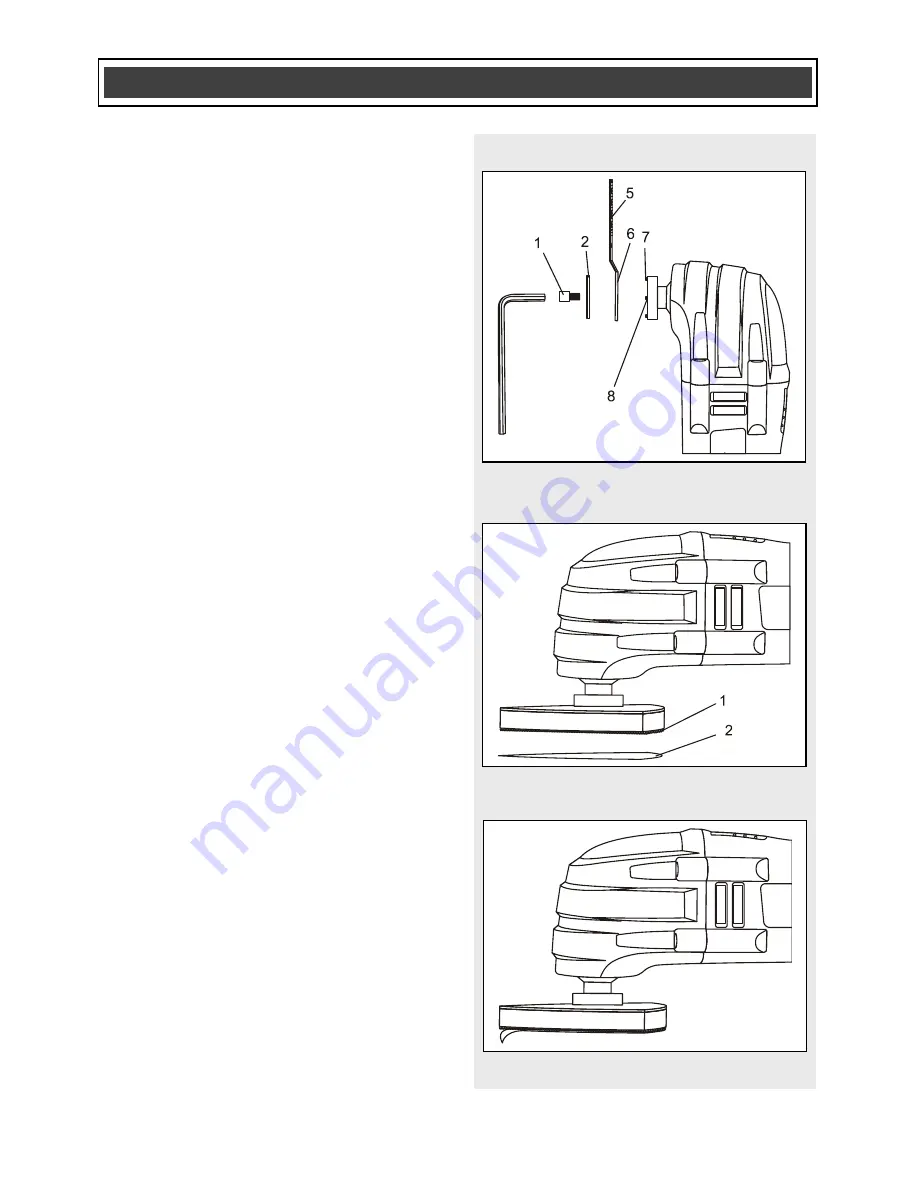
NOTES:
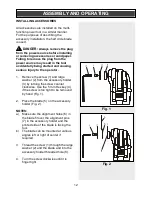
a) Check to make sure the convex curve
of the washer is facing the head of the
screw and the slots in the edge of the
washer fit over the alignment pins in
the accessory holder.
b) Make sure the alignment holes in the
blade are still mated with the
alignment pins in the accessory
holder.
5. Firmly tighten the screw with the 5 mm
hex key.
NOTE:
Check to make sure the holes in
the blade are still mated with the alignment
pins on the accessory holder after the
screw is fully tightened.
INSTALLING SANDPAPER
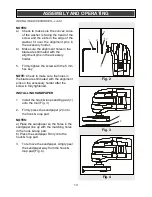
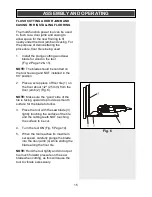
1. Install the hook & loop sanding pad (1)
onto the tool (Fig. 3).
2. Firmly press the sandpaper (2) onto
the hook & loop pad.
NOTES:
a) Place the sandpaper so the holes in the
sandpaper line up with the matching holes
in the hook & loop pad.
b) Press the sandpaper firmly onto the
hook & loop pad.
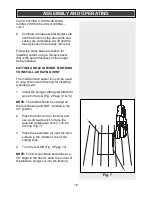
3. To remove the sandpaper, simply peel
the sandpaper way from the hook &
loop pad (Fig. 4).
ASSEMBLY AND OPERATING
Fig. 2
Fig. 3
Fig. 4
Summary of Contents for 241-8501
Page 11: ...11 CONTENTS ...
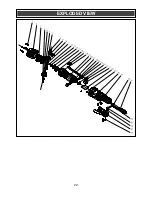
Page 20: ...20 EXPLODED VIEW ...


