68
User Manual
(1) UPNP settings
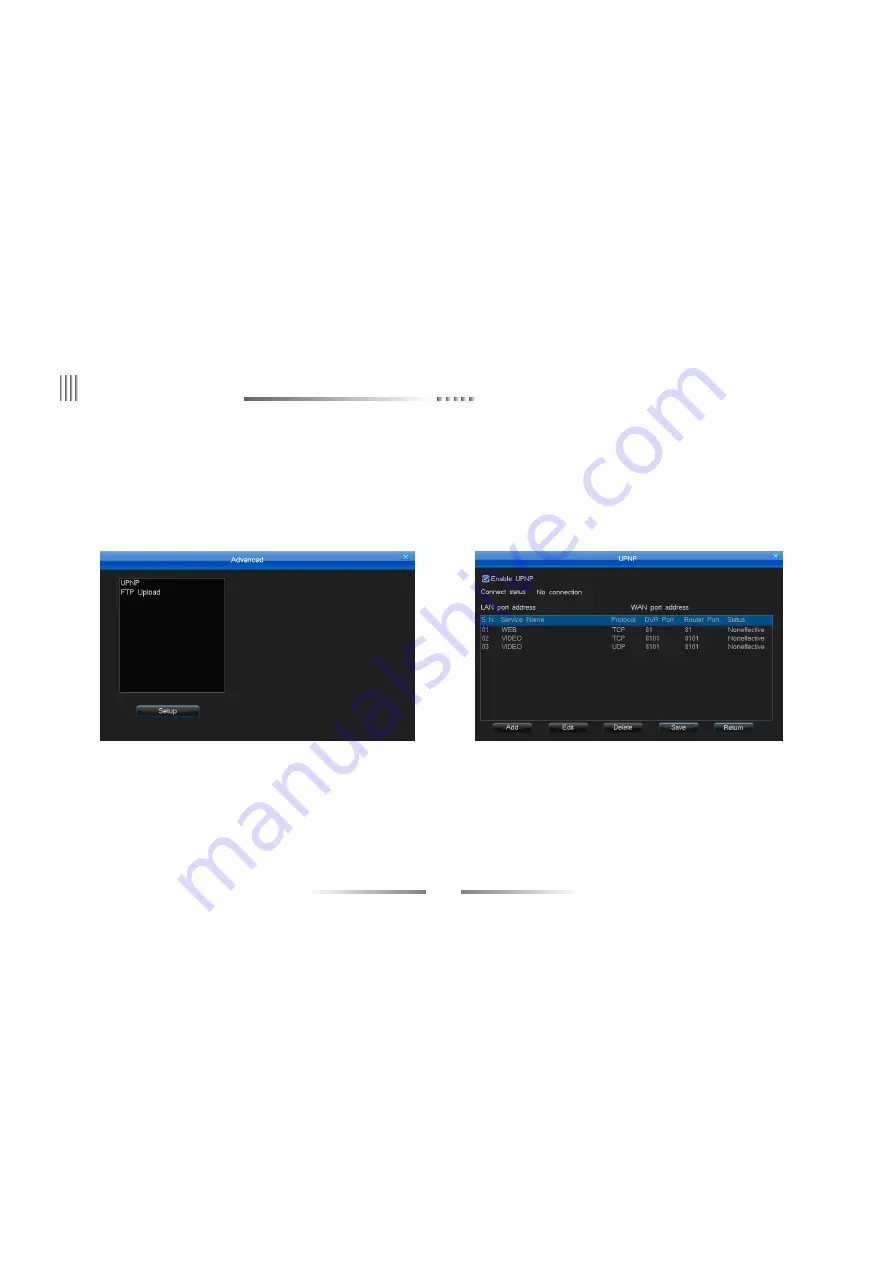
After entered “Advanced” interface, then select “UPNP” and click “Setup” button to go to “UPNP” setting interface as below right picture above. UPNP is Universal Plug and
Play. With UPNP function, it will no need to set port mapping in router. All port mapping has been done by DVR firmware. UPNP setting steps as belo:
Set your network segment of DVR with the same with router’s. (The host IP address must be the within the scope of router IP address filtering. Sub-net mask, default gateway and
DNS settings should be consistent with the router). Recommend you use the DHCP function. Then manually enable UPNP in your router.
8. Advanced Setting
Enter “Network” and select “Advanced” to enter the interface (as below left picture). UPNP function and FTP record upload.
Select “Enable UPNP” in the “UPNP” interface to enable the function. After enabling UPNP, there’ll be 3 default port mappings. These mappings can’t be edited or deleted. When
the connect status is “Connected”, these 3 mappings are available to use. If you need to add other router mapping, please use “Add” to operate.
Click “Add” to enter the interface of “Add UPNP PAT” (as below left picture), set service name, select corresponding protocol of the router (TCP/UDP), DVR port number and
router port number (could be the same for convenience). You could see the added mapping after setting and saving, meanwhile, the adding results could be seen in the UPNP setting
items of the router. (Note: Some routers maybe don’t have the UPNP setting list). The corresponding relation of DVR setting and router information display as below:
Service Name--Application Description; Protocol--Protocol Type; DVR Port--Internet Port; Router Port--External Port.


