WWW.TMGINDUSTRIAL.COM
16 / 27
dŽůů&ƌĞĞ
:1-887-761-2819
O P E R A T I O N
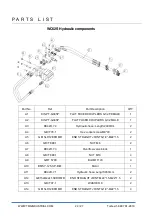
7. Raise the wood chipper.
8. Check that all hydraulic connections and locks are secure before
beginning work.
Reverse the above procedure when unhooking.
Place planks or boards under the frame for extra support if
required.
CHIPPING OPERATION
The Wood Chipper is a strong, rugged machine that is built to a
straightforward design which provides consistent chipping of logs up to 6" (152mm)
Always wear personal protective equipment (PPE) whenever operating the machine. This includes but is not
limited to protective shoes with slip resistant soles, protective goggles or face shield, heavy gloves, hearing
protection and protective clothing.
Do not place metal, bottles, cans, rocks, glass or other solid material into the wood chipper. If something like
this gets into the machine, stop the machine immediately for a detailed inspection. Stop engine, remove
ignition key and place in your pocket and wait for all moving parts to stop before inspecting or unplugging.
Inspect machine for damaged or loosened parts before resuming work.
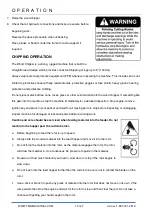
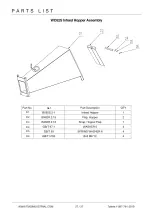
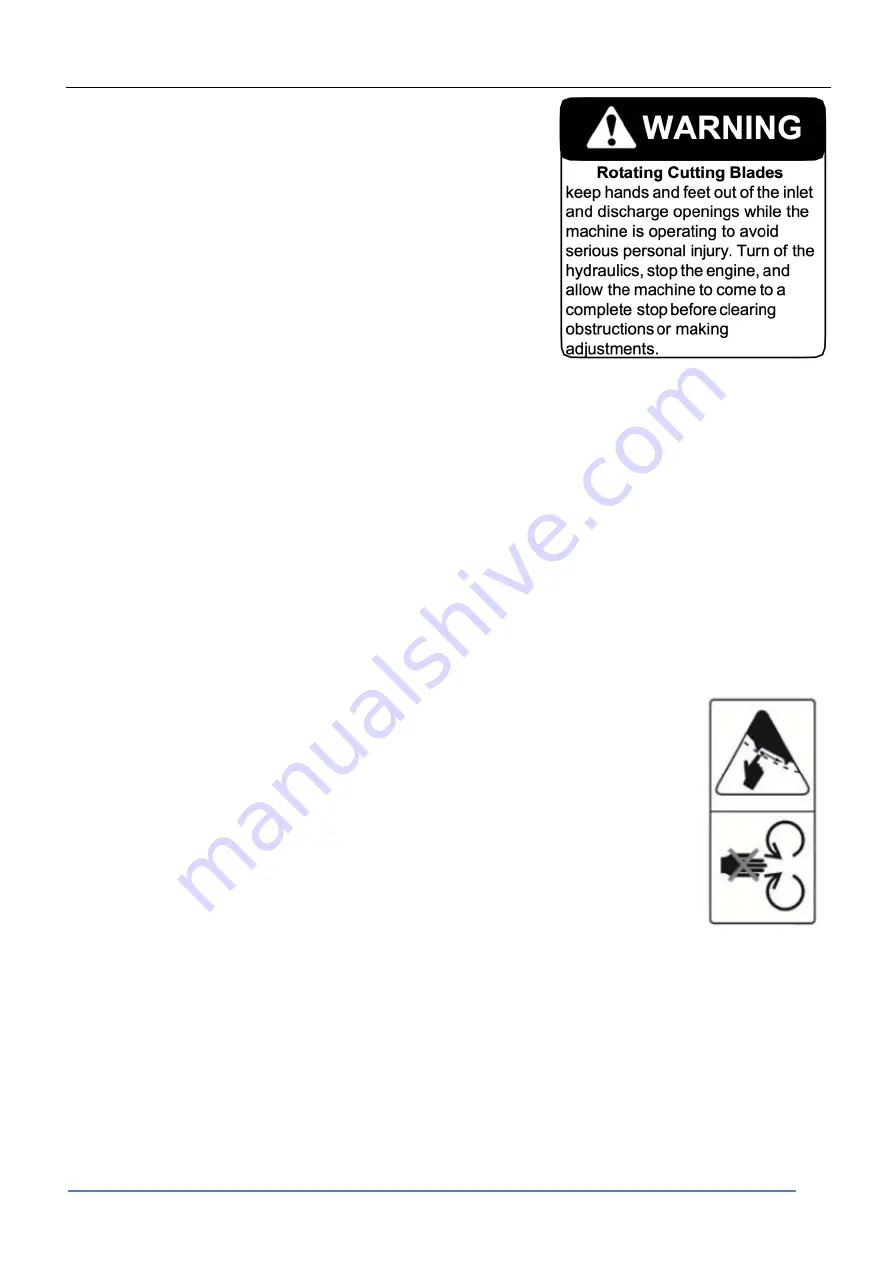
Caution and care should be exercised when feeding material into the feeder. Do not
reach into the hopper past the curtain barrier.
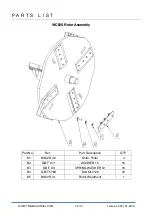
a. Before beginning to feed the rotor is up to speed.
b. Slowly slide the wooden material into the feed hopper and move it into the rotor.
c. Do not force the material into the rotor, as the material engages the rotor, the rotor
will draw the material in. Use continuous lite pressure to guide in the material.
d. Be aware of how much material you feed in, slow down or stop if the rotor begins to
slow down.
e. Do not reach into the feed hopper further than the curtain to be sure not to contact the blades on the
rotor.
f. Use a stick or branch to push any piece of material into the rotor that does not move on its own. If the
jam persists then stop the engine and wait for the rotor to stop and then clear the jam. Do not take a
chance with getting your hand caught in the rotor.


