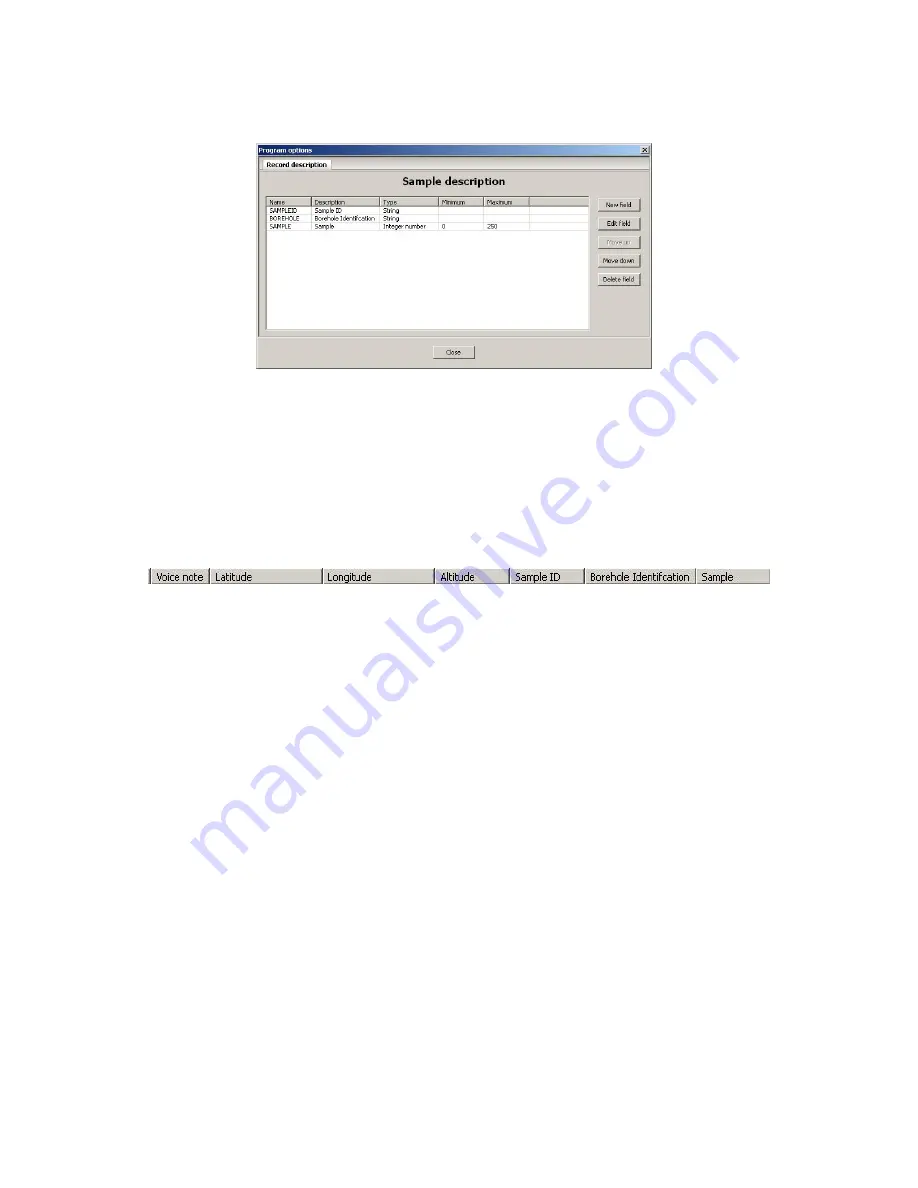
Figure 79: Custom Fields added to GeoView Databae
Once you have added the fields into the
Program options
window, press the close button
at the bottom and the database will be updated with the new fields. The new fields will be
appended to the end of the default columns. This can be seen in
Figure 80.
Figure 80: New fields added to the end of the columns
The custom fields can also have their location in the database listing moved but they will
always be at the end of the default columns. Use the
Move up
and
Move down
to change
the location of the fields in the database.
Edit
field
will allow you to change the
description and number range for a field. The field name cannot be changed when stored.
To remove fields use
Delete field
, a confirmation window will be presented to confirm
the deletion of the field.
Scanner records will also be listed in the upper numerical display and are blue in color.
The values are given in the bottom left hand corner of the screen, only when a scanner
record has been highlighted. When selected, the scanner record will also be plotted in the
graph window directly to the right of the numerical display. This can be seen on the
following page,
Figure 81
.
73


