background image

3.2

Receiving incoming calls

If you receive an incoming call, both the handset and the base station 
will emit a ring signal. Because of the time required to establish a 
connection, the handset ring signal will be slightly delayed.

Notice

: While the handset is ringing you can use the 

p

 and 

q

 buttons 

to adjust the ring volume.

The 

EXT

 indication in the display will blink


and


CALL

 is displayed. Press 

the     button on the handset to take the call. The indicator on the base 
station will be permanently on during a call.

To end the call, replace the handset on the base station or press the    
     button on the handset.

You will find information on Calling Line Identification in chapter 5.

When automatic answering is switched on, the call will be automatically 
taken as soon as you lift the handset from the base sation. To find out 
how to turn the automatic answer function on and off, see chapter 7.5.


9

3.3

Dialling a number

1.

Use the keypad to enter the desired telephone number. Up to 
32 digits may be entered. The digits dialled will be shown on 
the display. Since the display can only display 12 digits, only 
the last 12 digits of longer phone numbers will be displayed.

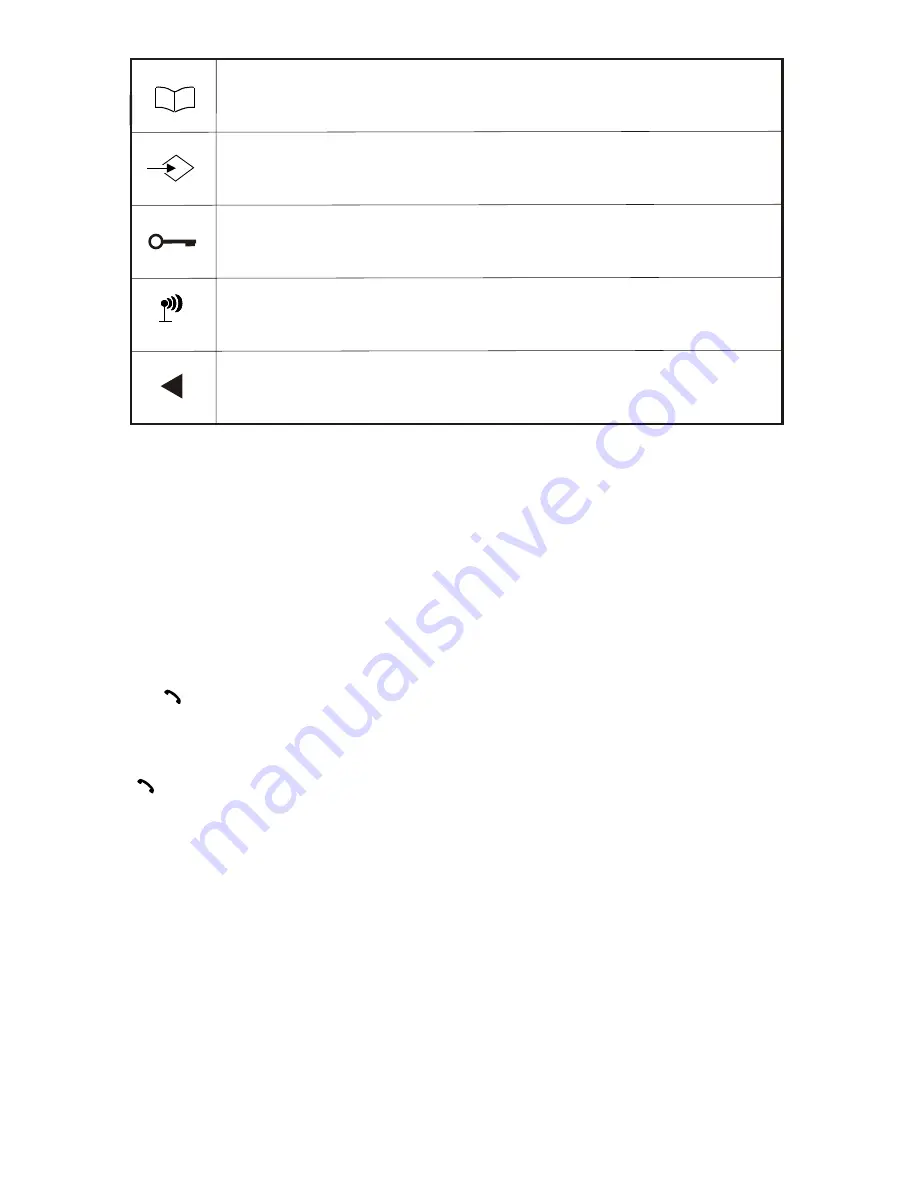
Steady:   The number is longer than 12 digits.  

Steady:   The signal strength is sufficient.
Blinking:  The signal strength is getting weaker. 

Steady:   The keypad lock is activated.

Steady:   Shows programming mode has been activated.


Steady:   Shows phonebook in use.

Summary of Contents for Ultimate B200

Page 1: ...Telkom Ultimate B200 INSTRUCTION MANUAL...

Page 2: ...g individual numbers from the redial list 3 9 2 Deleting all numbers from the redial list 3 10 Keypad lock 3 11 Paging the handset from the base station 4 The Phonebook 4 1 Entering numbers in the pho...

Page 3: ...ame 7 7 Turning indicator tones on and off 7 8 Changing your PIN number 7 9 Setting the display language 7 10 Factory reset 7 11 Menu structure 8 Multiple Handsets 8 1 Internal calls 8 2 Transferring...

Page 4: ...be located within reach of a 230 Volt power outlet socket To avoid interference problems do not place the base station in the immediate proximity of other electrical equipment such as a microwave ove...

Page 5: ...nts Apart from occasionally cleaning the outer surfaces no further care is required The rubber feet of the base station are not resistant to all cleaning agents Telkom cannot therefore be held respons...

Page 6: ...ebook Cancel button 4 Calls list button 5 Internal calls button 6 Recall Power button 7 Keypad lock button 8 Call button 9 Redial Pause button 10 Clr Mute button Base station 1 Page button 2 Call and...

Page 7: ...with power cords charger one telephone line cord and instruction manual 2 3 Connecting the base station and charger Set up the Telkom Ultimate B200 base station and charger within reach of a telephone...

Page 8: ...the batteries are not properly charged the telephone may fail to function correctly While the handset is charging the battery capacity symbol in the display will blink 2 5 Charging the batteries The r...

Page 9: ...the name of the handset The default name can be re programmed any time see chapter 7 6 The display also provides symbol representation of all the main functions and the current status of the phone EX...

Page 10: ...t You will find information on Calling Line Identification in chapter 5 When automatic answering is switched on the call will be automatically taken as soon as you lift the handset from the base satio...

Page 11: ...off By holding down the R button you can turn off the handset If the handset is turned off there is no drain on the battery Press the R button briefly to turn the handset back on The message BASE 1 wi...

Page 12: ...ce During a call you can use the buttons p and q to adjust the speaker volume The volume setting will be shown on the display as EAR VOLOME 1 TO 8 3 9 Redial The redial function is especially useful i...

Page 13: ...confirm 3 10 Keypad lock If you frequently carry the handset with you you can lock the keypad so that buttons are not pressed unintentionally You can receive incoming calls as normal when the keypad l...

Page 14: ...the melody you wish to assign this phone number to 9 Press the MENU button again You will now hear a confirmation beep The display then shows ADD ENTRY again 10 If you wish to store more phone number...

Page 15: ...s the button The display will show the first stored number in alphabetical order 2 The p and q buttons can now be used to step through the list of stored numbers Or To jump directly to a number with a...

Page 16: ...will now hear a confirmation beep The display then shows MODIFY ENTRY again 13 If you wish to modify more phone numbers go back to step 4 To exit from the programming mode hold down the button 15 4 4...

Page 17: ...call is received If new calls have been added to the list during your absence a blinking symbol appears on the display NOTICE A subscription is required to use the IdentiCall services Please call 102...

Page 18: ...sferred directly to the phonebook 1 Press the q button to show the last calling number received on the display 2 Use the p and q buttons to select the number in the list of callers that you wish to tr...

Page 19: ...wish to delete 3 Press the CLR button The display shows DELETE 4 Now press the MENU button to delete the number from the list 5 The display will now return to standby 5 4 Deleting the entire list of...

Page 20: ...e you can use this feature to put a call on hold and answer another call on the same line by using the R button When a second call comes in you will hear a beep every 5 seconds 1 Press the R button to...

Page 21: ...ithin 15 seconds The button can be held down at any time to exit from the programming mode without making any changes Chapter 7 11 gives a detailed summary of the menu 7 1 Setting ring melodies on the...

Page 22: ...e f r h r me u ct o r e t l i do n t e u t n w h b t o 7 3 S t n ing me o i s n t e b e stati n e ti g r l d e o h as o ress t e b on 1 P h M NU E utt 2 Use p a SE U q t le t e T P nu t en p e h nd o...

Page 23: ...e 5 You can then select further menu functions or exit by holding down the button buttons to buttons 7 6 Change handset name During normal operation the display shows TELKOM HS 1 If you have a number...

Page 24: ...RANGE options then press the MENU button 5 Use the p and q elect ON or OFF then press MENU You will now hear a confirmation beep 6 You can then select further menu functions or exit by holding down th...

Page 25: ...ions or exit by holding down the button buttons buttons t e buttons to select a language then press the MENU button You will now hear a confirmation beep 24 5 Now enter the desired new four digit PIN...

Page 26: ...ay shows CONFIRM 5 Press the MENU button to confirm Factory settings Language English Handset name Telkom Low battery setting On Auto Answer On Out of range warning On Ring melody external 3 Key tone...

Page 27: ...dd Entry Delete Entry Modify Entry Base Melody Del Handset Pin Code Setup Base Volume Recall Default 7 11 Menu structure Volume 1 3 Off Melody 1 5 PIN PIN Handset New Pin Retype Recall 1 Recall 2 PIN...

Page 28: ...y Out range On Off On Off On Off Int Ring Vol Volume 1 3 Off Register Volume 1 3 Off Ext Ring Vol Int Melody Ext Melody Melody 1 3 Melody 1 3 Auto Answer On Off Name Language English 27 Key lock Selec...

Page 29: ...the handsets incoming and external calls are signalled on all handsets NOTICE If one handset is already using the external line the call indicator light is lit on all the other handsets No further ex...

Page 30: ...on the handset 3 Use the p and q to select the REGISTER menu then press the MENU button 4 Use the p and q buttons to select the REG BASE menu then press the MENU button Base 1 2 3 4 appears on the di...

Page 31: ...de registered and can no longer be used with this base station 8 4 Additional base stations A number of base stations can be used to extend the coverage available to the handsets To make use of this a...

Page 32: ...and q buttons to select the AUTO setting When the handset locates the selected base you will hear a confirmation beep buttons t 31 9 Troubleshooting Guide If you have any problems with your Telkom Ult...

Page 33: ...hat your telephone exchange supports tone dialling The system fails to react or is in an First unplug the power adapter undefined state plug for a short time Reset to the default factory settings For...

Page 34: ...z Range Interior up to 50m Range Line of sight up to 300m Standby time Up to 100 hours Call time Up to 10 hours Rechargeable batteries 2 x type AAA Ni MH 1 2 Volt from 550mAh batteries Dialling mode T...

Reviews: