Model TGFX-HUB1
© 2018 Telguard
16
STATUS ICONS
Each device icon indicates the current state of that
device. To change the state of a device such as a
Thermostat, tap the Modes button.
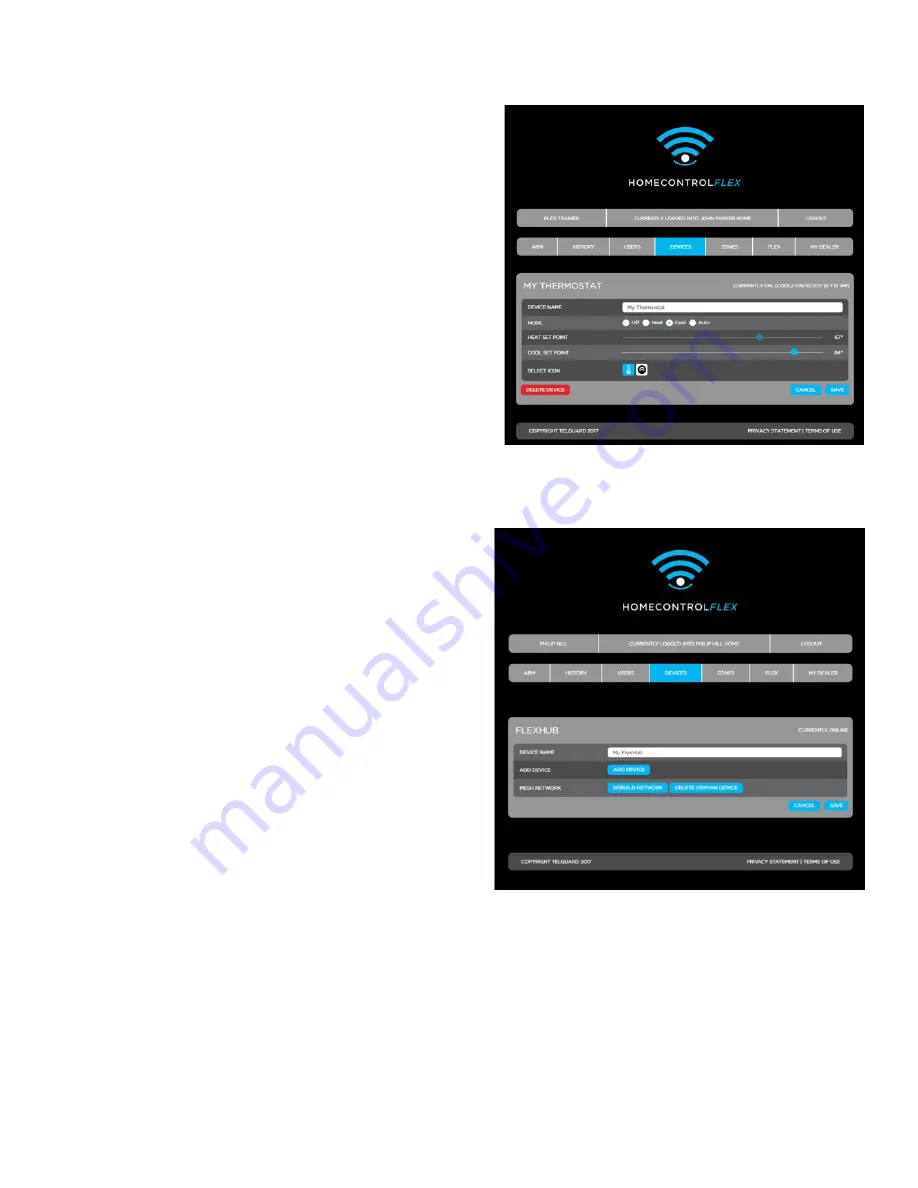
The details for that Thermostat will be displayed so you
can change the name of the device, the operational
mode of the thermostat, adjust your heat or cool
tempurature setpoints or change the icon. When
you complete the changes, select the Save button.
If required, you can also select the Delete button to
remove the device from your FlexHub.
ADD A Z-WAVE DEVICE
To add a new Z-Wave device to your sytem, make
sure that you are on the Devices tab and select the
Add button.
Optionally, select the Edit button to display the current
FlexHub controller. Then select the Add Device
button.
The FlexHub Controller will attempt to include
(discover) the new node. A flashing Z-Wave LED
indicates the FlexHub is in inclusion mode.
When you select the Add or Add Device button, be
sure you are also ready to place the new Z-Wave
device into inclusion mode.
If required, refer to the device manufacturer’s documentation to activate the “Include” function
because many devices do not use a physical button to start the include process.
Ideally, the new Z-Wave device should be located near the controller. For door locks, many
manufacturers recommend placing the lock no more than five feet from the controller.
Once the device is discovered by the FlexHub, the Internet light will begin to flash, indicating that the
Summary of Contents for FlexHub TGFX-HUB1
Page 1: ...FlexHub Installation Guide Model TGFX HUB1 ...
Page 29: ......


