22
Initial Setup
1
Press [SETUP]. The Setup menu appears.
While ‘Init Setup‘ is selected, press [ENTER] to go to the initial setup
page.
2
Use [
œ
/
√
] to select ‘Preferences
‘.
3
While ‘Preferences
‘ is selected, press [
†
] to select ‘Video‘.
4
Press [
√
]. The ‘Video‘ submenu is displayed.
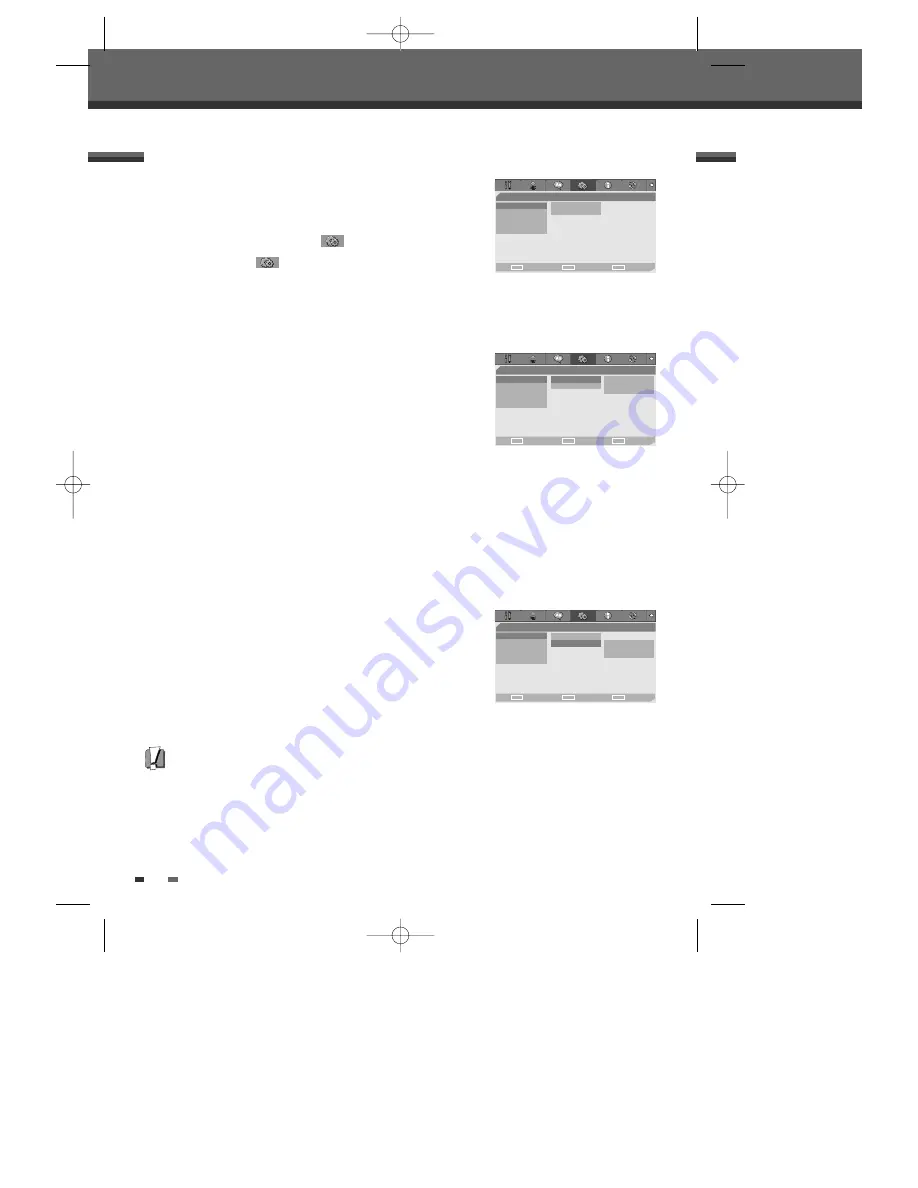
TV Aspect Ratio
1
Use [
…
/
†
] to select ‘TV Aspect‘ while the ‘Video‘ submenu is
displayed.
2
Press [
√
] to go to the second level.
3
Use [
…
/
†
] to select the desired TV Aspect.
4
Press [ENTER] to confirm your selection.
5
Press [SETUP] to exit the menu.
4:3 PS :
Select when a standard 4:3 TV is connected. Displays pictures cropped to fill your TV screen. Both
sides of the picture are cut off.
4:3 LB :
Select when a standard 4:3 TV is connected. Displays theatrical images with masking bars above and
below the picture.
16:9 :
Select when a 16:9 wide screen TV is connected.
Video Output
Progressive Scan Video provides the highest picture quality with reduced
flickering.
Interlace or Progressive :
If you connect the DVD RVCR to a digital
television (DTV) or Monitor using the COMPONENT jacks, set Video Output
to ‘Interlace’ or ‘Progressive’.
RGB :
If you connect the DVD RVCR to a analog television using
the SCART jacks, set Video Output to ‘RGB’.
Follow the same procedure as TV Aspect Ratio to change the Video Output.
Caution
Once the Progressive Scan setting is entered, an image will only be visible on a Progressive Scan compatible TV or
monitor.
‘Preferences’ / Video Settings
Preferences
•Video
TV Aspect
4:3 PS
Audio
Video Output
Interlace
Parental Ctrl
Auto Settings
VCR
Choose
OK
Exit
ENTER
SETUP
œ √
…
†
Preferences
Video • TV Aspect
4:3 PS
Audio
Video Output
4:3 LB
Parental Ctrl
16:9
Auto Settings
VCR
Choose
OK
Exit
ENTER
SETUP
œ √
…
†
Preferences
Video TV
Aspect
Audio • Video Output
Interlace
Parental Ctrl
Progressive
Auto Settings
RGB
VCR
Choose
OK
Exit
ENTER
SETUP
œ √
…
†
DF-T3712S-SA-W(GB) 2006.9.13 10:0 AM ˘
` 22 mac001 1200DPI 90LPI


