33
Model C043
Operating Procedures
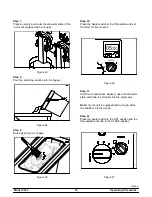
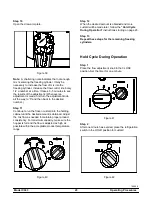
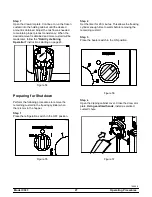
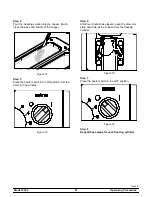
Step 5
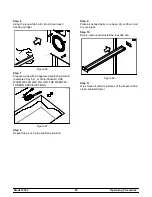
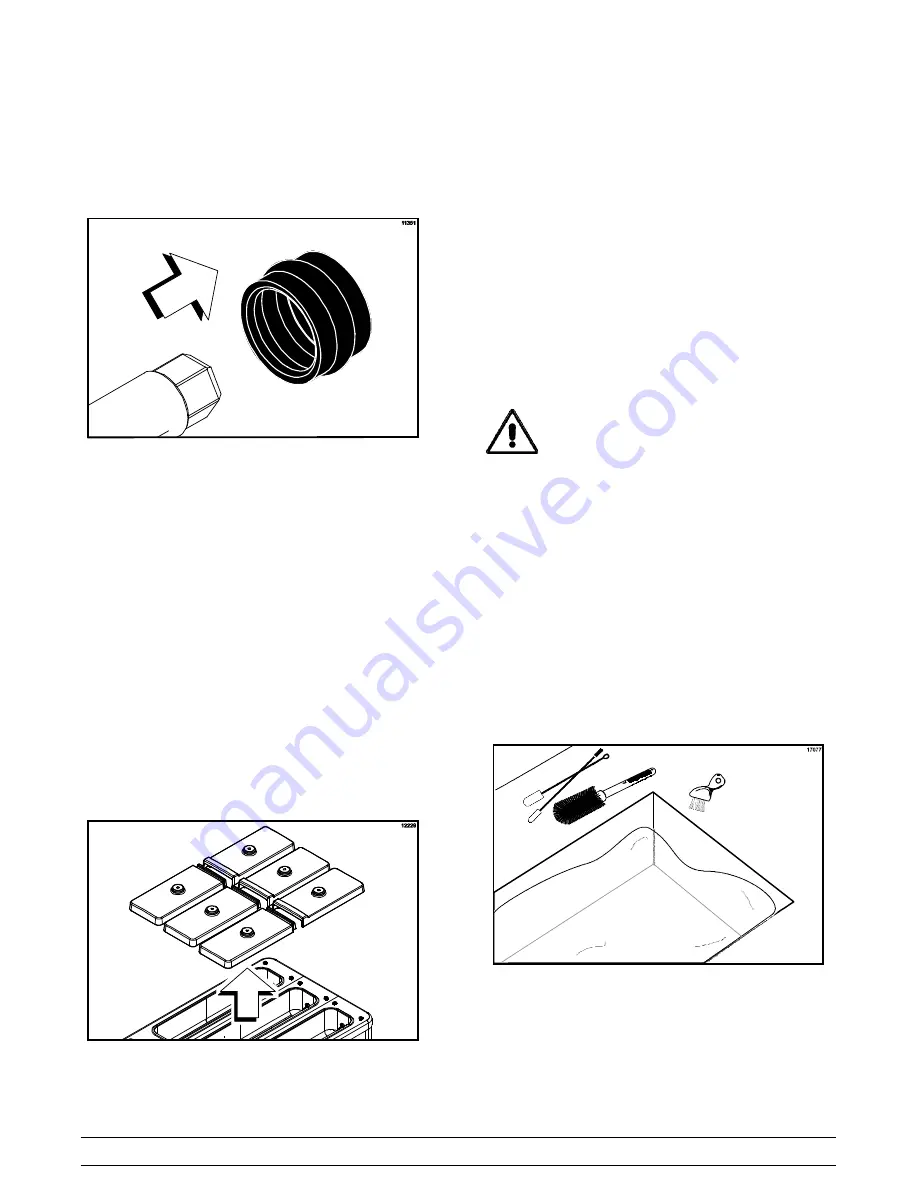
Remove the rear seal from the beater shaft. Use a
single-use towel to remove the lubricant from the
seal before taking it to the sink for cleaning.
Figure 79
Note:
If the rear seal remains in the drive coupling
at the back of the unit instead of coming out with the
beater shaft, perform the following:
S
Reinstall three blades and leaf springs on
the beater shaft.
S
Slide the beater shaft back into the freezing
cylinder until the hex end is firmly engaged
in the drive coupling.
S
Remove the beater shaft by pulling it
straight out.
S
Repeat as necessary until the rear seal is
removed.
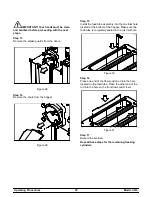
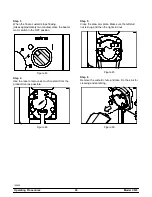
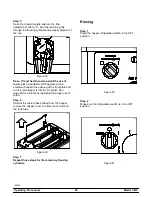
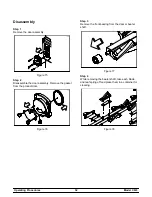
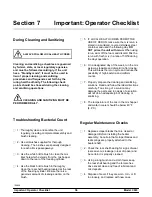
Step 6
Remove the hopper covers, the feed tube and the
flow control rod.
Figure 80
Step 7
Take all the parts to the sink for complete
disassembly and brush cleaning.
Step 8
Repeat these steps for each freezing cylinder.
Brush Cleaning
IMPORTANT: Failure to follow these
cleaning procedures may result in bacterial
contamination of the frozen custard product.
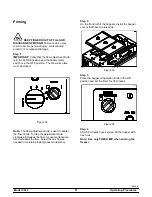
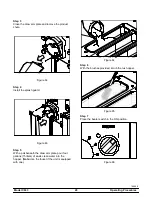
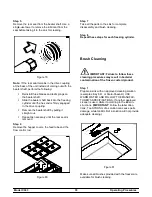
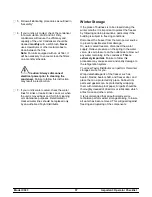
Step 1
Prepare a sink with an approved cleaning solution
(examples: Kay-5® or Stera-Sheen®). USE
WARM WATER AND FOLLOW THE MANUFAC-
TURER'S SPECIFICATIONS. If another approved
cleaner is used, dilute it according to the label in-
structions. (
IMPORTANT
: Follow the label direc-
tions. Too STRONG of a solution can cause parts
damage, while too MILD of a solution will not provide
adequate cleaning.)
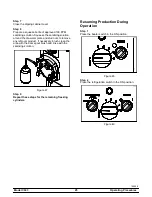
Figure 81
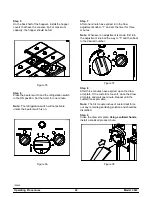
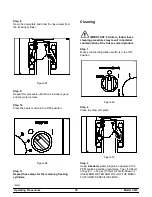
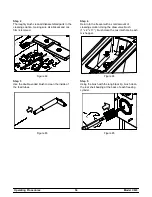
Make sure all brushes provided with the freezer are
available for brush cleaning.

