Maintenance, Service, and Repair
Brakes
Page 14
8. Remove the tire/wheel assembly. Refer to
Tires and Wheels
section for information on
removing the tire and wheel assembly.
9. Thoroughly clean the area around the brake body.
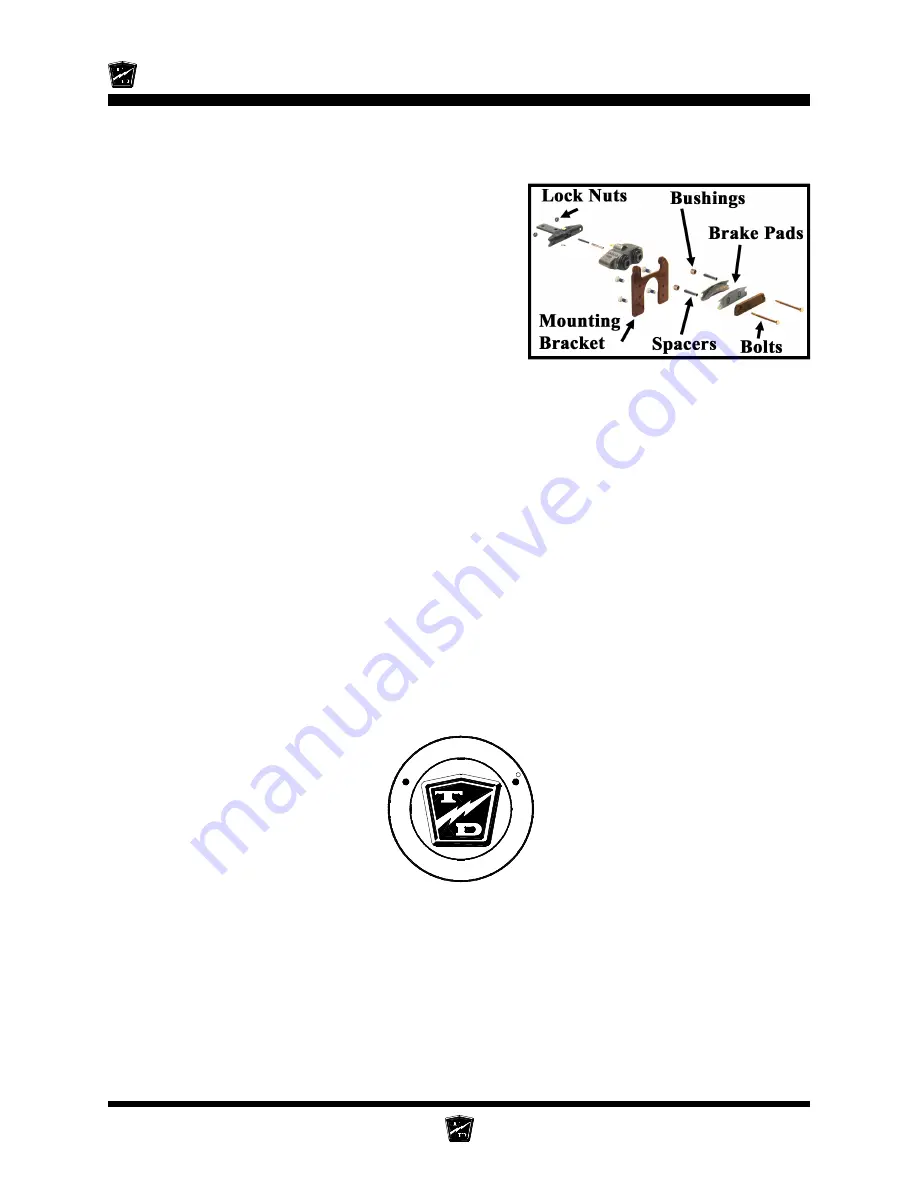
10. Remove the brake body bolts and discard the lock
nuts.
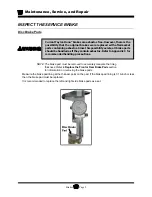
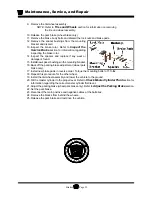
11. Inspect the brake rotor. Refer to
Inspect the
Service Brake
section for information regarding
inspecting the brake rotor.
12. Disconnect the brake hose from the brake body.
13. Install the new brake body assembly in reverse
order.
•
Use teflon tape thread sealant on the brake hose
fitting.
•
Torque the brake body bolts to 11 ft-lbs.
14. Bleed the brakes. Refer to
Bleed the Brakes
section for information regarding bleeding the
brakes.
15. Set the park brake.
16. Reconnect the main positive and negative cables at the batteries.
17. Lower the wheel to the ground.
18. Remove the blocks from behind the wheels.
19. Release the park brake and test drive the vehicle.
T
A Y
L OR - DU N
N
Th
e
B
e
st
W
ay
To
Go About
Yo
ur
Bu
si
n
e
s
s
R
Summary of Contents for MB-238-00
Page 2: ......
Page 6: ...TAYLOR DUNN...
Page 28: ...TAYLOR DUNN...
Page 44: ...Maintenance Service and Repair Steering Page 8 Exploded View of Steering Gear...
Page 64: ...TAYLOR DUNN...
Page 112: ...TAYLOR DUNN...
Page 149: ...TABLE OF CONTENTS Wire Diagrams Complete Vehicle 2...
Page 158: ...Illustrated Parts Parts Page 8 Transmission Gear Case...
Page 162: ...Illustrated Parts Parts Page 12 Rear Brakes Brake Body Assembly...
Page 166: ...Illustrated Parts Parts Page 16 Brake Lines Illustration not available...
Page 168: ...Illustrated Parts Parts Page 18 Motor...
Page 170: ...Illustrated Parts Parts Page 20 Wheels and Tires Ref wheel hub 1 2 3 Rear Suspension...
Page 172: ...Illustrated Parts Parts Page 22 Speed Control Panel Instrument Panel dash...
Page 182: ...Illustrated Parts Parts Page 32 Seat Cushions Deck and Lights Frame Illustration not available...
Page 184: ...Illustrated Parts Parts Page 34 Decals...


