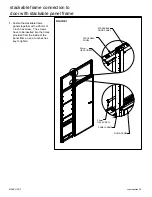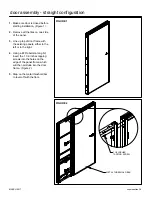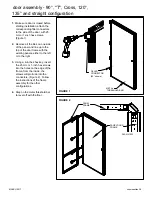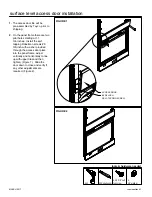
1.
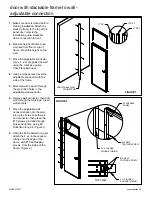
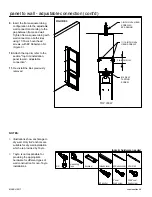
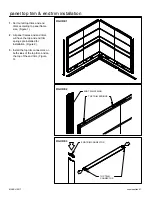
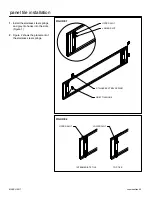
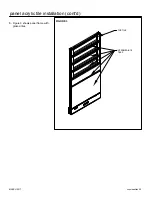
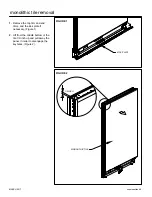
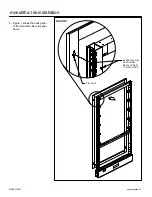
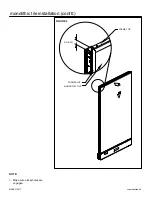
Remove all the tiles on one side
of panel. Place the panel
against the wall, then mark the
wall through the pre-drilled holes
in the frame, with a pencil. Place
torpedo level on side of panel for
levelness. Check for plumbness.
2.
Remove panel frame, then drill
wall through the markings. Insert
wall anchors.
3.
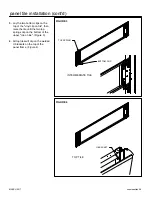
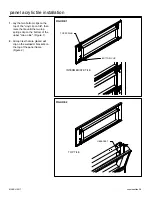
Swing panel back to the wall and
line it up with wall anchors, then
place the 1-inch oval head
screws provided through holes
and tighten using #2 Robertson
bit.
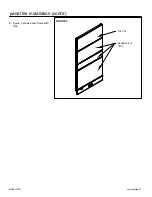
4.
Re-install the tiles previously
removed.
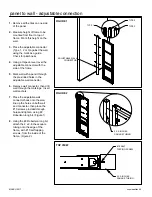
FIGURE 1
NOTES:
> Illustrations show anchorage to
dry wall. Only E-Z anchors are
suitable for dry wall installation
which are provided by Tayco.
> Tayco is not responsible for
providing the appropriate
hardware for different types of
wall construction for non-Tayco
installations.
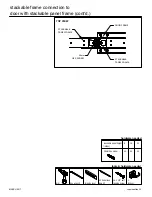
TOP VIEW
panel to wall - direct connection
tools & hardware needed
drill
#3 drill bit
EZ anchor
1" oval
head screw
1-INCH OVAL HEAD
SCREW W/
EZ ANCHOR
PANEL FRAME
torpedo level
measuring
tape
#2 Robertson bit
MARCH 2017
cosmopolitan 48
Summary of Contents for Cosmo
Page 1: ...Cosmo installation guide March 2017...
Page 4: ......
Page 111: ...MARCH 2017 SCENE 2 tayco com 0317...

