I
I
N
N
S
S
T
T
A
A
L
L
L
L
A
A
T
T
I
I
O
O
N
N
P
P
R
R
O
O
C
C
E
E
D
D
U
U
R
R
E
E
Installation in Windows XP and Vista OS
Note: Please ensure the latest dialer version (Client Version 1.0.9.8) before installing the
dialer.
Installing Driver Client
• Please unplug the USB Modem from the PC before installation.
• When you install new version of Dialer client in your PC, please uninstall the already
existing one from your PC.
1. Insert “Installer CD” into the CD-ROM drive.
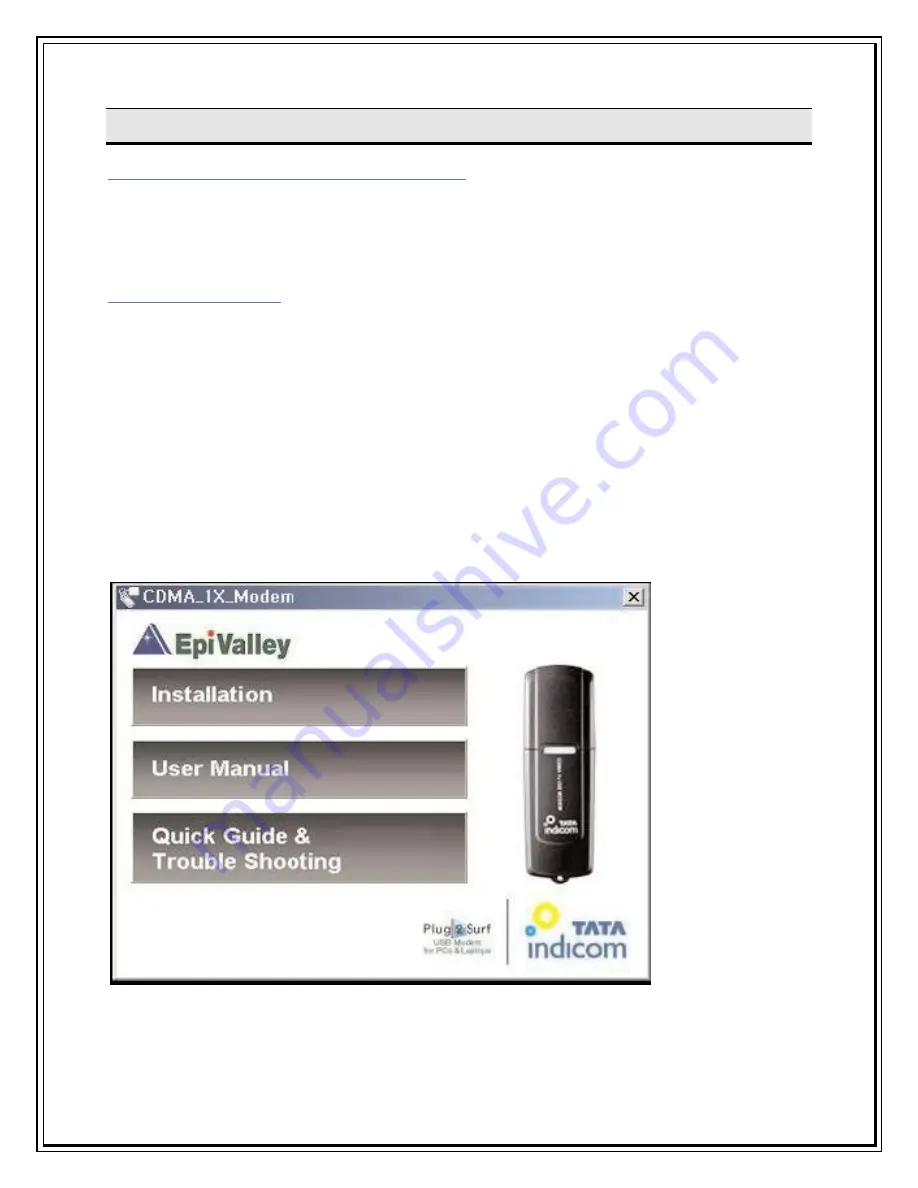
2. When the first screen appears, click the “Installation” icon to start the installation wizard.
* Note
: If Auto-Run did not start, double click “TATA_GATA_SXC1080.exe” on your CD-Rom
Drive to start the installation
.
3.
Clicking “User Manual” or “Quick Guide & Trouble Shooting” icon in the first screen will
prompt you to “Open” or “Save” the Manual. Click “Open” to see the Manual or click
Summary of Contents for Photon Whiz SXC1080
Page 1: ...Sungil SXC 1080 USB Model...
Page 14: ...2 Click on Network in Internet Network...
Page 16: ...5 Click on Modem Tab Select the modem au CDMA 1x WIN W01K from the modems list...
Page 17: ...6 Click on PPP tab Select Apply Now to save changes and Click on Dial Now...
Page 18: ...7 Select the option Show modem status in menu bar and Click on Connect...
Page 20: ...10 Select Applications Internet Connect double click to open 11 Click on Connect...
Page 22: ...3 A popup will appear New Interface Detected Click on OK...
Page 23: ...4 Click on Locations Choose Edit Locations...
Page 24: ...5 Click on symbol write Sungil SXC 1080 USB CDMA and click Done...
Page 26: ...7 Create a new configuration write Tata Indicom CDMA...
Page 28: ...9 Click on Modem Tab Select the Vendor au by KDDI and Make USB PC Card...


